Author Archives: Shirley at Mystery Bay Quilt Design

Unknown's avatar

About Shirley at Mystery Bay Quilt Design

A quilt designer, author, and teacher located in Washington State on the Olympic Peninsula.

Using Watercolor Paints for Quilt Design and Creating a Mosaic Quilt

I have completed my class, “Working In Series” taught by Elizabeth Barton.  It was really interesting to watch the development of quilt series by all the students.  As in most online classes, only a few students actually carried through to complete a series.  In some instances, this was because the students had selected a  complex topic.  Those of us who chose simpler abstract shapes — or a small flower, in one instance – were able to finish the process. Students who chose topics such as a series of landscape quilts or quilts based on buildings had much more work to do to develop their series and were not able to finish within the time frame of the class.

I posted earlier about using watercolor pencils for quilt design.  Following that exercise, I purchased a small set of tubes of watercolor paint and painted some simple large flowers.  We were instructed to use black, white, and gray to make a value study and then paint others in color.  I am only going to present the value study here.  As you will see, I have no skill at painting!

Here is my black and white value study:

Watercolor value study

Watercolor value study

Using this value study, I drew a grid on top of the watercolor painting and assigned a “value” to each square.  The photo below shows a closeup of the grid and numbers.

Value grid with numbers

Value grid with numbers


I ended up with seven different value numbers.  I grabbed some black and white prints from my stash with a range of values from light to dark, and selected seven of the fabrics.  I cut a rectangle from each fabric and put a fusible web on the back.  I then cut one inch squares from each fused fabric, keeping the each fabric in a separate numbered pile.    A grid was drawn on a piece of white fabric (one inch squares) with an iron-away marker (Frixion pen). The squares of black and white fabrics were placed on the piece of white fabric, matching the numbered squares in the original design.  Once all the fabric squares were in position, I ironed the pieces down. The following photo shows the result.

Mosaic quilt from black and white value study

Mosaic quilt from black and white value study

I doubt I will ever turn this into a quilt, but the process is used by some quilters to make  spectacular quilts from photographs  (such as very large portraits) where the color and value of each small area of a photograph is matched.  Once the fabrics are selected, the process is very methodical.

Designing Quilts with Watercolor Pencils

I am currently taking an online art quilt design class, “Working In Series”, taught by Elizabeth Barton through the Academy of Quilting.  It is a very interesting class.  As my class project I am working on quilts with the theme of circles.  I have chosen to concentrate on the idea of fractured circles using gradated color schemes.

One of the teacher’s suggestions was to use watercolors to come up with quilt designs and work out color schemes.  I don’t own any watercolor paints at the moment, but I did find some watercolor pencils in my art supplies, so I decided to work with them.  This is not going to teach me one of the main lessons the teacher intended — which is to work fairly fast and loose.  I think I will purchase a small watercolor paint set next time I am off the island so I can learn the lesson she intended (since working fast and loose is definitely not my style!), but for now I am working with my watercolor pencils.

You can find some excellent videos online describing how to use watercolor pencils, so I won’t go into too much detail here.  But here are my tools and the results I have developed for my “fractured circles” theme.

First, the tools.  You need some watercolor pencils – I only own a set of 12, so my color palette is quite limited.  Next you need heavy drawing paper (watercolor paper if you have it), some water, clean paper towels for blotting up the water, and a small paint brush or two.  A good art eraser and a pencil sharpener would also be helpful.  In addition to the small brushes, I added a brush with a built in water reservoir that I purchased when I got the watercolor pencils.  It is really cool  — you just squeeze the tube and water comes out in the brush.  Good for working in large areas, but not as precise as a brush that you dip in water.  Here is a photo of the pencils and brushes:

Watercolor pencils and brushes

Watercolor pencils and brushes

And here are a few of my results.   I did lots of them, so I am only showing you the ones I like best.  I like the ability to explore color and design options quickly without wasting any fabric.  The color really helps me evaluate the designs.

Watercolor study 2

Watercolor study 2

Watercolor study 3

Watercolor study 3

Watercolor study 5

Watercolor study 5

Watercolor study 6

Watercolor study 6

Watercolor study 7

Watercolor study 7

As you can see I had limited color choices due to my set of only 12 pencils.  If I learn anything more from the actual watercolor paints (especially if it actually succeeds in loosening up my style), I will report back later.

China Blue

I recently finished a quilt top from a kit that has been sitting around my studio for years.  It was a challenging design by Dereck Lockwood that I found intimidating.  I just couldn’t stand having it incomplete any longer, so now it is done and ready for quilting.  Here is the completed top:

China Blue 77 x 77 inches

China Blue 77 x 77 inches

I thought the piecing of all those diamonds was going to be the hard part, but I used Sally Collins’ technique of making templates for all the pieces.  I punched tiny holes in the templates (see my earlier post about making a circle template for a photo of the hole punch I used) to mark the start and stop points of the seams.  Marking all those little tiny diamonds was tedious but not difficult.  Careful attention to all the seam allowances resulted in the diamonds being all consistent in size, so the piecing part went pretty well.

The applique was more difficult, because the fabric had a tendency to ravel and the litle flowers all have lots of notches.  They just didn’t want to behave!  I used freezer paper  for the applique patterns and a little fray check where necessary.  The result is not perfect but acceptable.  I probably wouldn’t select this pattern today, but I am very fond of blue and white so I am pleased with it – except now it has to be quilted!  Another big job, but I will plan that another time — hopefully before my guild’s quilt show in September.

Squares Upon Squares – Playing with Paintstiks

Last month I got out my Paintstiks and rubbing plates and did some playing around.   If you don’t know about Paintstiks, you can Google them and get lots of info.  You can buy them in various sets or individually on Amazon; here is a link to one set: Jack Richeson Shiva Oil Paintstik, Iridescent Colors, Set of 12 .  The rubbing plates – and a book explaining how to use the Paintstiks – came from Cedar Canyon.  Here is a link to the book: Cedar Canyon Textiles Paintstiks On Fabric
and a link to the leaf rubbing plates I used: Artist’s Paintstiks Rubbing Plates 6/Pkg.-Leaves

Here is a photo showing my layout of the six rubbing plates I own – all are leaf designs – taped to my cutting table so they wouldn’t move around:

Rubbing plates taped down in a grid

Rubbing plates taped down in a grid

Then I laid black fabric down on top and taped it off, both to hold it in place and to keep from accidentally getting paint where I didn’t want it.  The photo below shows the results after I rubbed  stencil brushes on the Paintstiks and then transferred the paint to the black fabric, rubbing the brush in one direction diagonally across the plates:

Rubbed leaves colored with gold, bronze, and copper Paintstiks.

Rubbed leaves colored with gold, bronze, and copper Paintstiks.

I used three different color iridescent paintstiks to rub the plates – gold, copper, and bronze.  The stencil brushes keep you from getting globs of paint on your fabric.  And here is the completed fabric:

Completed Paintstik leaf blocks

Completed Paintstik leaf blocks

My photo isn’t great- the actual blocks look very good!  Nice and shiny and the different colors add complexity.

Then, of course, I had to think up something to do with my painted blocks.  So I made up a pattern, bought some coordinating fabrics, and here is the result:

Squares Upon Squares quilt, about 54 by 67 inches

Squares Upon Squares quilt, about 54 by 67 inches

I am pleased with this quilt and, since I wrote up the directions for it before making the quilt, I will probably make it available as a pattern sometime soon.   Here is a closeup that shows the Paintstik blocks better:

Squares Upon Squares closeup

Squares Upon Squares closeup

Coloring fabric with melted crayons

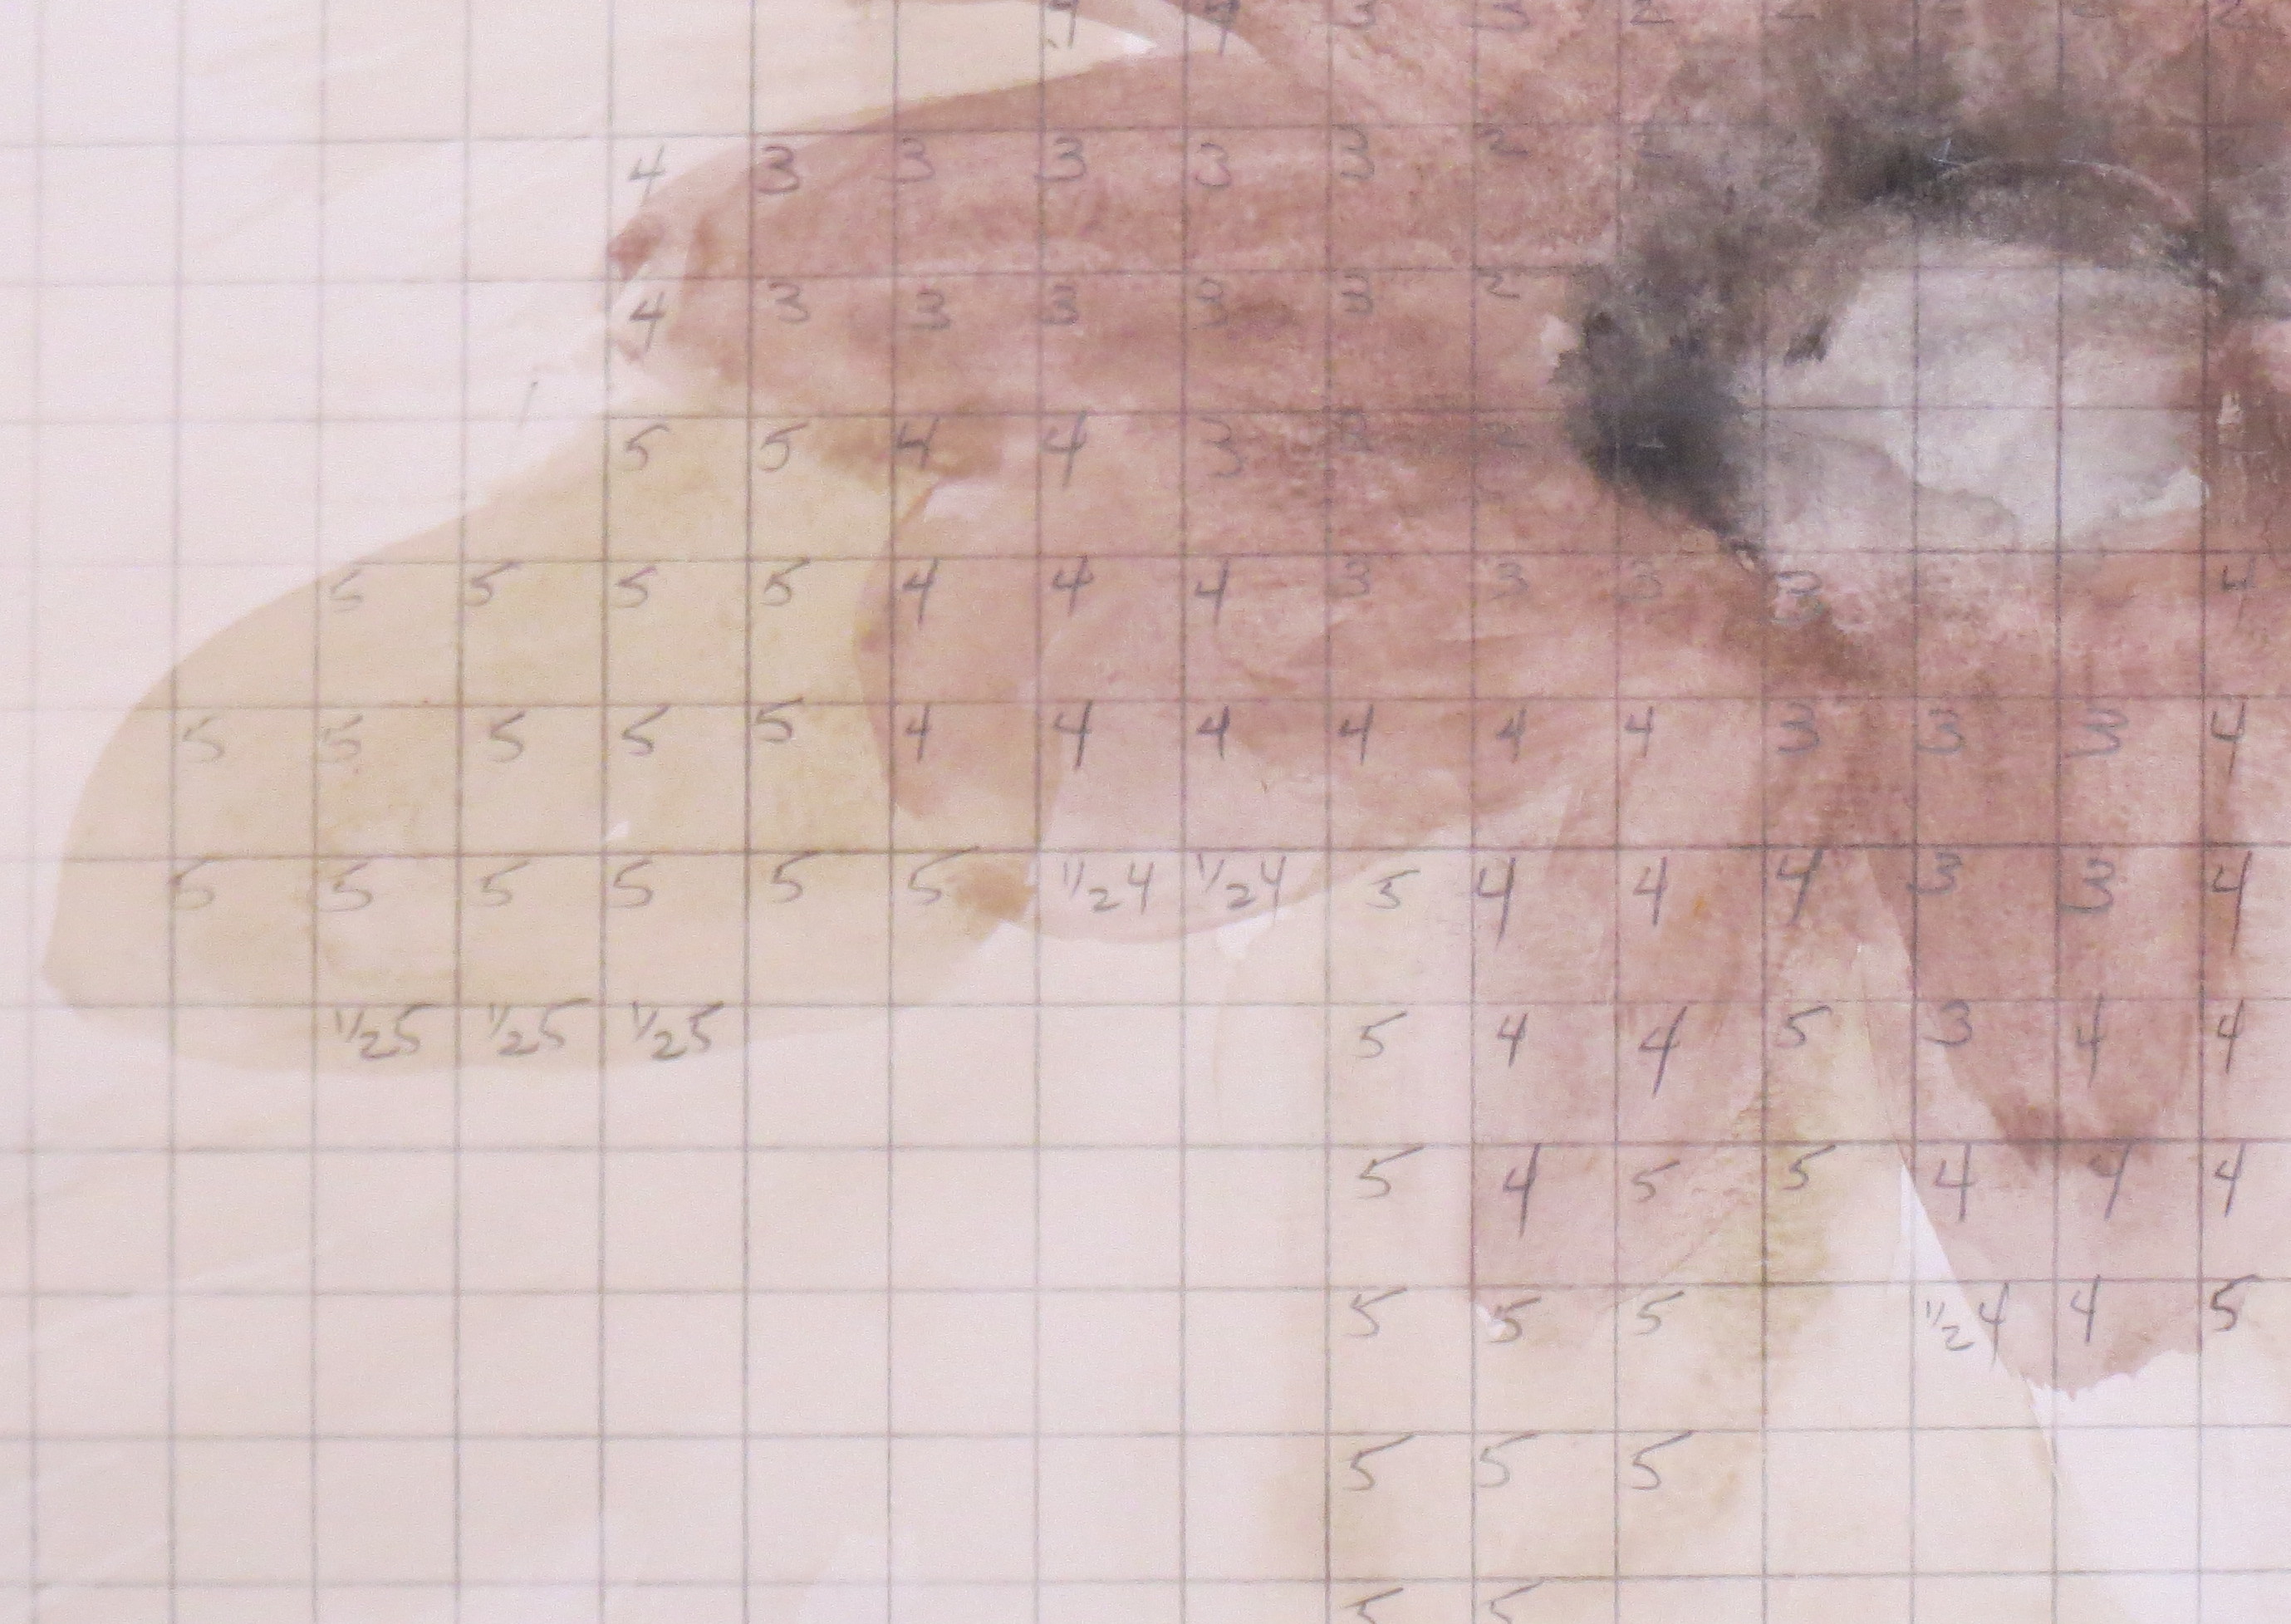
In the online class I am taking at the Academy of Quilting, I was puzzling over how to shade some circles to make them look like spheres.  One of my fellow students provided a link to a video and suggested I try the “melted crayon” technique.  I watched the video and got interested enough to try it.  I am going to put some of my results here.  At the end of this post I will provide links to the video and to a blog post that provides more details.

This technique doesn’t require any expensive investment.  You probably already own most of what you need.  I plan to use this technique for art quilts; the resulting color seems to be reasonably permanent but I would run a sample piece through the washer and dryer several times before I used it on a regular quilt.

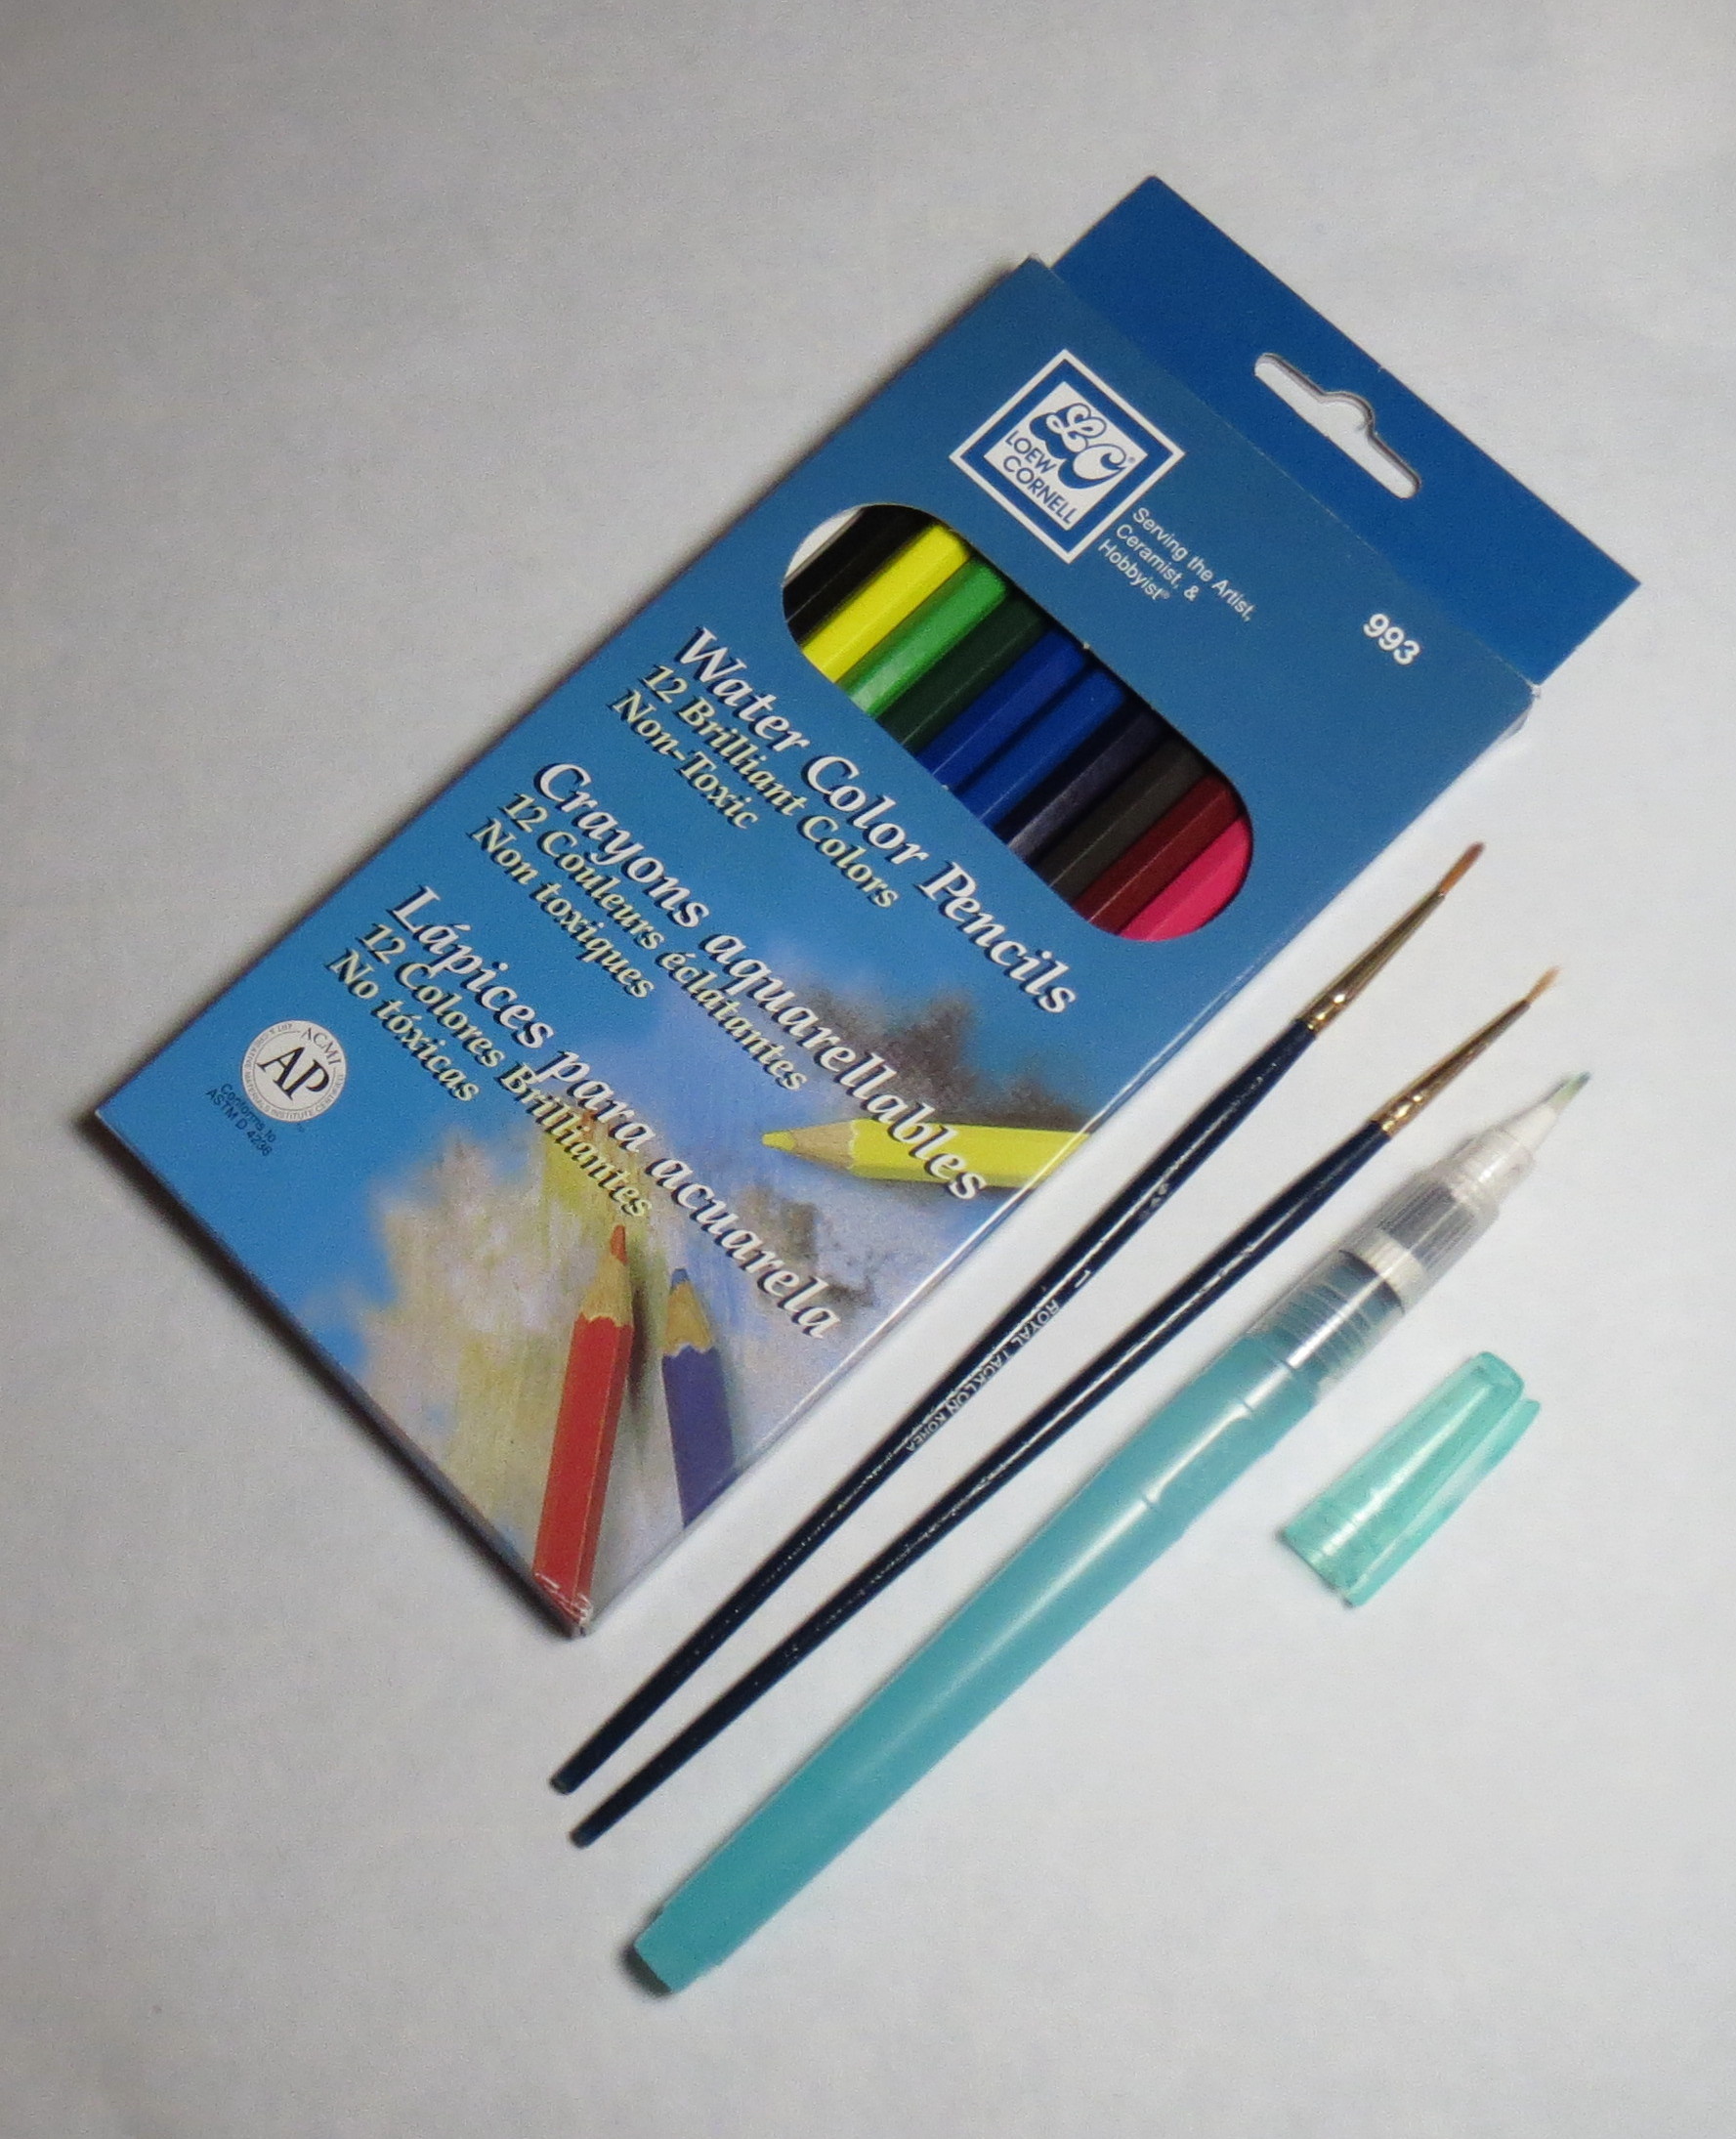
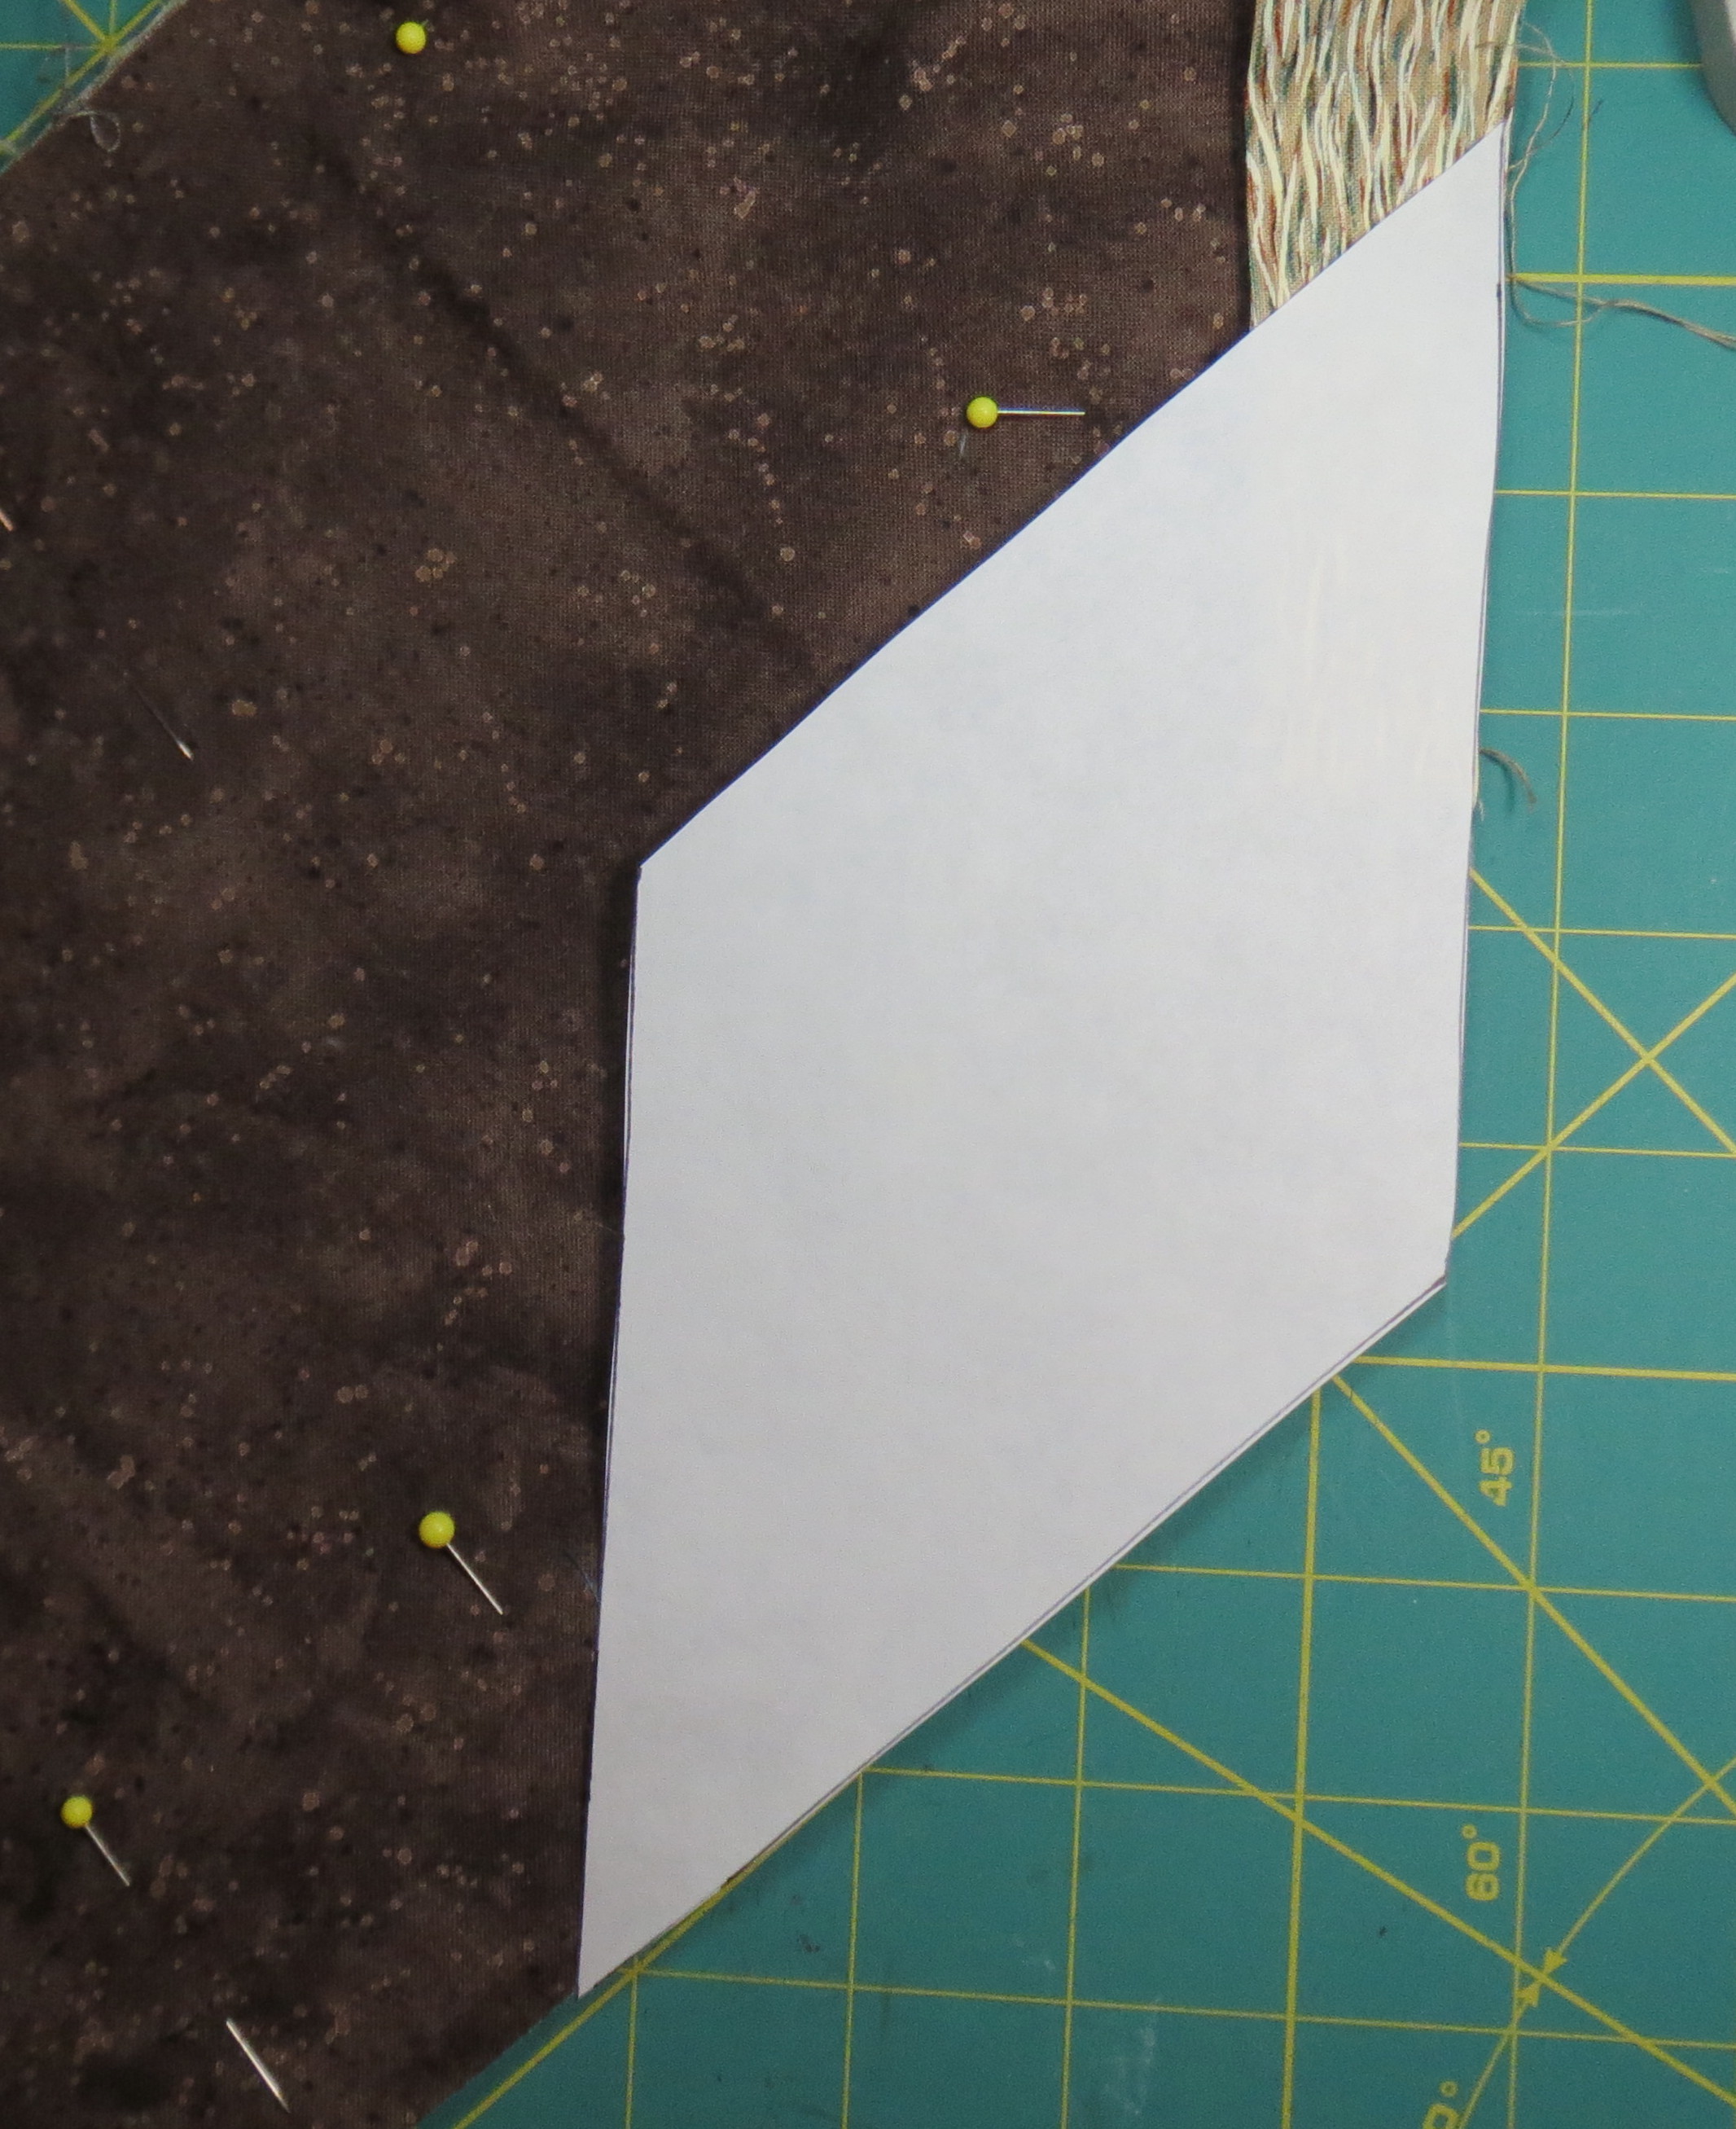
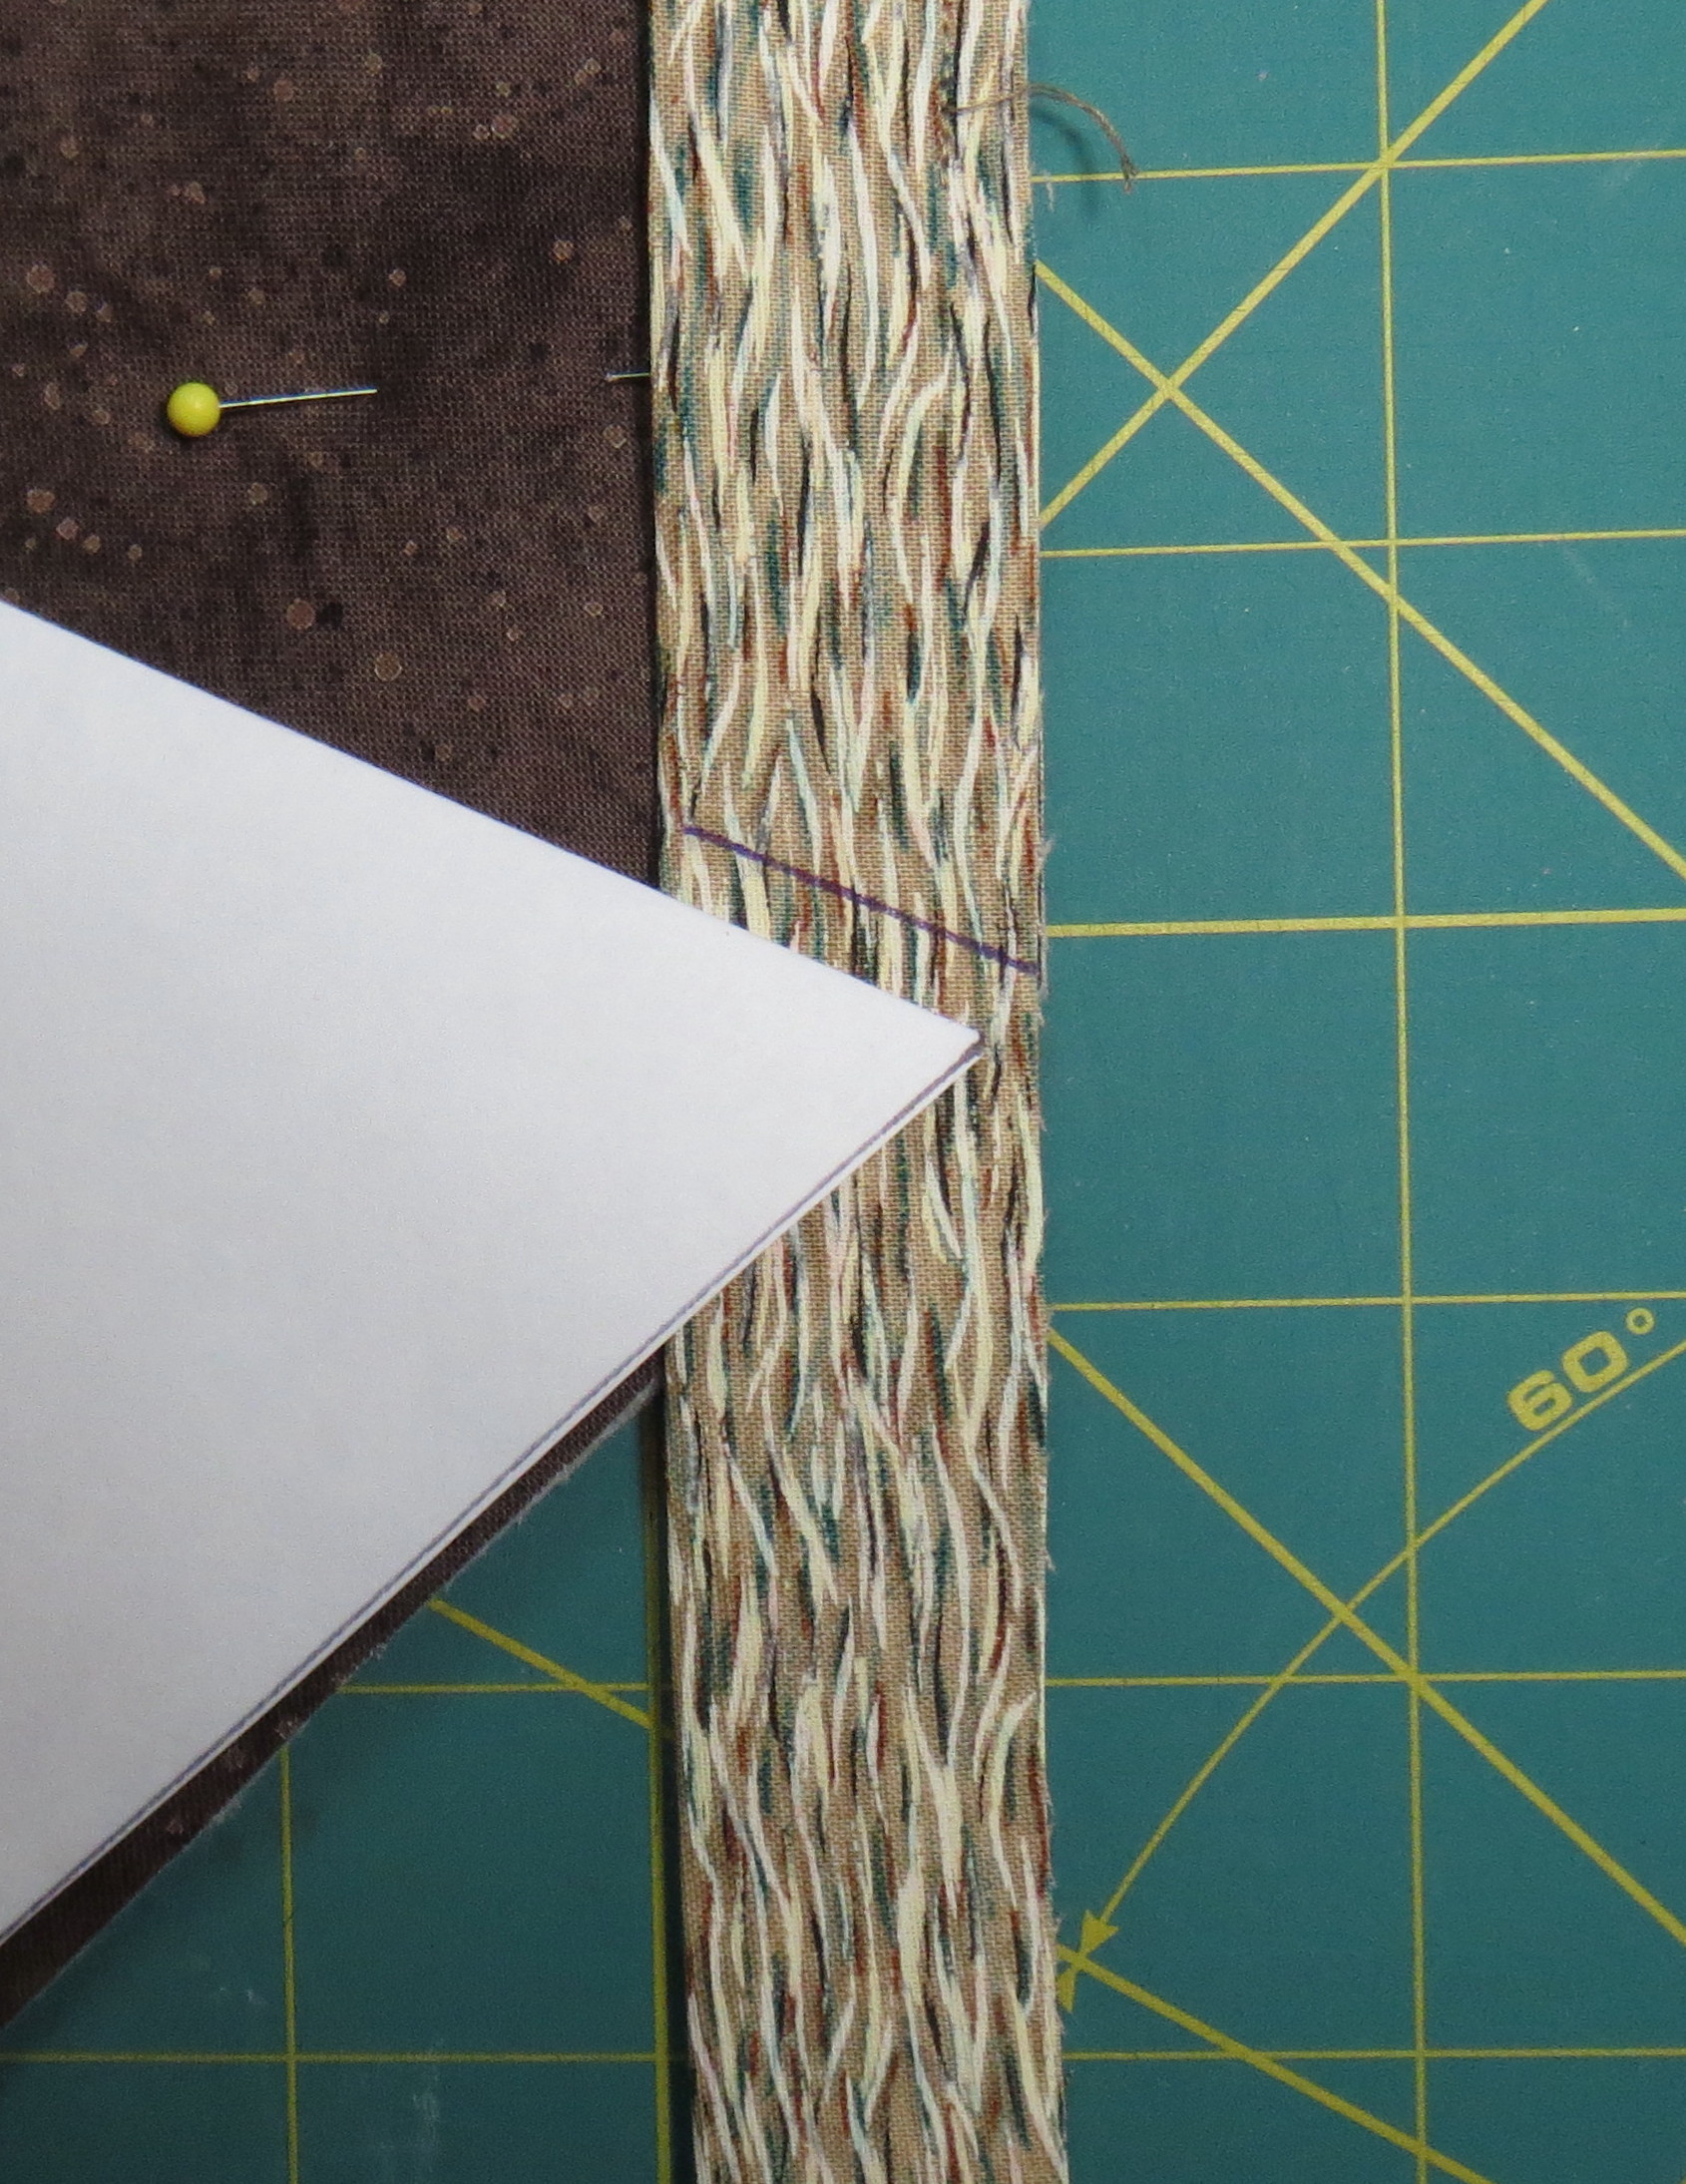
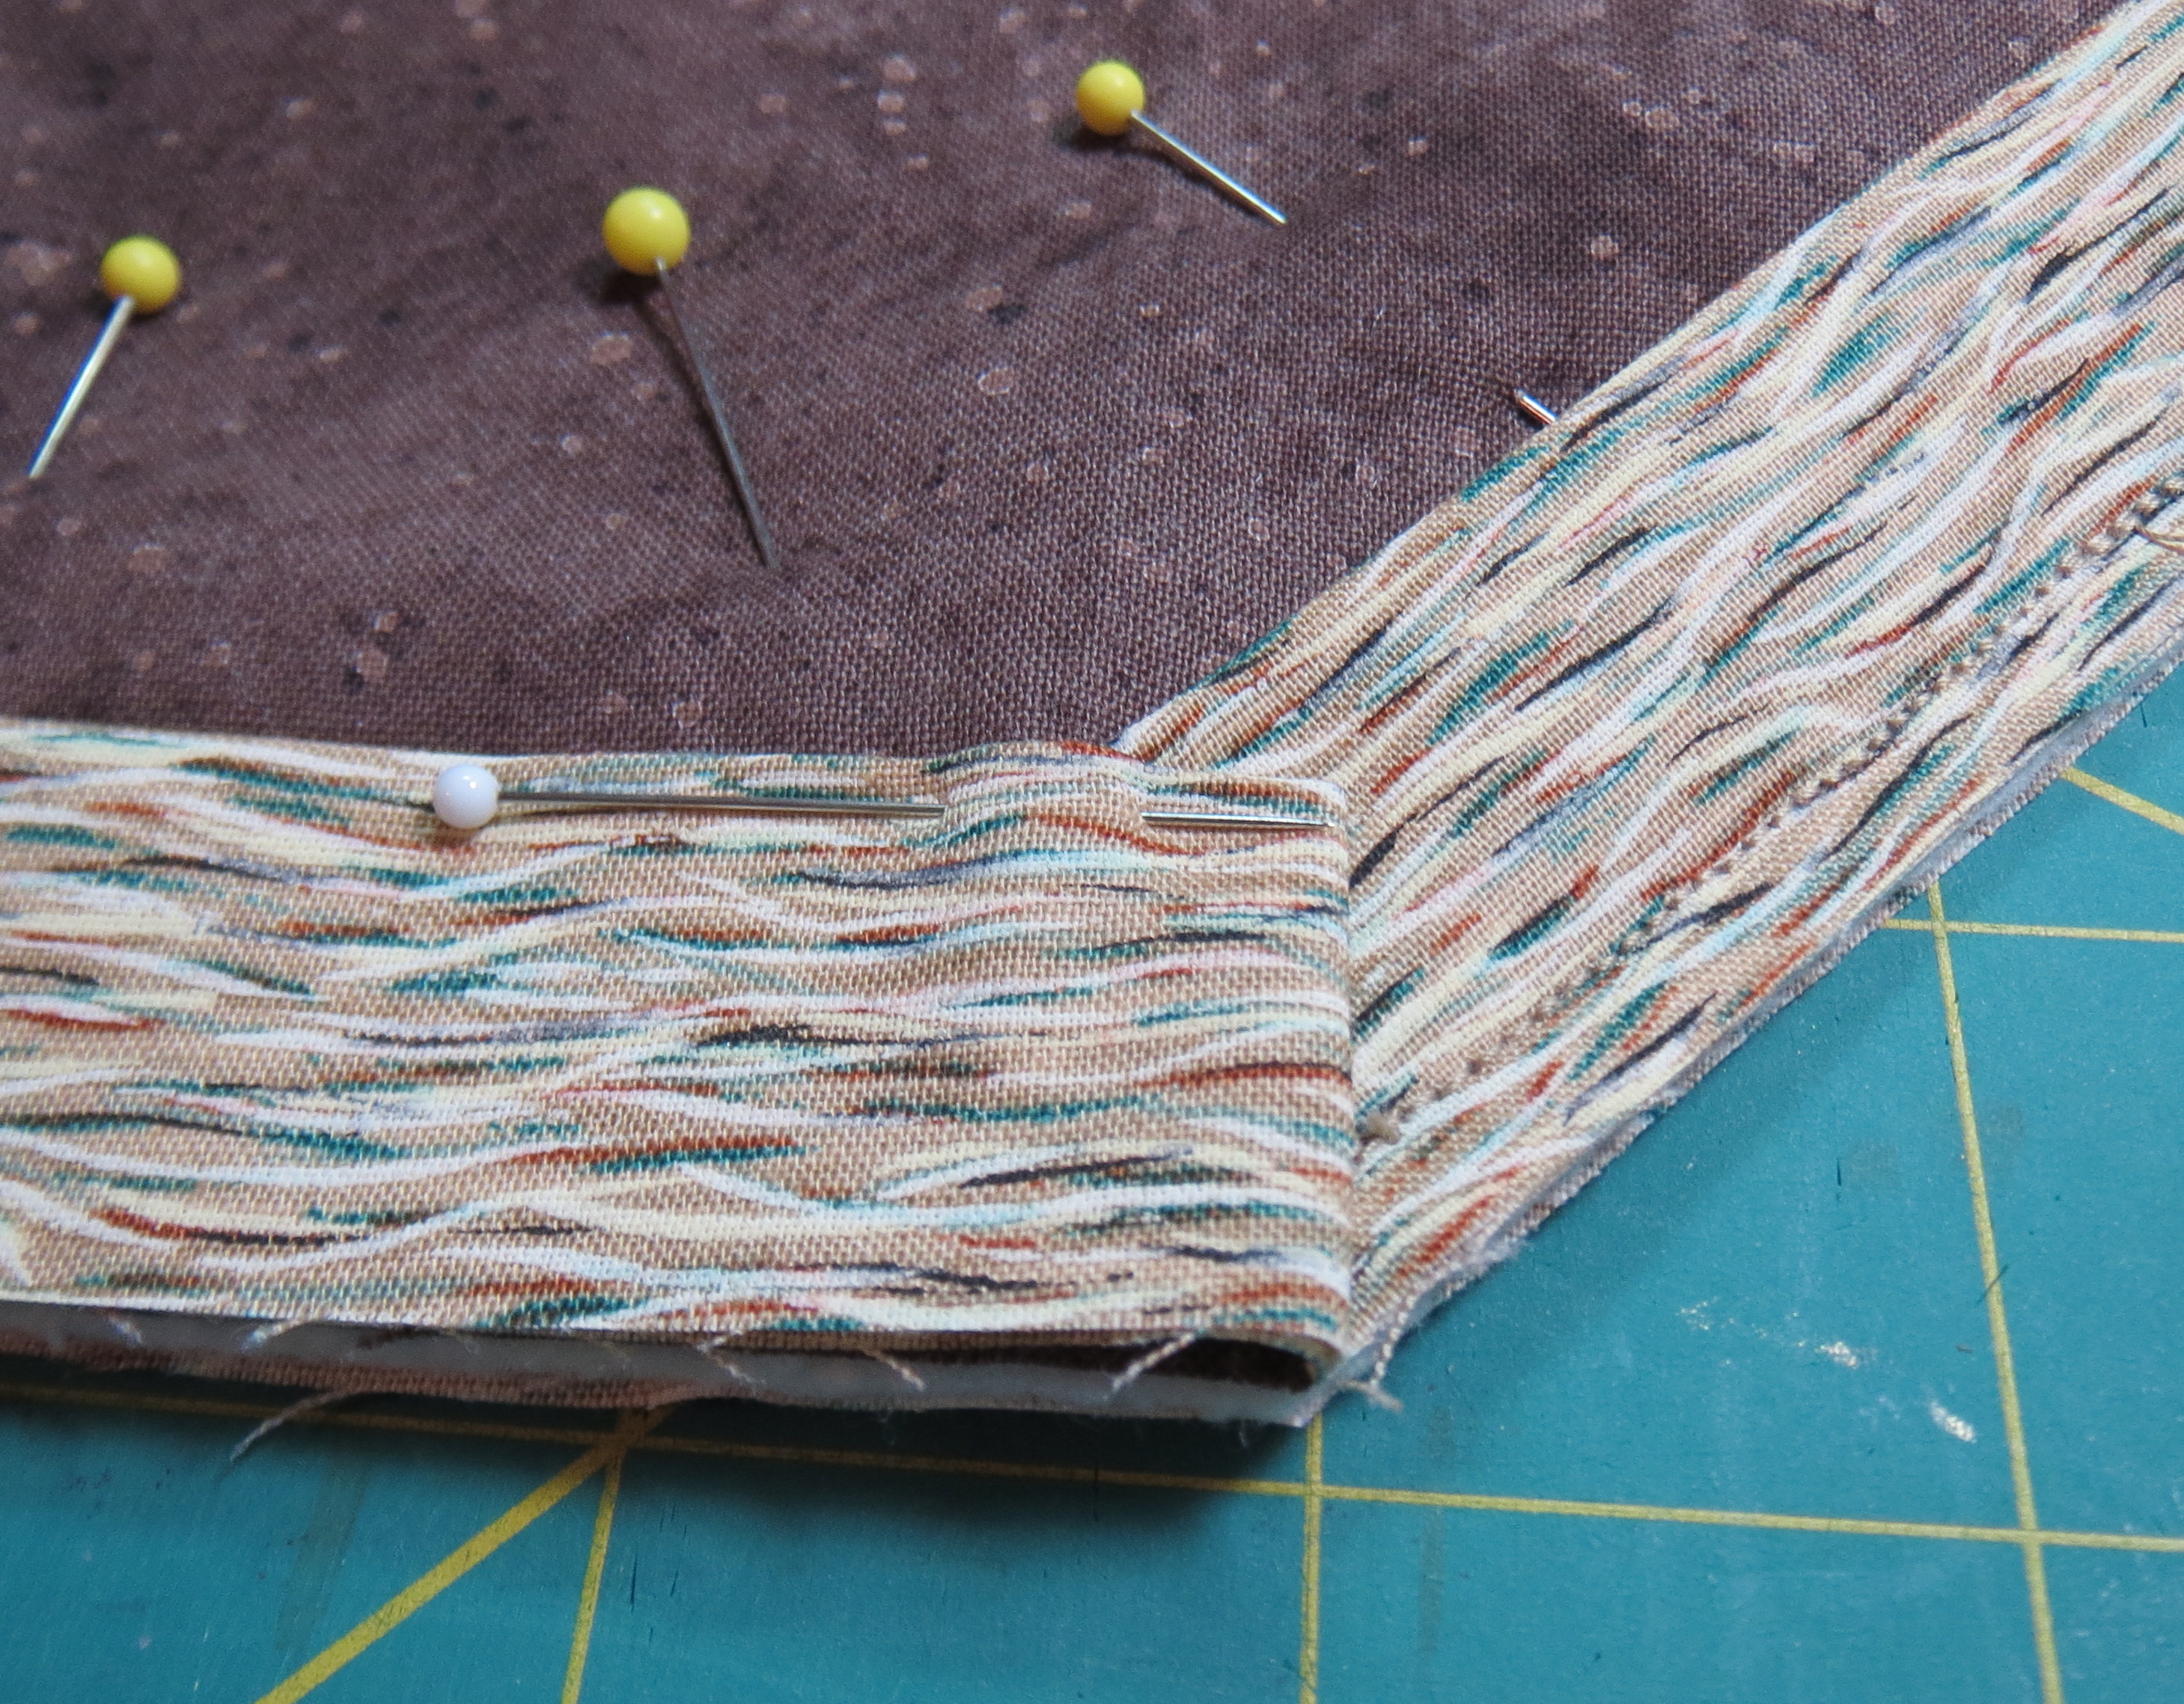
Here is what you need:  your fabric (probably a high thread count white or very light fabric, such as Pimatex) and whatever fusible web you normally use; an applique pressing sheet – one intended for use when you are building up a multiple-piece fusible applique (the fusible is  ironed down to this sheet, but can then be peeled up and ironed permanently onto fabric); a box of crayons; some paper napkins; a roll of paper towels for cleanup; and a hot dry iron.  If you are not familiar with applique pressing sheets, you may find one at your local quilt or craft store or here is a link where you can buy one on Amazon: Bear Thread Applique Pressing Sheet .  This is a link to the smaller, less expensive one (About $12).  There is also a bigger one for about twice as much, and there are other brands as well.  This just happens to be the brand I have and it works well for me.

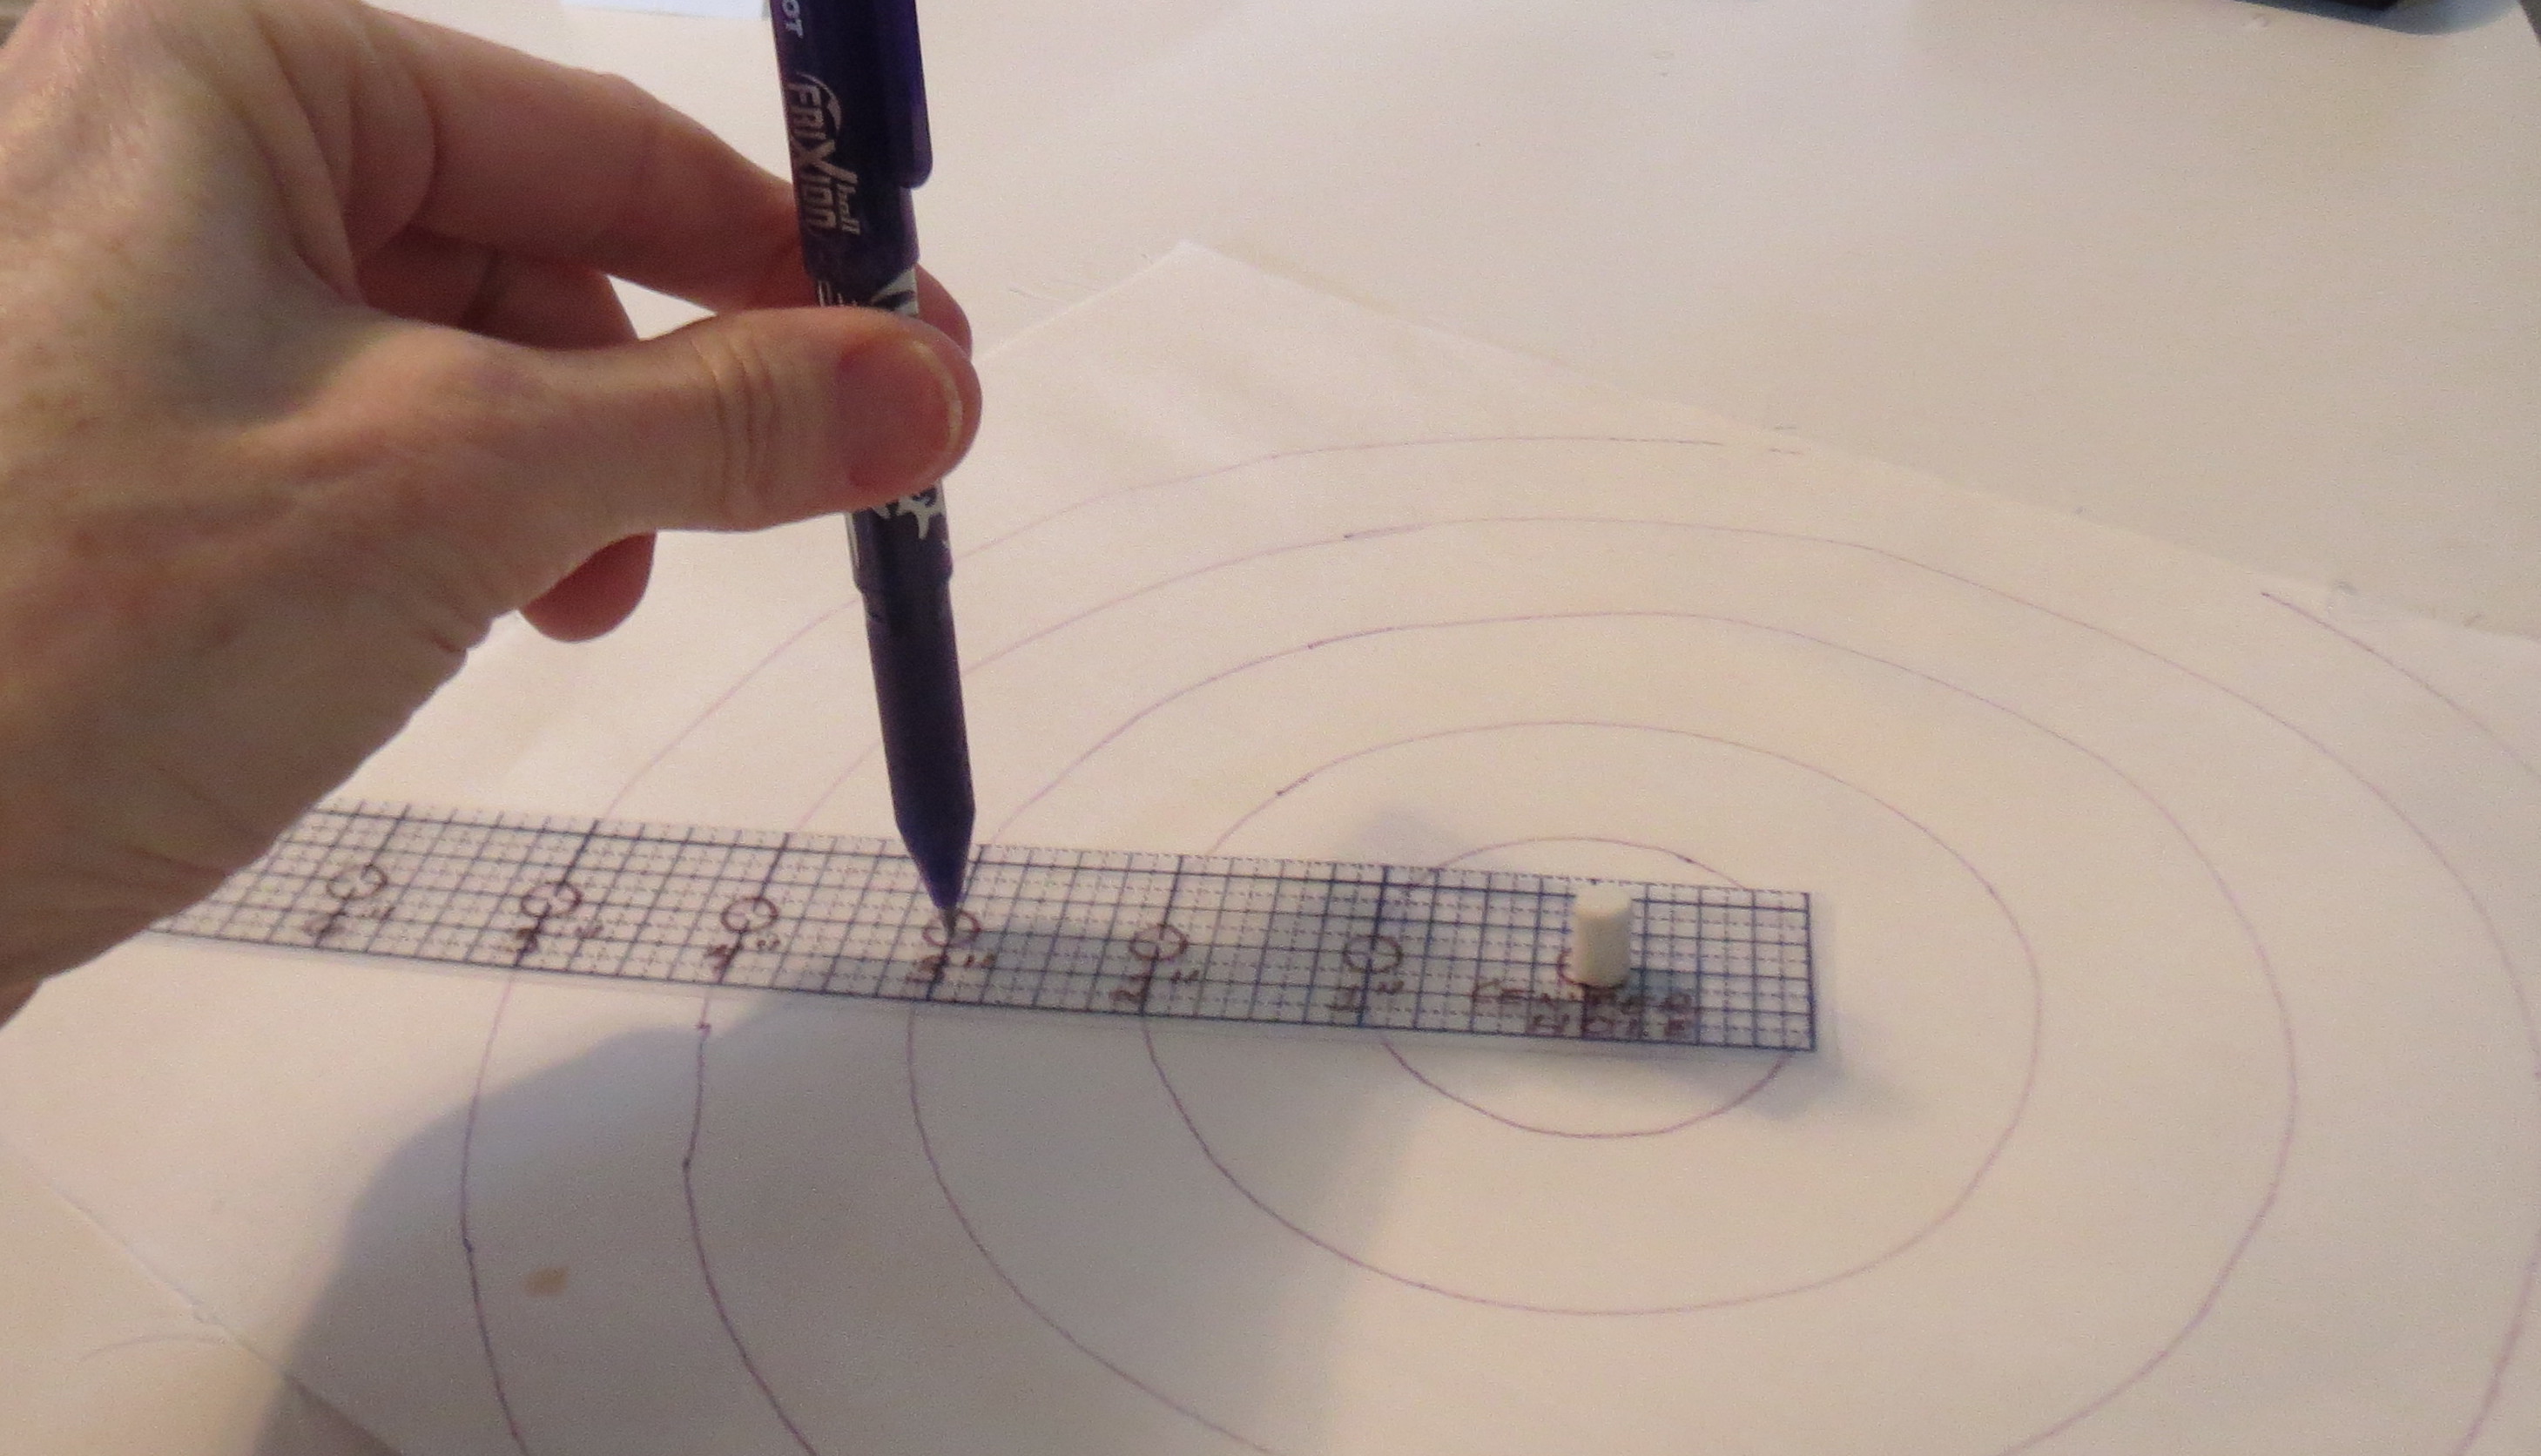
Here is the process, briefly.  You draw whatever shape you intend to use for the applique on the paper side of the fusible web.  Then apply the fusible web to the wrong side of your fabric following the manufacturer’s directions.  Cut out the applique shape.  Press the applique shape onto the applique pressing sheet.  You then use the iron to get the applique shape AND the applique pressing sheet very hot.  You grab a crayon and rub it on the hot pressing sheet.  This makes a little “puddle” of color.  You then pick up the color with the tip of a folded paper napkin and transfer it to your applique shape.  Like magic, you have “painted” your applique.  I am not going to provide more detail about the process because the links I am providing below give you all that.

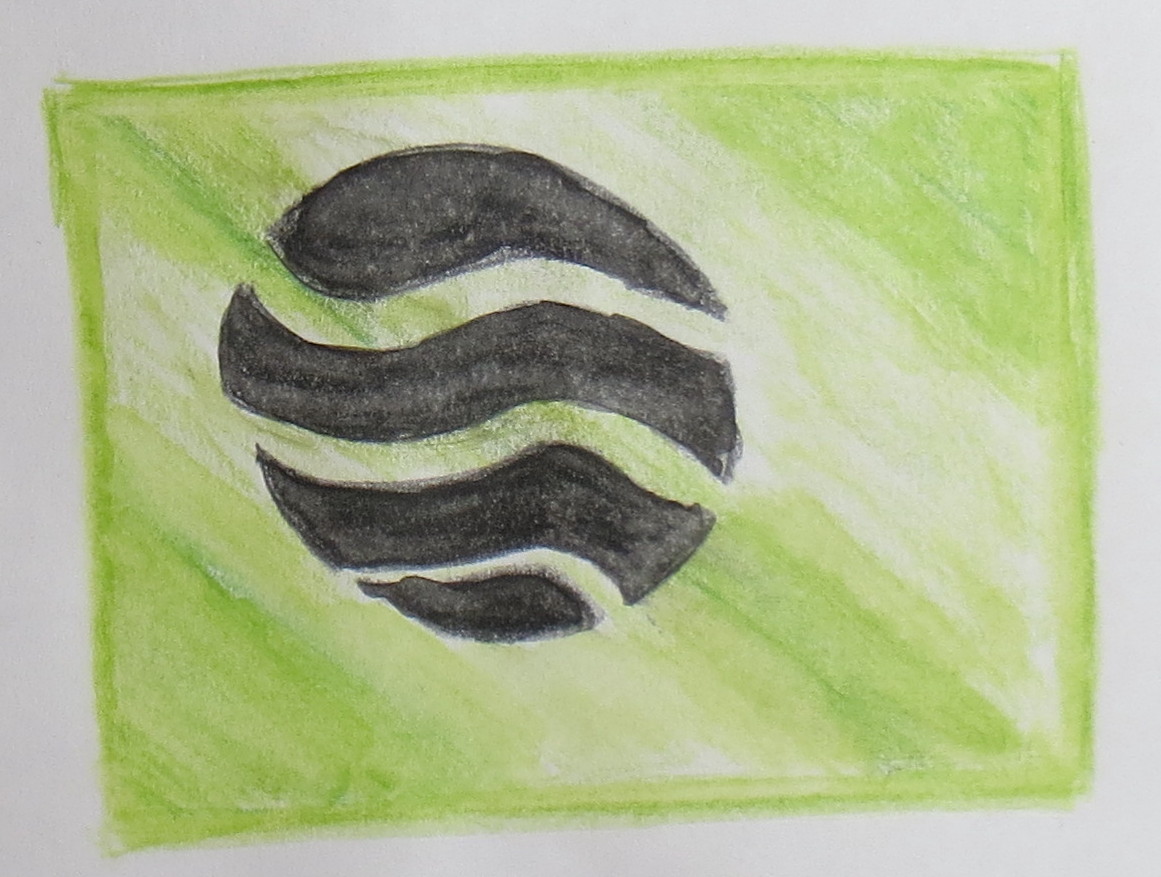
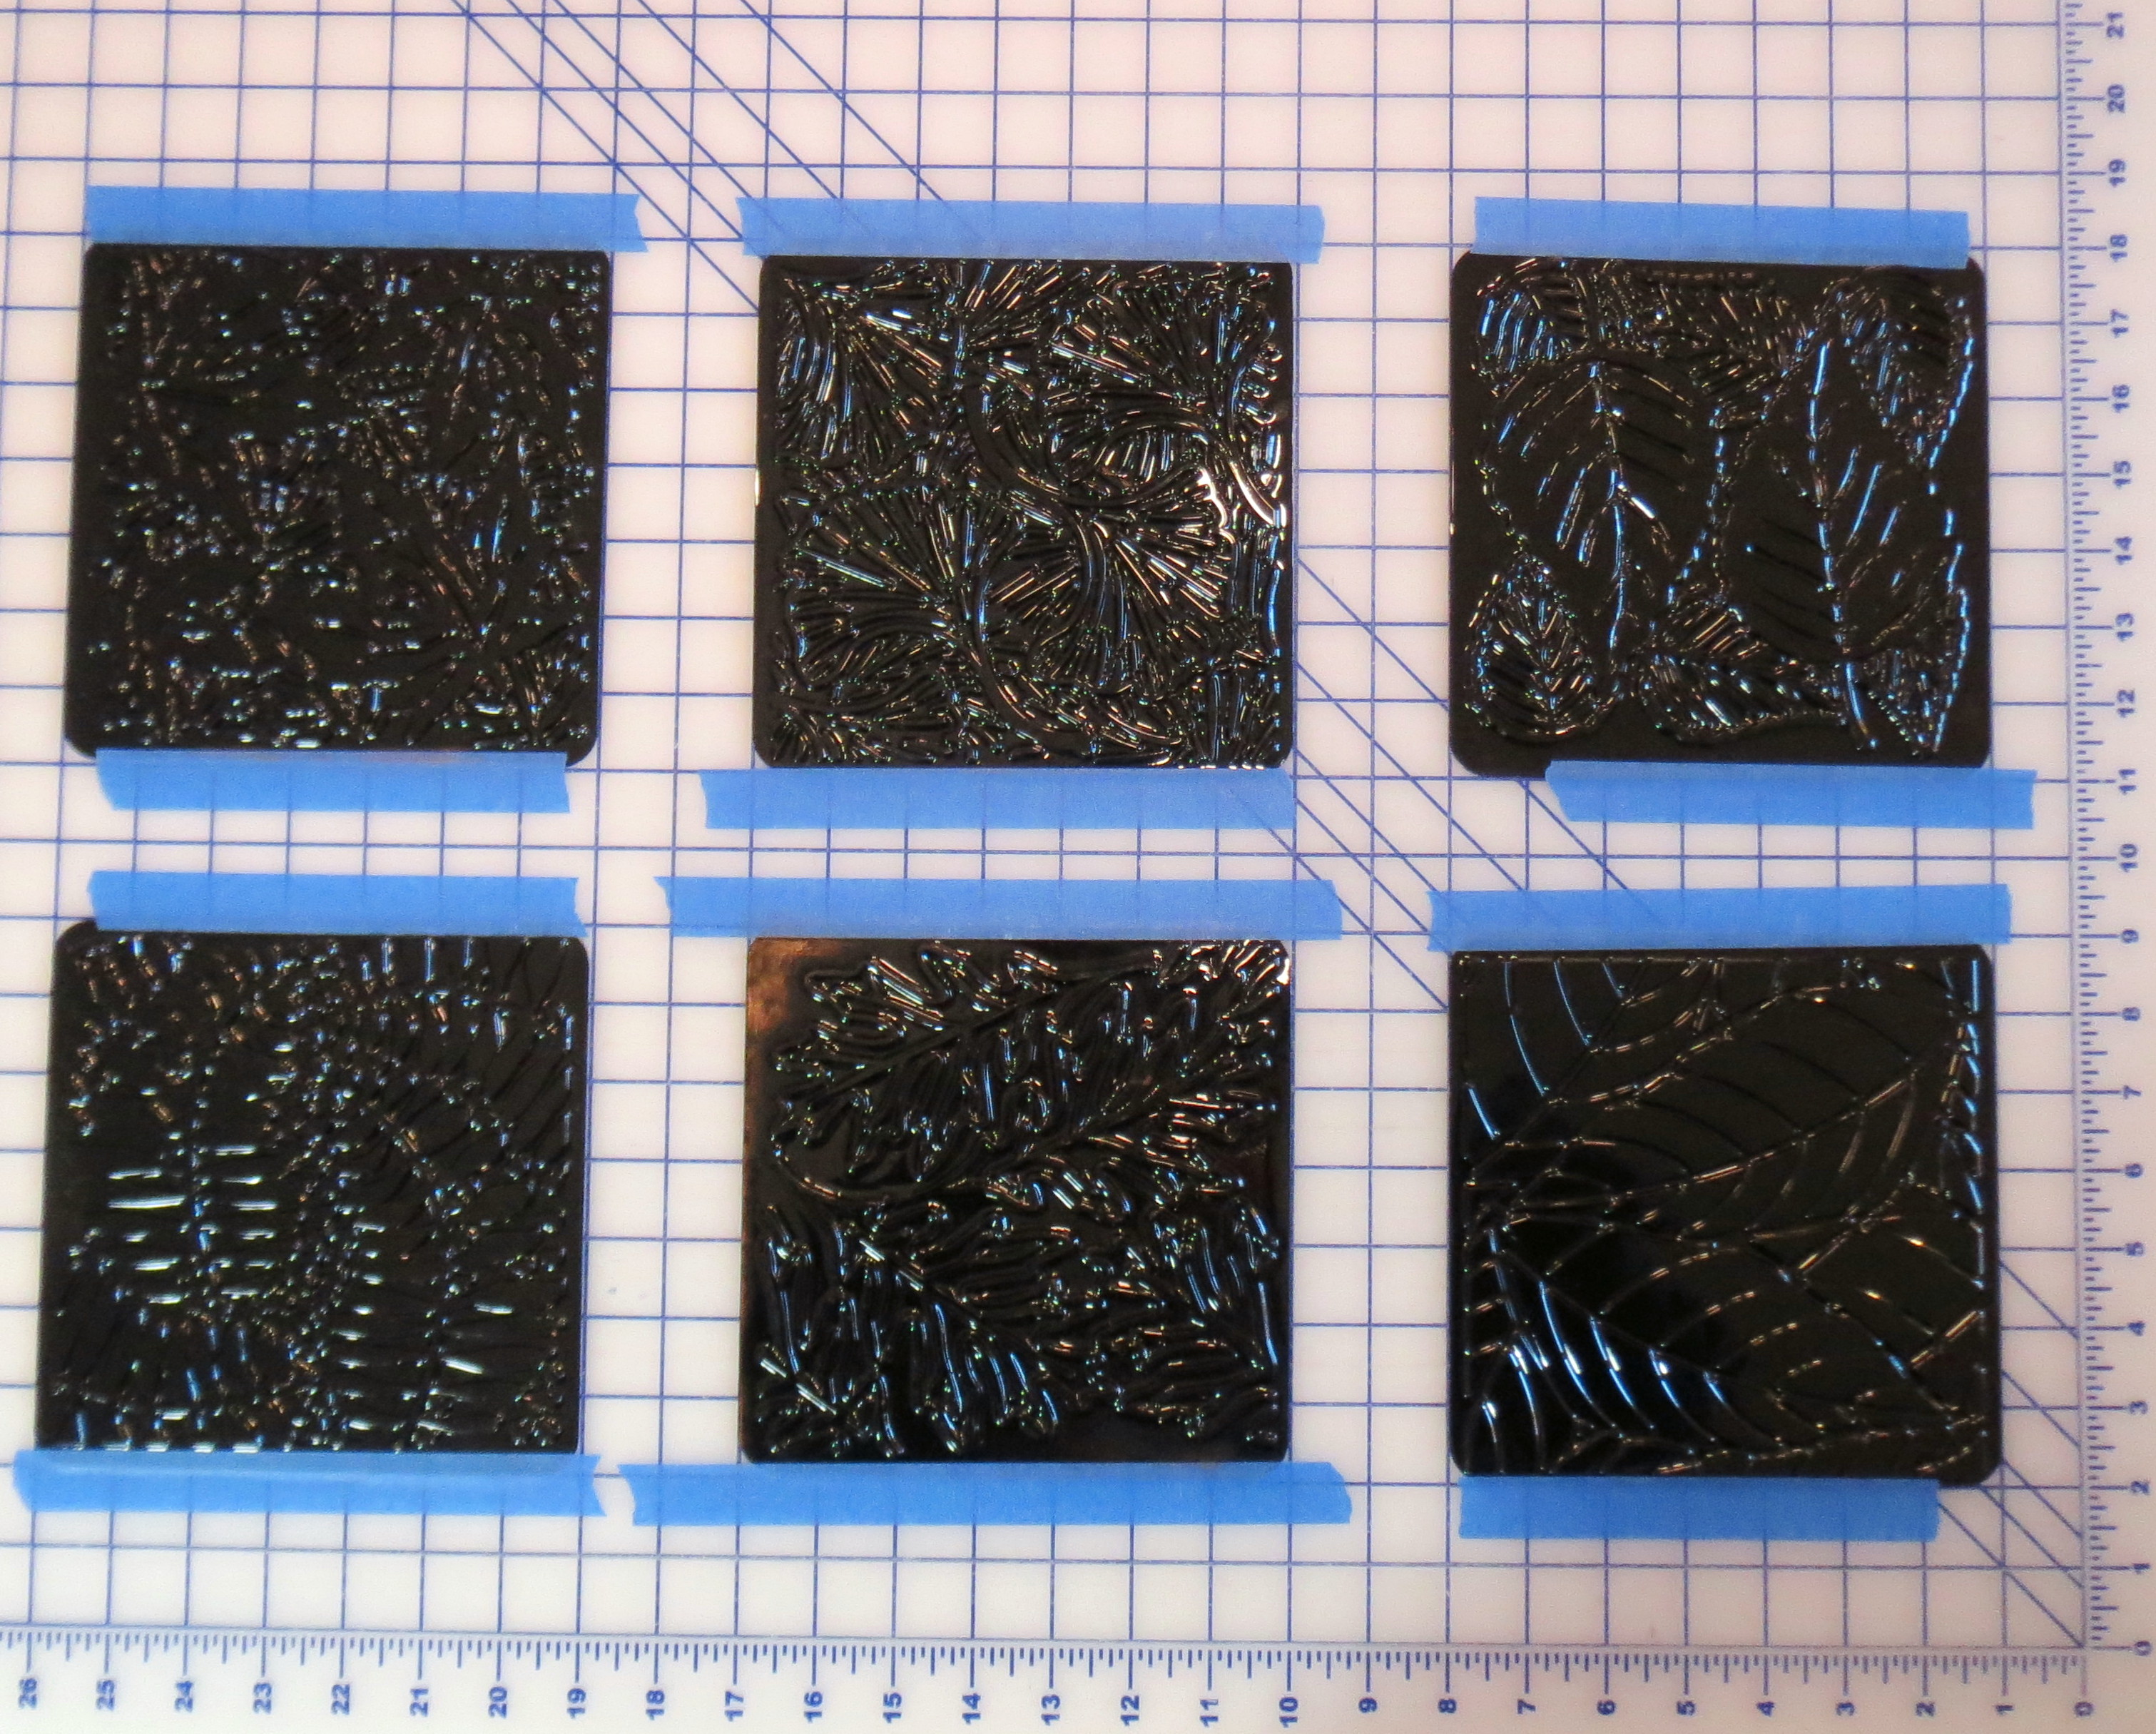
Here are a couple of photos of the spheres I painted using this technique.

Spheres colored with melted crayons - first try

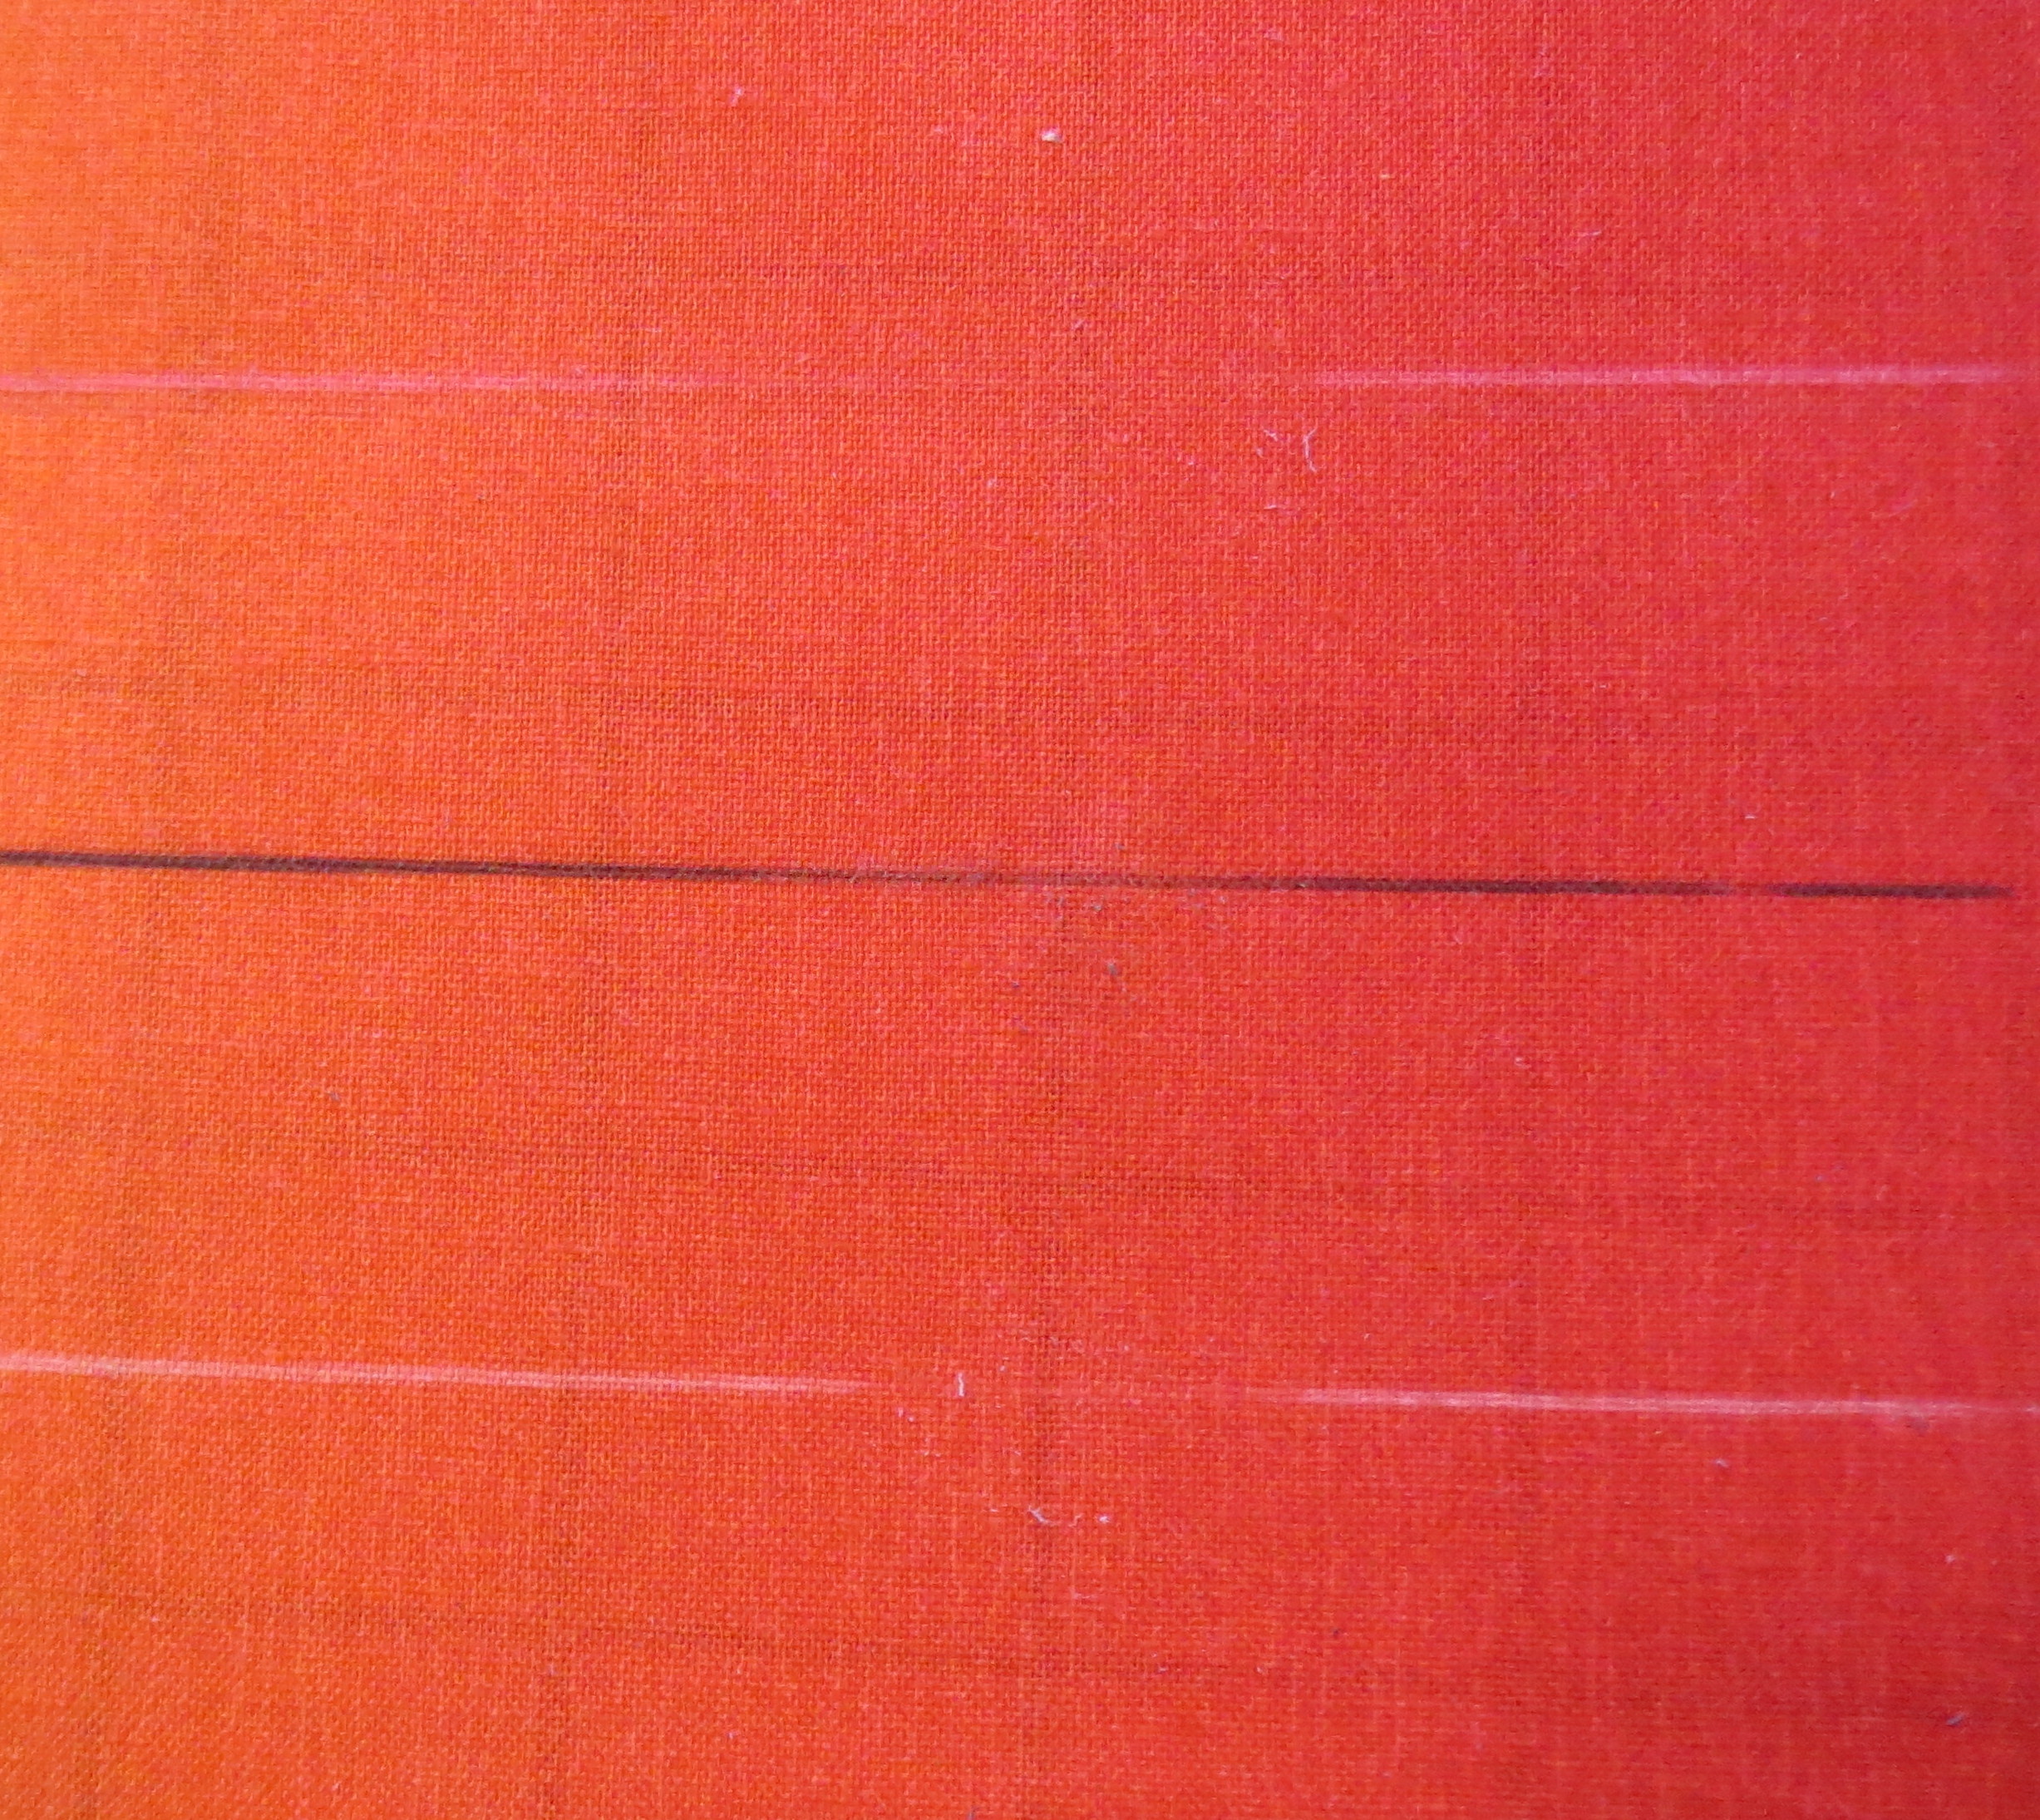
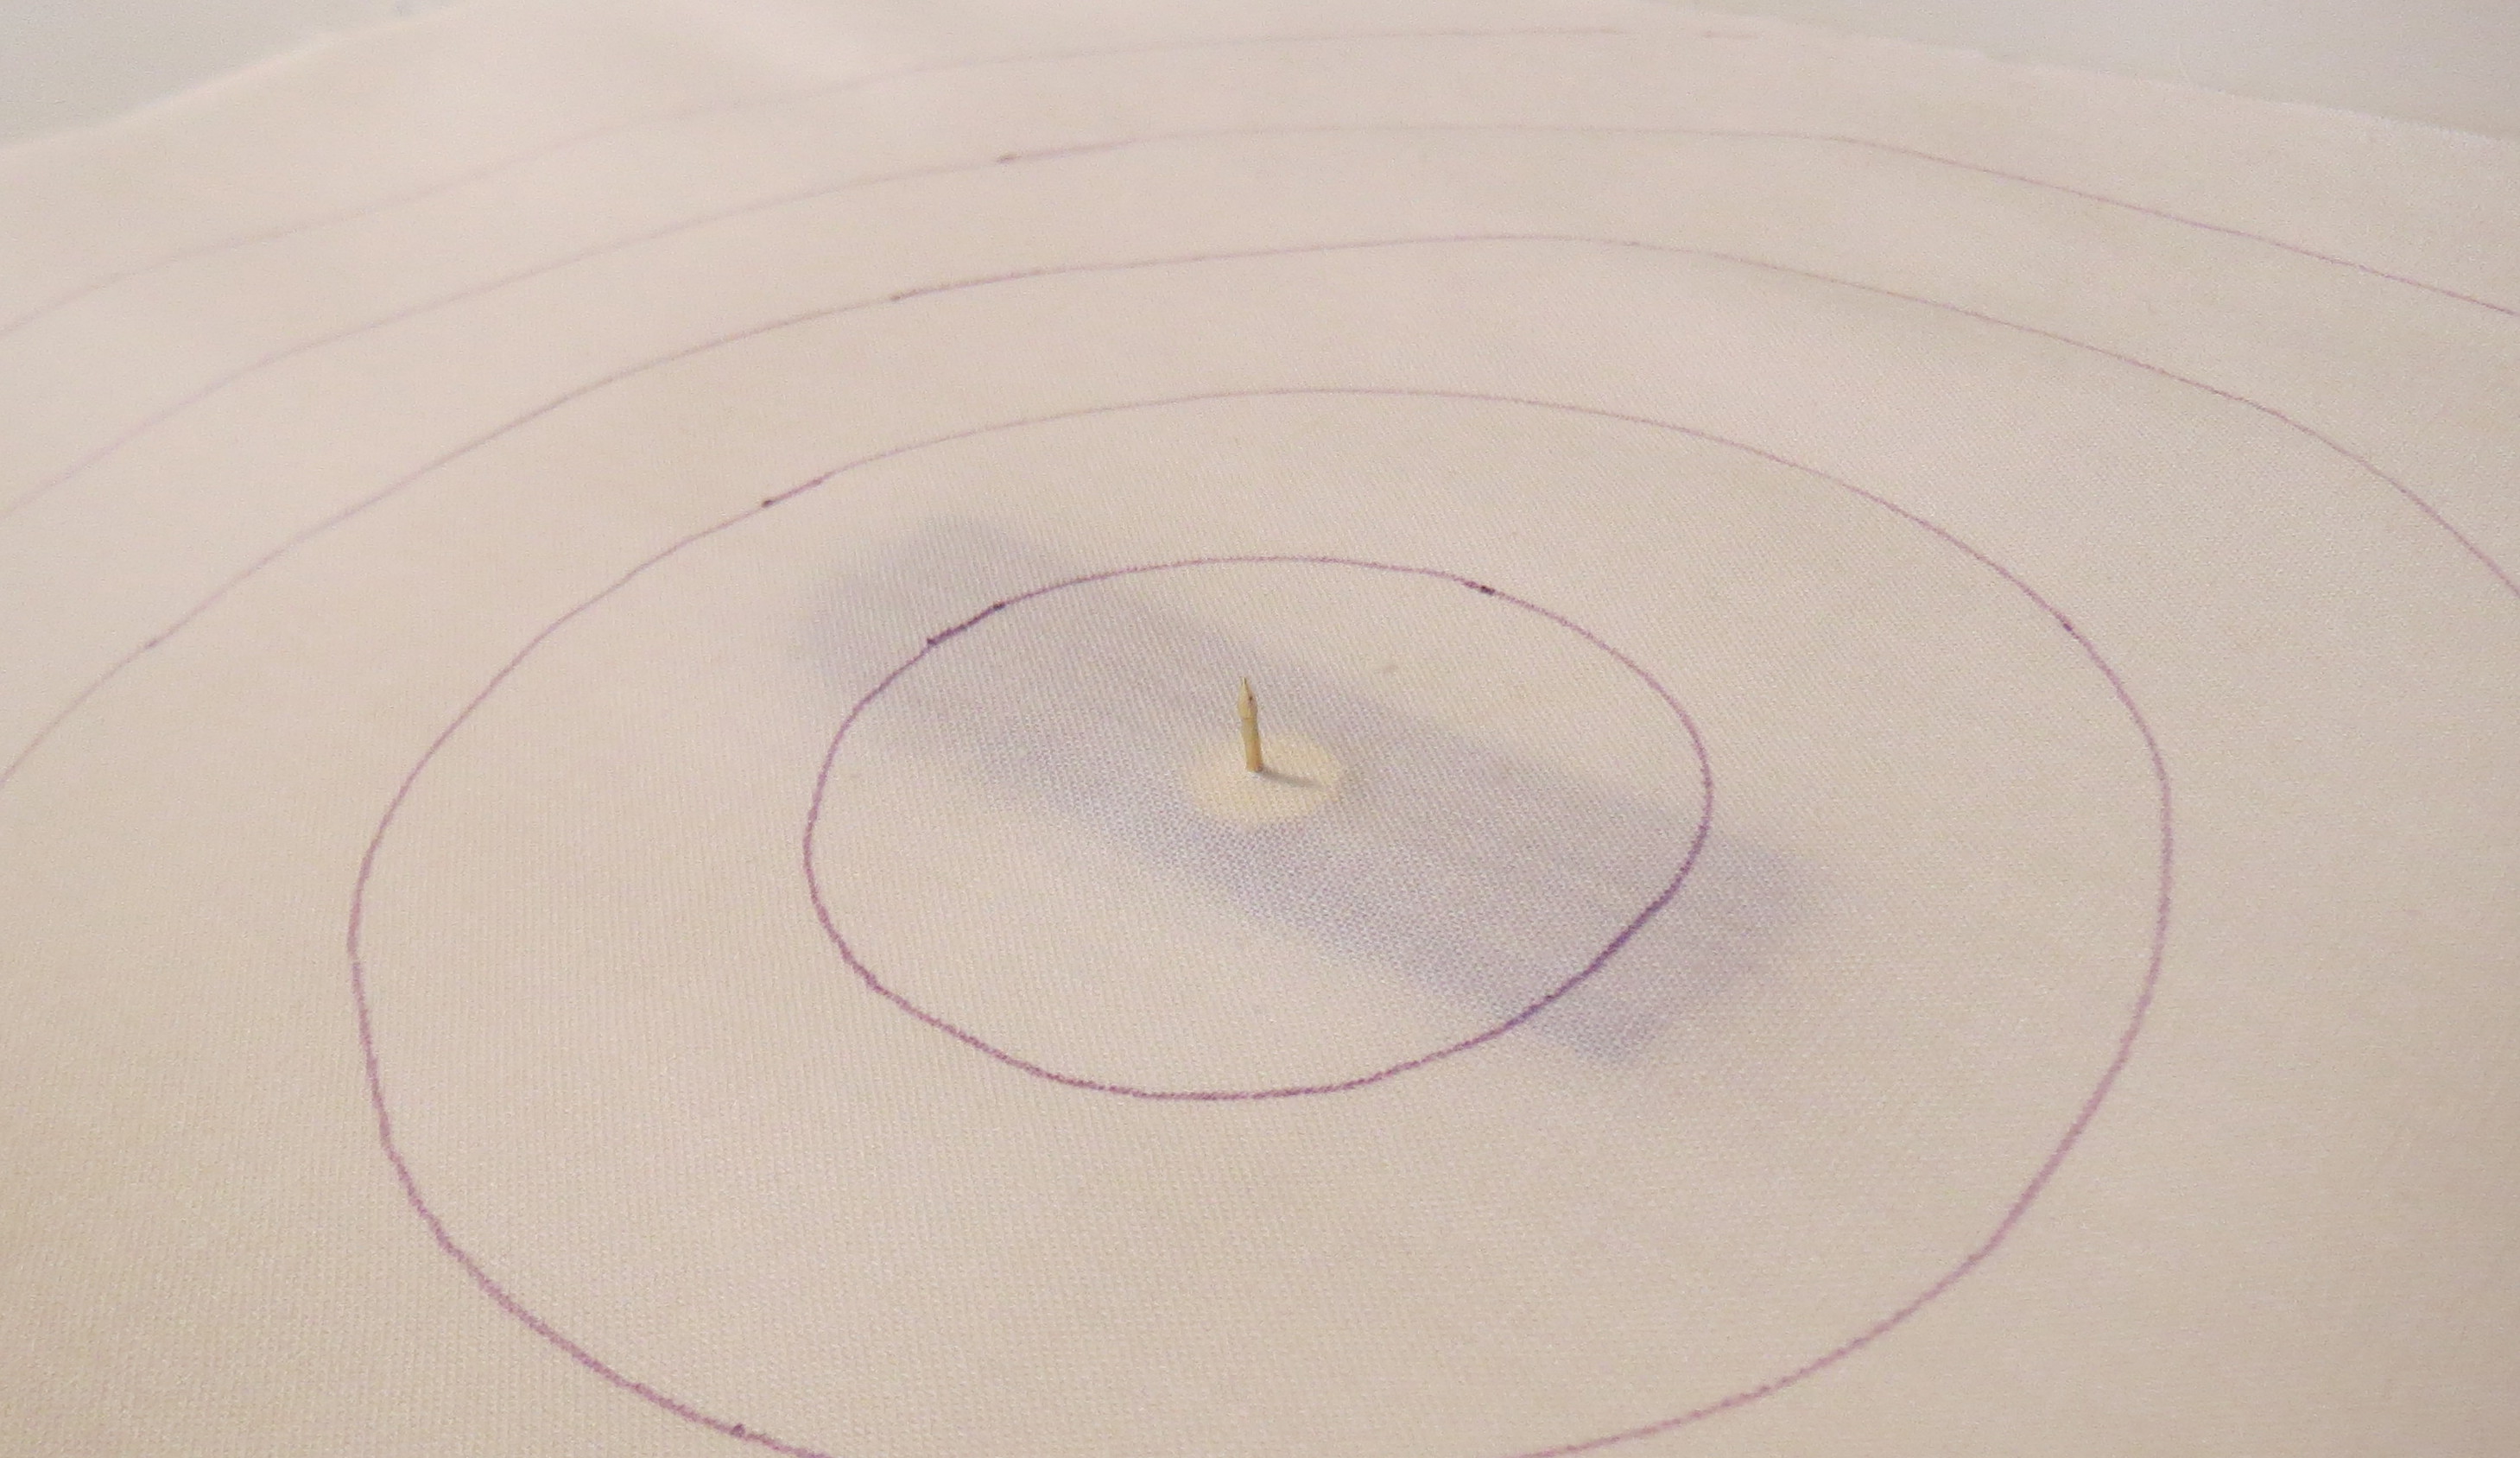
Spheres colored with melted crayons – first try

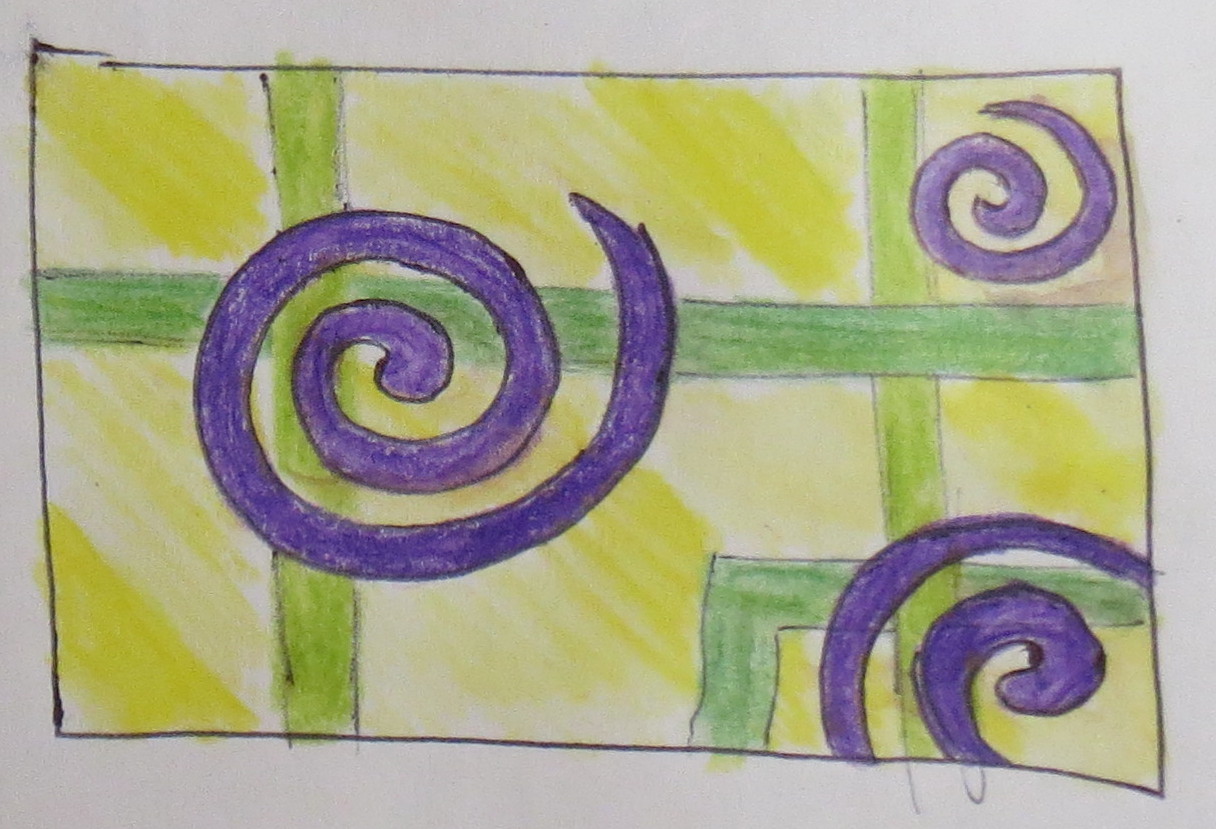
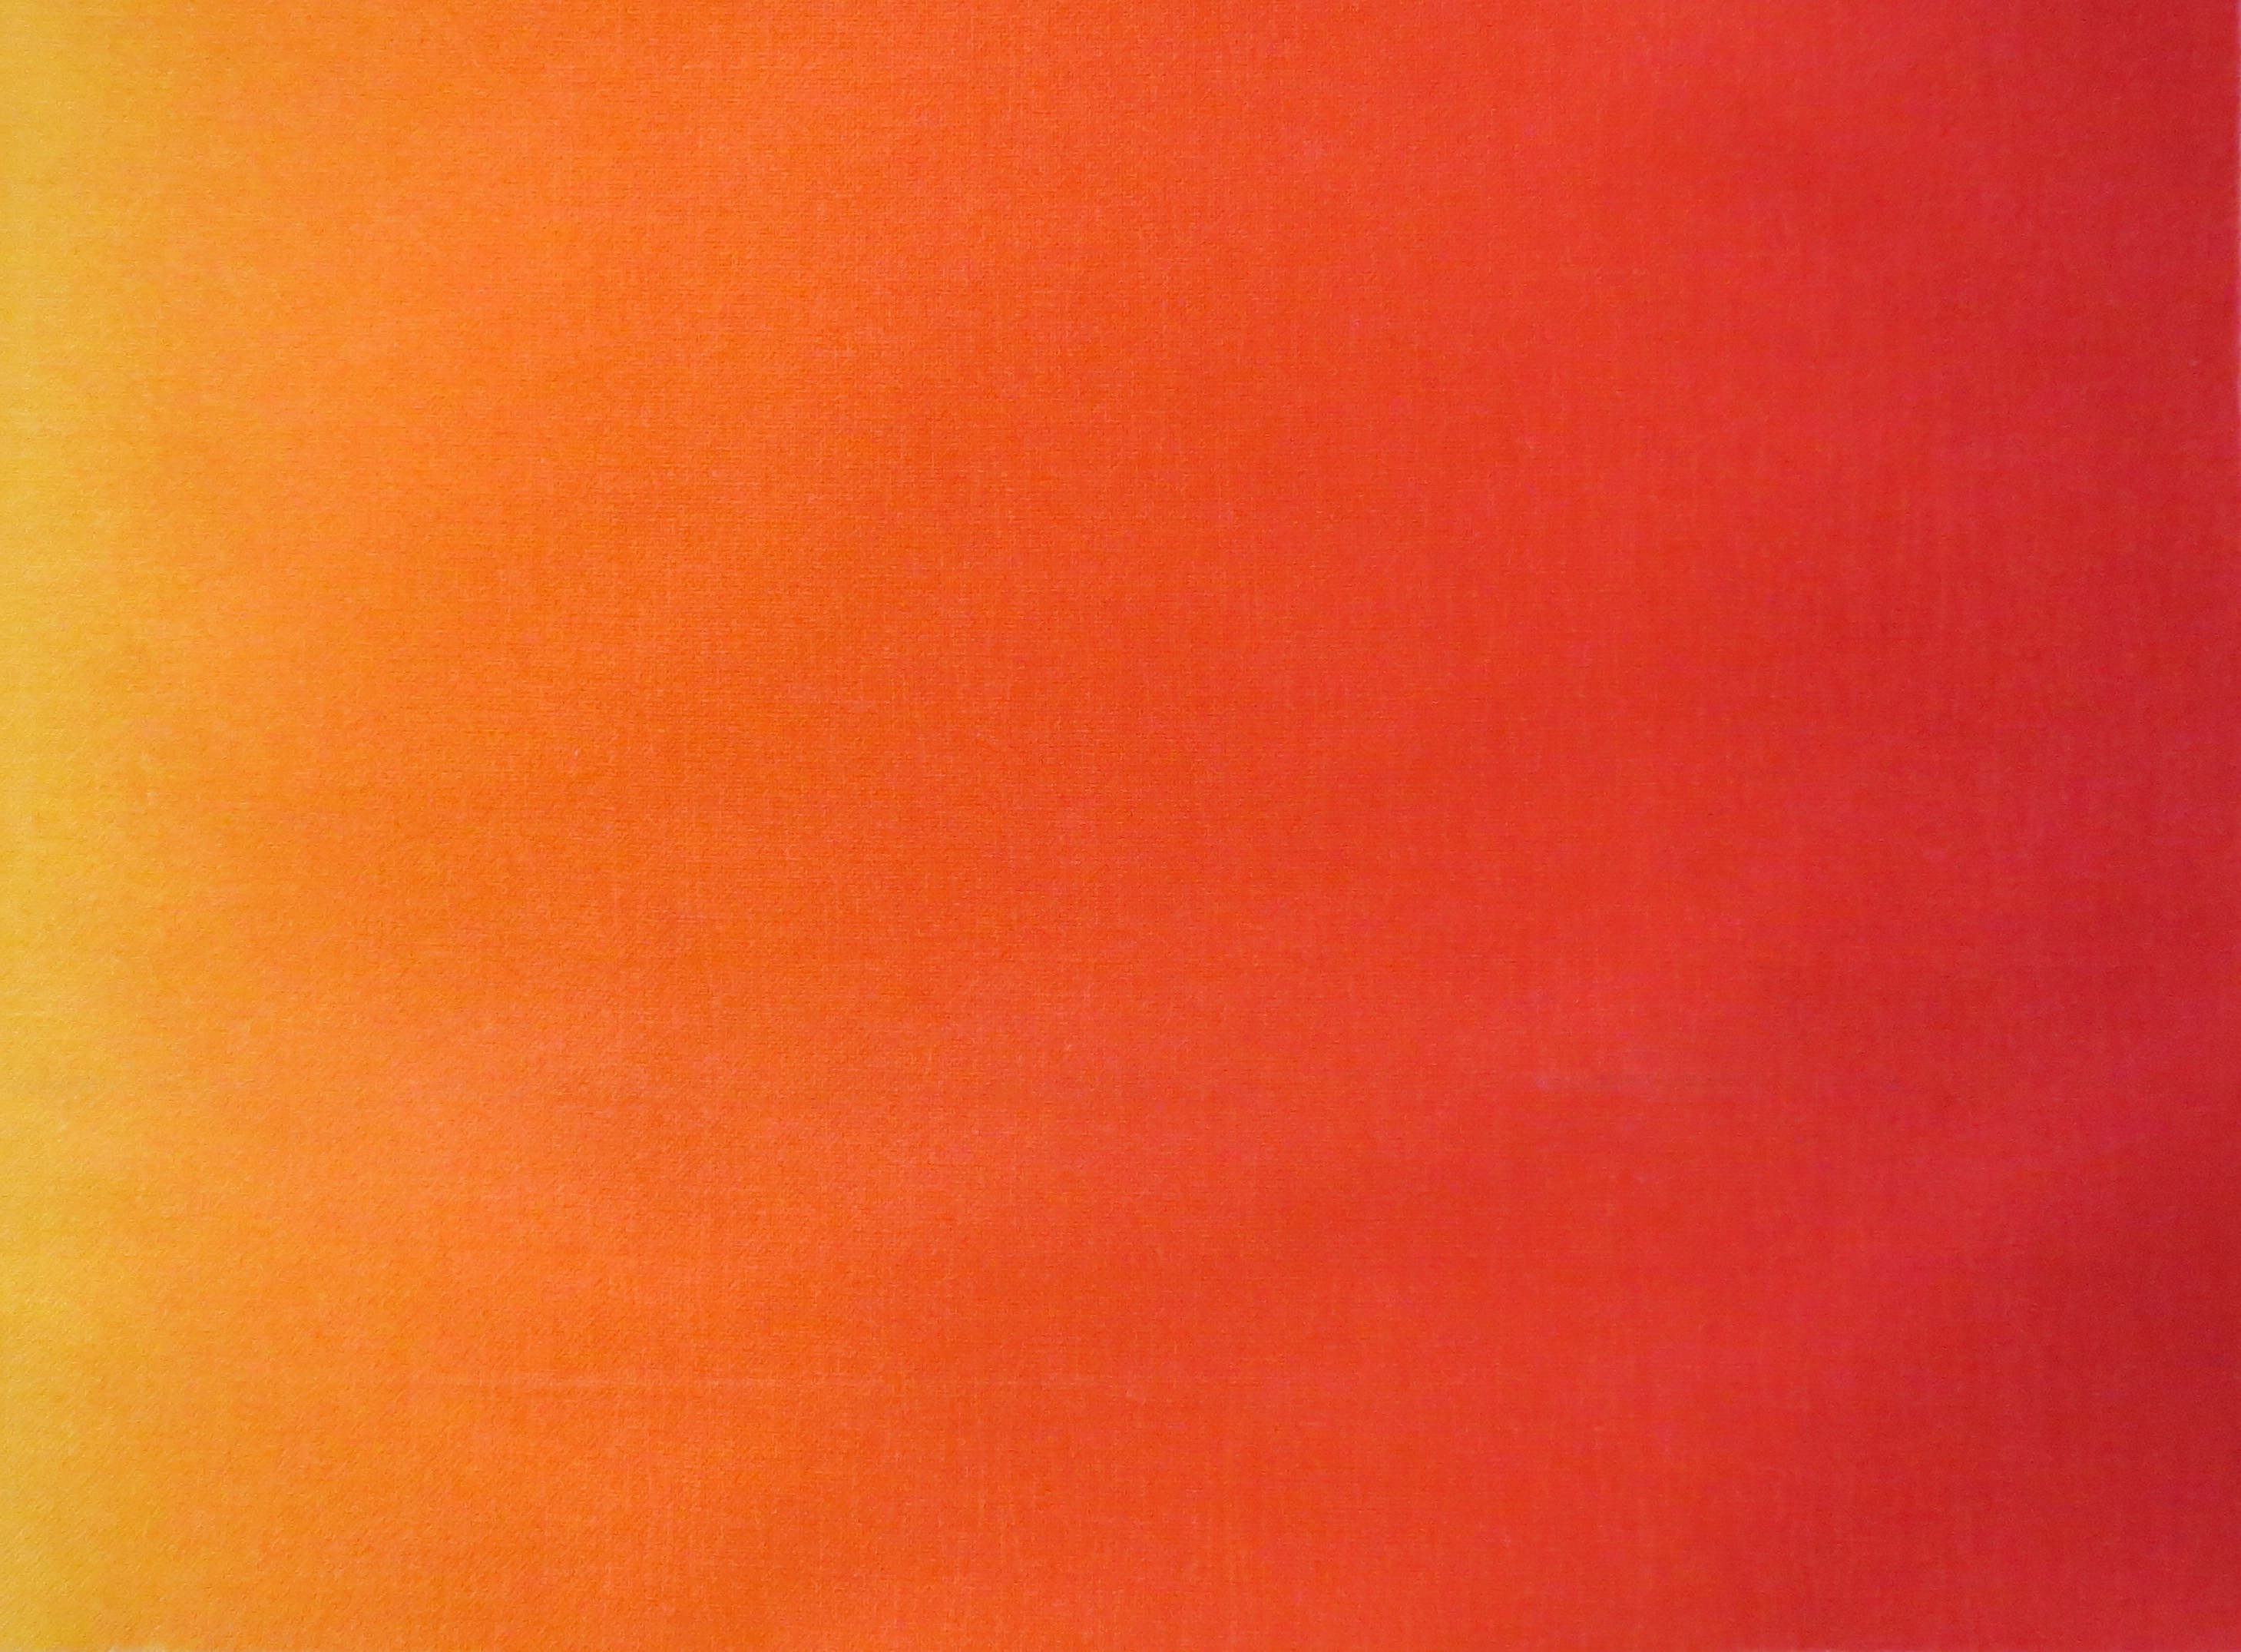
And I tried again the next day and found I was more comfortable with the technique, and was able to do it more quickly and got slightly better results:

Spheres colored with melted crayons - second try

Spheres colored with melted crayons – second try

After completing the coloring, I placed a paper towel over top of the shapes and ironed them to remove any residual color.  Then I washed them in hot soapy water; none of the color came out.  As always, your results may be different so be sure to run your own test and make sure this process is suitable for your particular project.

I also tried a couple of other techniques for coloring the spheres.  When I was colored white fabric as shown above, I got the best results with the crayon technique.  For colored or dark fabrics, I got better results using Shiva Paintstiks (opaque solid oil paints).

I tried some liquid fabric paints also but didn’t get very good results.  I suspect that has more to do with my lack of skill than with the products.

I recently did a project using the Shiva Paintstiks and will be putting up a post about that project next week.  Lots of details and step by step photos in that post, so I am not going to say much else about it here.

The melted crayon technique has some nice advantages.  You can have a full range of colors for the modest price of a big box of crayons.  A small project can be completed quickly with little cleanup since the color is applied with paper – so no brushes to clean.    A second or third color can be layered on top of the first one immediately.  The color is dry right away – no waiting until the next day or several days for the paint to dry.

Here is the link to the video for any of you who are interested:  https://www.youtube.com/watch?v=VJN41E2Akto  .

My friend Charlie, who also took the class, provided a link to a blog post by another quilter, with great photos and useful information about the technique.  I have tried to put the link here, but for unknown reasons it won’t work.  I don’t know why I can get to the link from my email or from a google search, but not when I post it here.  So I can only suggest you also do a google search for “Quilt Whimsy blogspot melted crayons” and it should come right up.  I found it helpful to read this blog post after watching the video; it sort of reinforced the details and I could study the photos more carefully to make sure I understood the process.  The video and blog show using this technique on an apple and a leaf, and used multiple colors to get a very realistic look.  Terrie Kygar, who did the video, also has written a book about the technique, available through Amazon here: Creative Quilts from Your Crayon Box: Melt-n-Blend Meets Fusible Applique

Marking tools for dark fabrics

Recently I posted about removing white marks left from Frixion pen marking on dark fabrics.  I mentioned that I would be discussing other marking tools in the future.  The two tools I am reporting on today are the Sewline Fabric Pencil and white dressmaker’s chalk.

The Sewline Fabric Pencil comes in two versions – a single color version and a three-color version, where all three colors are inside the same holder. The lead can be purchased separately so the pencils can be refilled, and the lead never has to be sharpened. The colors available are white, pink, and black (more of a dark grey).

Sewline pencils and marks with the three colors of "lead"

Sewline pencils and marks with the three colors of “lead”

These pencils come with an eraser, and here is what the marks looked like after I erased them in the center.  The white and pink came off reasonably well, but the black did not.

Marks after using the eraser

Marks after using the eraser

I then washed the fabric with dishwashing detergent and water and dried it.  With some scrubbing, the lines all came off.  So these markers do the job.  I don’t like the idea of having to scrub my quilt, but at least the marks can be removed.  And the light colors came off most easily.

Sewline marks washed away

Sewline marks washed away

The other marking tool I have tested is white chalk. Dressmaker’s chalk comes in several forms, but the kind I am using today is the flat square shape, curved on the sides.  It comes in several colors also, but the white is most easily removed so I don’t recommend the other colors.  There is also an artist’s chalk in pencil form ( the Ultimate Marking Pencil) I recently purchased, as shown in the photos below.  Marks from both these kinds of chalk can be ironed away, as I will show you.  Warning: there are other chalks labeled “dressmaker chalk” on the market.  Some of them will not iron away.  As always, test before using on your quilt!

Here are the chalks I am testing today:

Chalk markers

Chalk markers

Here are the marks made by these tools:

White chalk marks

White chalk marks

And here is what the fabric looks like after ironing:

And the chalk marks disappear with ironing

And the chalk marks disappear with ironing

It’s magic!  The white chalk does not leave as fine a line as the Sewline markers or the Frixion pens I reviewed in an earlier post.  But if you can live with the thicker line and the need to sharpen the chalk marker from time to time, it is a great solution because it can be removed so easily.

You will probably find the Sewline markers at your local quilt shop, and the flat dressmakers chalk at your local sewing/craft store.  The chalk pencil will probably have to be purchased at an artist’s supply store.  If you can’t find these locally, here are some links to Amazon where they can be purchased:

Sewline White Fabric Pencil

Sewline Fabric Mechanical Pencil Trio By The Each

Ultimate Marking Pencil-White

Dritz Tailor’s Chalk and Holder

Completing Binding Corner Folds Greater Than 90 degrees

Recently a member of my quilt guild asked about binding corners greater than 90 degrees.  Although the technique for doing so is the same as other angles and  is covered in my book Fast Fabulous Quilt Bindings, I did not show any specific drawings or photos for these oblique angles, so I worked through a sample and am going to show the steps here.  This type of angle is fairly common, especially on tablerunners, so many quilters have encountered it.

Here is the mocked up quilt sandwich angle we are working on.  I didn’t bother to actually make up a quilt, just used a couple of scraps with batting in between.  If you are trying this for the first time, you can quickly make a practice piece like this to gain confidence in the technique.

135 degree quilt corner

135 degree quilt corner

I also cut a 2 inch wide strip for the binding and pressed it in half lengthways.  I started stitching it on and then stopped to figure out the best way to mark the corner without special drafting tools.

The simple way to do this is to make a diamond-shaped template.  In this instance, making it out of paper rather than template plastic is best because you need to fold it in half to get the marking angle.  Use your wide ruler to make the diamond shape.  My example here is a 135 degree angle, but the method will work for any other oblique angle.  Hopefully you will only use 120, 135, or 150 degree angles, because these can all be created using the 30, 45, and 60 degree lines on your wide ruler.

Diamond shaped marking template

Diamond shaped marking template

Once you have the diamond shape, fold it in half the long way.  This gives you a template to mark the center of the oblique angle.  Line up the fold line with the bend in the quilt at the corner.

Fold the template in half to mark corner

Fold the template in half to mark corner

Mark the center line as shown in the photo below, where the template has been moved away from the corner to show the line.

Marked line at the corner

Continue attaching the binding until you reach the marked line.  Backstitch a couple of stitches.  Remove the quilt sandwich and binding from your sewing machine.

Flip over the loose binding and line it up with the next side of your quilt, as shown in the photo below.  Pin the fold in place.

Flipping over the binding at the corner

Flipping over the binding at the corner

Then fold the binding over.  The fold should be at the corner as shown.

Fold over the binding, keeping the fold at the quilt corner

Fold over the binding, keeping the fold at the quilt corner

Stitch the second edge down and continue to attach the binding around your quilt.

Stitch the second edge, backstitching to the corner and then going forward

Stitch the second edge, backstitching to the corner and then going forward

After you have stitched down the whole binding and joined the ends, sew the binding fold down by hand with a blind hem stitch in the usual manner.  The corners are mitered in the usual way. Details about how to hand sew the corners are shown in my book so I will not repeat them here.

Completed 135 degree corner

Completed 135 degree corner

Paper for Foundation Piecing

Just a quick post to tell you about a “new” discovery. Most of you know how hard it is to use regular (20, 22, or 24 lb) copy paper for foundation piecing patterns.  The paper just won’t tear away cleanly after stitching and you end up using tweezers to get all the little paper bits off your quilt block.

I have been using 16 lb newsprint for the foundation piecing patterns in my Mariner’s Alphabet Pattern.  It is fairly hard to come by in 8 1/2 by 11 sheets; the only place I have found was through an online order at Office Depot. The newsprint is great at tearing off after stitching, but I have some trouble with it not feeding through my printer properly.  About 5 % of the time multiple pages will feed through at once.  So when I print out a bunch of patterns to sell through the local shops, I have to watch the printer very carefully and double check every pattern to ensure the set of patterns is complete.

Ginny Hillsberg at Uptown Fabrics in Port Townsend is using 16 lb copy paper for this purpose.  Last time I was in her shop, she handed me a stack of it and suggested I try it out.  It feeds through my printer nicely (so far) and the patterns print well.  I tested stitching through it and tearing off the paper; that worked well also.  It is slightly harder to tear than the newsprint, but tore cleanly with a  stitch length  of about 1.5 mm.  I like to use a fairly  short stitch length on foundation piecing  because the seams are less likely to start coming undone at the ends, so I haven’t tested the paper with a regular stitch length.

Once I use up the reams of newsprint I bought last year, I will definitely be switching over to the 16 lb copy paper.  If you can’t find it locally, here is a link to Amazon where it can be purchased:  X-9 Copy Paper, 92 Bright, 500 Sheets/Ream, 8 1/2″ x 11″, 16 lb..  It is also available online at OfficeMax, if you happen to shop there.  Not sure if they stock it in their stores or not.

Make a circle marking tool from template plastic

I frequently need to mark circles, either on freezer paper, fusible web, or directly on fabric.  I have a couple of circle marking drafting tools that usually meet my needs.  Recently I had the students in my beginning machine quilting class marking concentric circles as a quilting pattern.  I only had one large circle template with me and it was a little confusing to use (hard to see what circles on it were the right ones).  A compass could be used but I always have trouble getting them adjusted to the right radius – and by the time I have gotten around the whole circle, the compass has slipped and my circle ends don’t match up. I have been thinking about how to solve this problem when the solution suddenly came to me today.  Fortunately I had everything to make this at home, so in ten minutes I had a great circle marking tool!

The supplies needed are:  template plastic (I used gridded, but plain will also work), a 1/16th inch hole punch, a thumbtack, an old pencil eraser, and a marking pen with a fine point like a Frixion (for temporary marks) or an ultrafine Sharpie  (for permanent marks).  You will also need to cut your template plastic with your rotary cutter or scissors, and a short piece of tape.

The hole punch I used is one I purchased at my local craft store.  It is made by Fiskars and is shown in the photo below.  I bought this after it was recommended for use with templates by Sally Collins (well known for her incredible precision piecing and miniature quilts).  Sally punches holes at the seam allowance intersections of her templates so she can mark where to start and stop stitching.  In case you can’t find the hole punch locally, here is a link to buy it on Amazon: Fiskars 12-23508897 Hand Punch, 1/16-Inch, Circle

Fiskars 1/16 inch hole punch

Fiskars 1/16 inch hole punch

The size of your template is up to you; I cut a piece of template plastic about 1 inch wide and 8 inches long.  Then I used the hole punch to make holes every inch.  I used a Sharpie to draw a circle around each hole so I could see them easier, and also to mark the dimensions.  At the top of the photo you can see the eraser I will be using later.  The eraser came out of a supply of eraser refills I have for a mechanical pencil, but you can probably find something else to do the job if you don’t have one.

Circle marking template and eraser

Circle marking template and eraser

Then I put a small thumbtack through my fabric at the center of my circles, from the back.  After mounting the thumbtack, I taped it in place as shown in the second photo.

Thumbtack through center point on back of fabric

Thumbtack through center point on back of fabric

Tape over the thumbtack on the back

Tape over the thumbtack on the back

And here is the centered thumbtack from the front:

Thumbtack through center from the front

Thumbtack through center from the front

And the marking template mounted on top of the thumbtack, with the eraser put on top to hold the template down.

Circle marking template mounted on thumbtack and held in place with eraser

Circle marking template mounted on thumbtack and held in place with eraser

Then insert the pen point through one of the other holes for the size circle you want, and carefully draw the circle.  Make sure the fabric stays flat.  If you were concerned about the fabric moving, you can use a gripping mat such as a Good Grip or iron the fabric to freezer paper or Totally Stable on the back side before you start.  Probably you don’t need any of that if you just mark carefully and slowly.

Here is what it looks like in use:

Marking template in use with Frixion pen

Marking template in use with Frixion pen

I am pleased with this simple tool.  Template plastic is great stuff!  You can find it at your local quilt shop or craft store, or buy it online.  Here is a link to the kind I use at Amazon, in case you need more details about template plastic: EZ Quilting 882670027 Quilter’s Template Plastic Assortment, 6-Piece

Frixion pens – removing white marks

Many quilters are now using Frixion™ pens, made by Pilot, for marking quilts.  These pens make a nice thin dark line that is very visible.  The pens are fairly long-lasting. The ink is heat sensitive and disappears on light fabrics after heated with an iron.  As the manufacturer warns you, the marks will come back in very cold temperatures and then must be removed again through ironing or rubbing.  Most likely you can find these pens at your local quilt shop, or at office supply stores.

Unfortunately there are a couple of disadvantages.  The first is that the pens only come in dark colors, so they are not suitable for marking very dark fabrics.  The second is that, when used on a medium to dark fabric, heat will remove the dark line but leaves a white line instead.  As long as you will be stitching on top of the mark, the white line is not very visible.  Of course I started using the pens for marking a quilt top and made a mistake, putting a mark someplace I did not want to quilt.

So, how to remove the mark?  I visited the Pilot pen website and found some information about the Frixion™ ink and how it works.  The website advised using hair spray to remove ink marks.  I tried that but it was not successful.  So I called the customer service number and was told to use an ink remover called Amodex™, which I purchased through Amazon since it was not available in my local stores.  If you want to purchase it, here is a link to Amazon where I purchased a 4 ounce bottle: Ink and Stain Remover, 4 oz., White   .  It comes in other sizes too.  The actual seller is not Amazon, but one of their third party vendors.

This ink remover works well.  Some gentle rubbing with a brush is necessary to get the marks out, so don’t expect instant results.  Amodex is claimed to remove even permanent black ink such as a Sharpie™ pen, but I haven’t experimented with that.  Below are my photos showing my test.  I found that the marks were removed both before and after ironing, but it was easier to get them out after ironing so that is what I will do in the future.

I drew several lines on two squares of medium green fabric, as shown below.

Lines marked with Frixion pen

Lines marked with Frixion pen

Then I ironed half of the lines on one of the squares.  White marks show on the left and the unironed marks are on the right.

marks on left side ironed away leaving white lines

marks on left side ironed away leaving white lines

I put the Amodex™ (which is fairly thick, like hand lotion) along the lines and rubbed briskly with a stiff stencil brush.  The photos below show the result while the fabric was wet on the unironed square.

Amodex rubbed in over the left (unironed) marked line

Amodex rubbed in over the left (unironed) marked line

I then washed the squares with a little dishwashing detergent in water, rinsed and dried them.  As you can see, the marks are gone.

unironed mark on left removed by Amodex, washed and dried

unironed mark on left removed by Amodex, washed and dried

And the removal of the ironed marks was even easier.  Two of the lines have been removed with Amodex, two have been left as white lines, and the others are the original unironed lines.

two lines of left removed with Amodex; two lines in center ironed but not removed; original line on right

two lines of left removed with Amodex; two lines in center ironed but not removed; original line on right

This is more work then I would normally want to do to remove marks, but it is nice to have a way to get rid of them if necessary.   If you are going to use this product, be sure to test it on a scrap of your own fabric first before depending upon it to remove the marks in a completed quilt.  Just because it worked in this test for me doesn’t mean it will work every time!

I am also experimenting with another marking tool for application to dark fabrics that is a form of chalk.  More about those results in another post!