Tag Archives: art quilts

Mosaic Patchwork, English Paper Pieced Quilts Show in Colorado

A couple of months ago I saw an announcement that the Rocky Mountain Quilt Museum in Golden, Colorado is having a juried show this fall of English Paper Pieced Quilts.  The quilts  must be at least 75 per cent paper pieced.  Since I made such a quilt a few years ago, I read the requirements carefully and convinced myself that my quilt would qualify.  I submitted an entry, and last week was delighted to hear that my quilt has been accepted into the show.  There is a photo of the quilt in my gallery, but I took a better photo for the submittal, and here it is:  “Best Wishes From The Far East”:

This quilt is pretty large – the hexagons are six inches.  The Chinese characters are made from Ultrasuede and are machine-appliqued. The quilt is hand quilted.

The quilts will be exhibited in the Museum (located at 200 Violet Street, Suite 140, Golden, CO) from October 21, 2019 to January 18, 2020.  There is an opening reception Friday, October 25 from 6-8 pm.  I would love to go but it’s a long way; maybe I will think up another reason to be in the area!

And coincidentally, I just finished another English Paper Pieced Quilt with a modern vibe:


Still thinking about what to call this one.  It wouldn’t have qualified for the show since it isn’t 75 per cent paper pieced.  The fabrics are all Moda Grunge.  Hexagons are 3 1/2 inches .  The quilting is by machine.


Contemporary Swiss and European Patchwork

A major part of my recent trip to Europe was participation in a family reunion in Neuchatel, Switzerland.  While there I had a discussion with Caroline Junier, a cousin (I think we have the same great-grandfather, if I have kept my family history straight), who until recently worked for the Neuchatel Museum of Art and History.

Naturally we discussed quilting and I showed Caroline some photos of my quilts.  She explained that there is a very active quilting (they call it Patchwork in Europe) community in and around Neuchatel.  In fact she believes it is the largest such community in Switzerland.  In her capacity at the Museum, she was very involved in putting together a number of quilt exhibitions.  She offered to provide me with the catalogs from three of the exhibitions, and delivered them to me at my hotel the next day.

I was very impressed with the quality of both the quilts and the catalogs, which are beautifully done.  Funding support for the exhibitions and the catalogs (if I am translating the French correctly) was provided by Bernina (our sewing machine friends), Loterie Romande (I don’t know who they are but it sounds like a Lottery), and Migros (big grocery store chain in Switzerland).

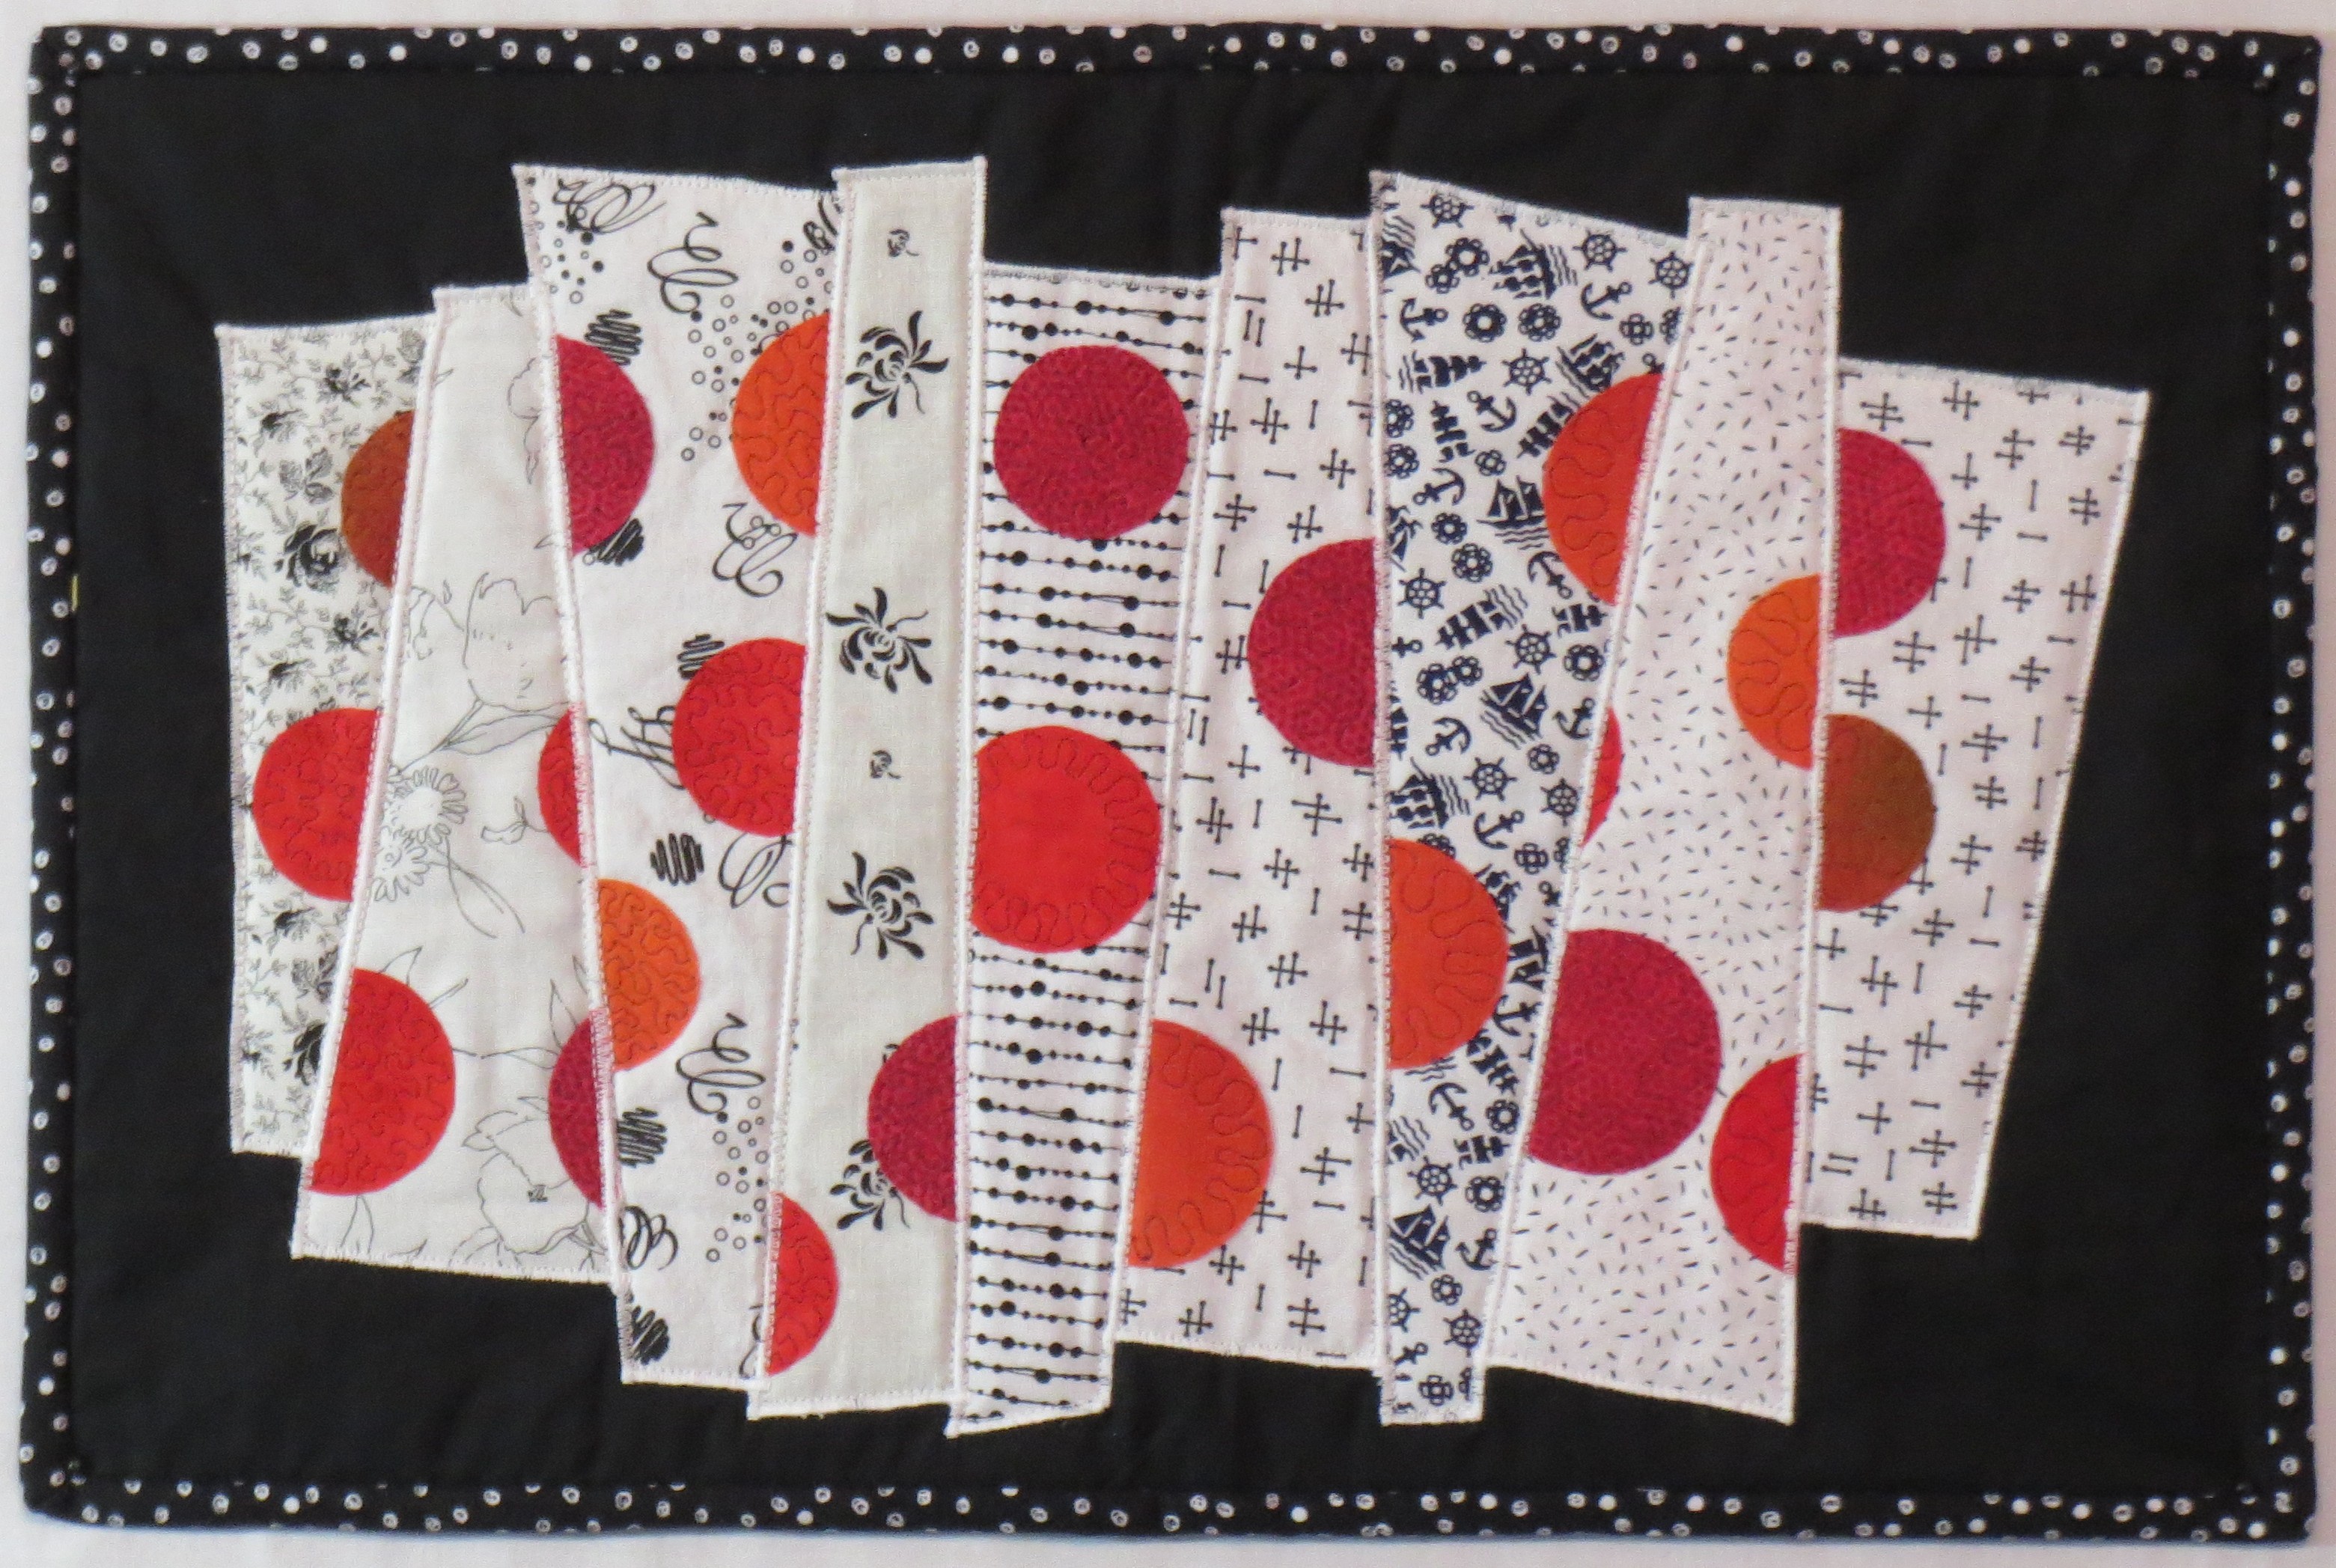
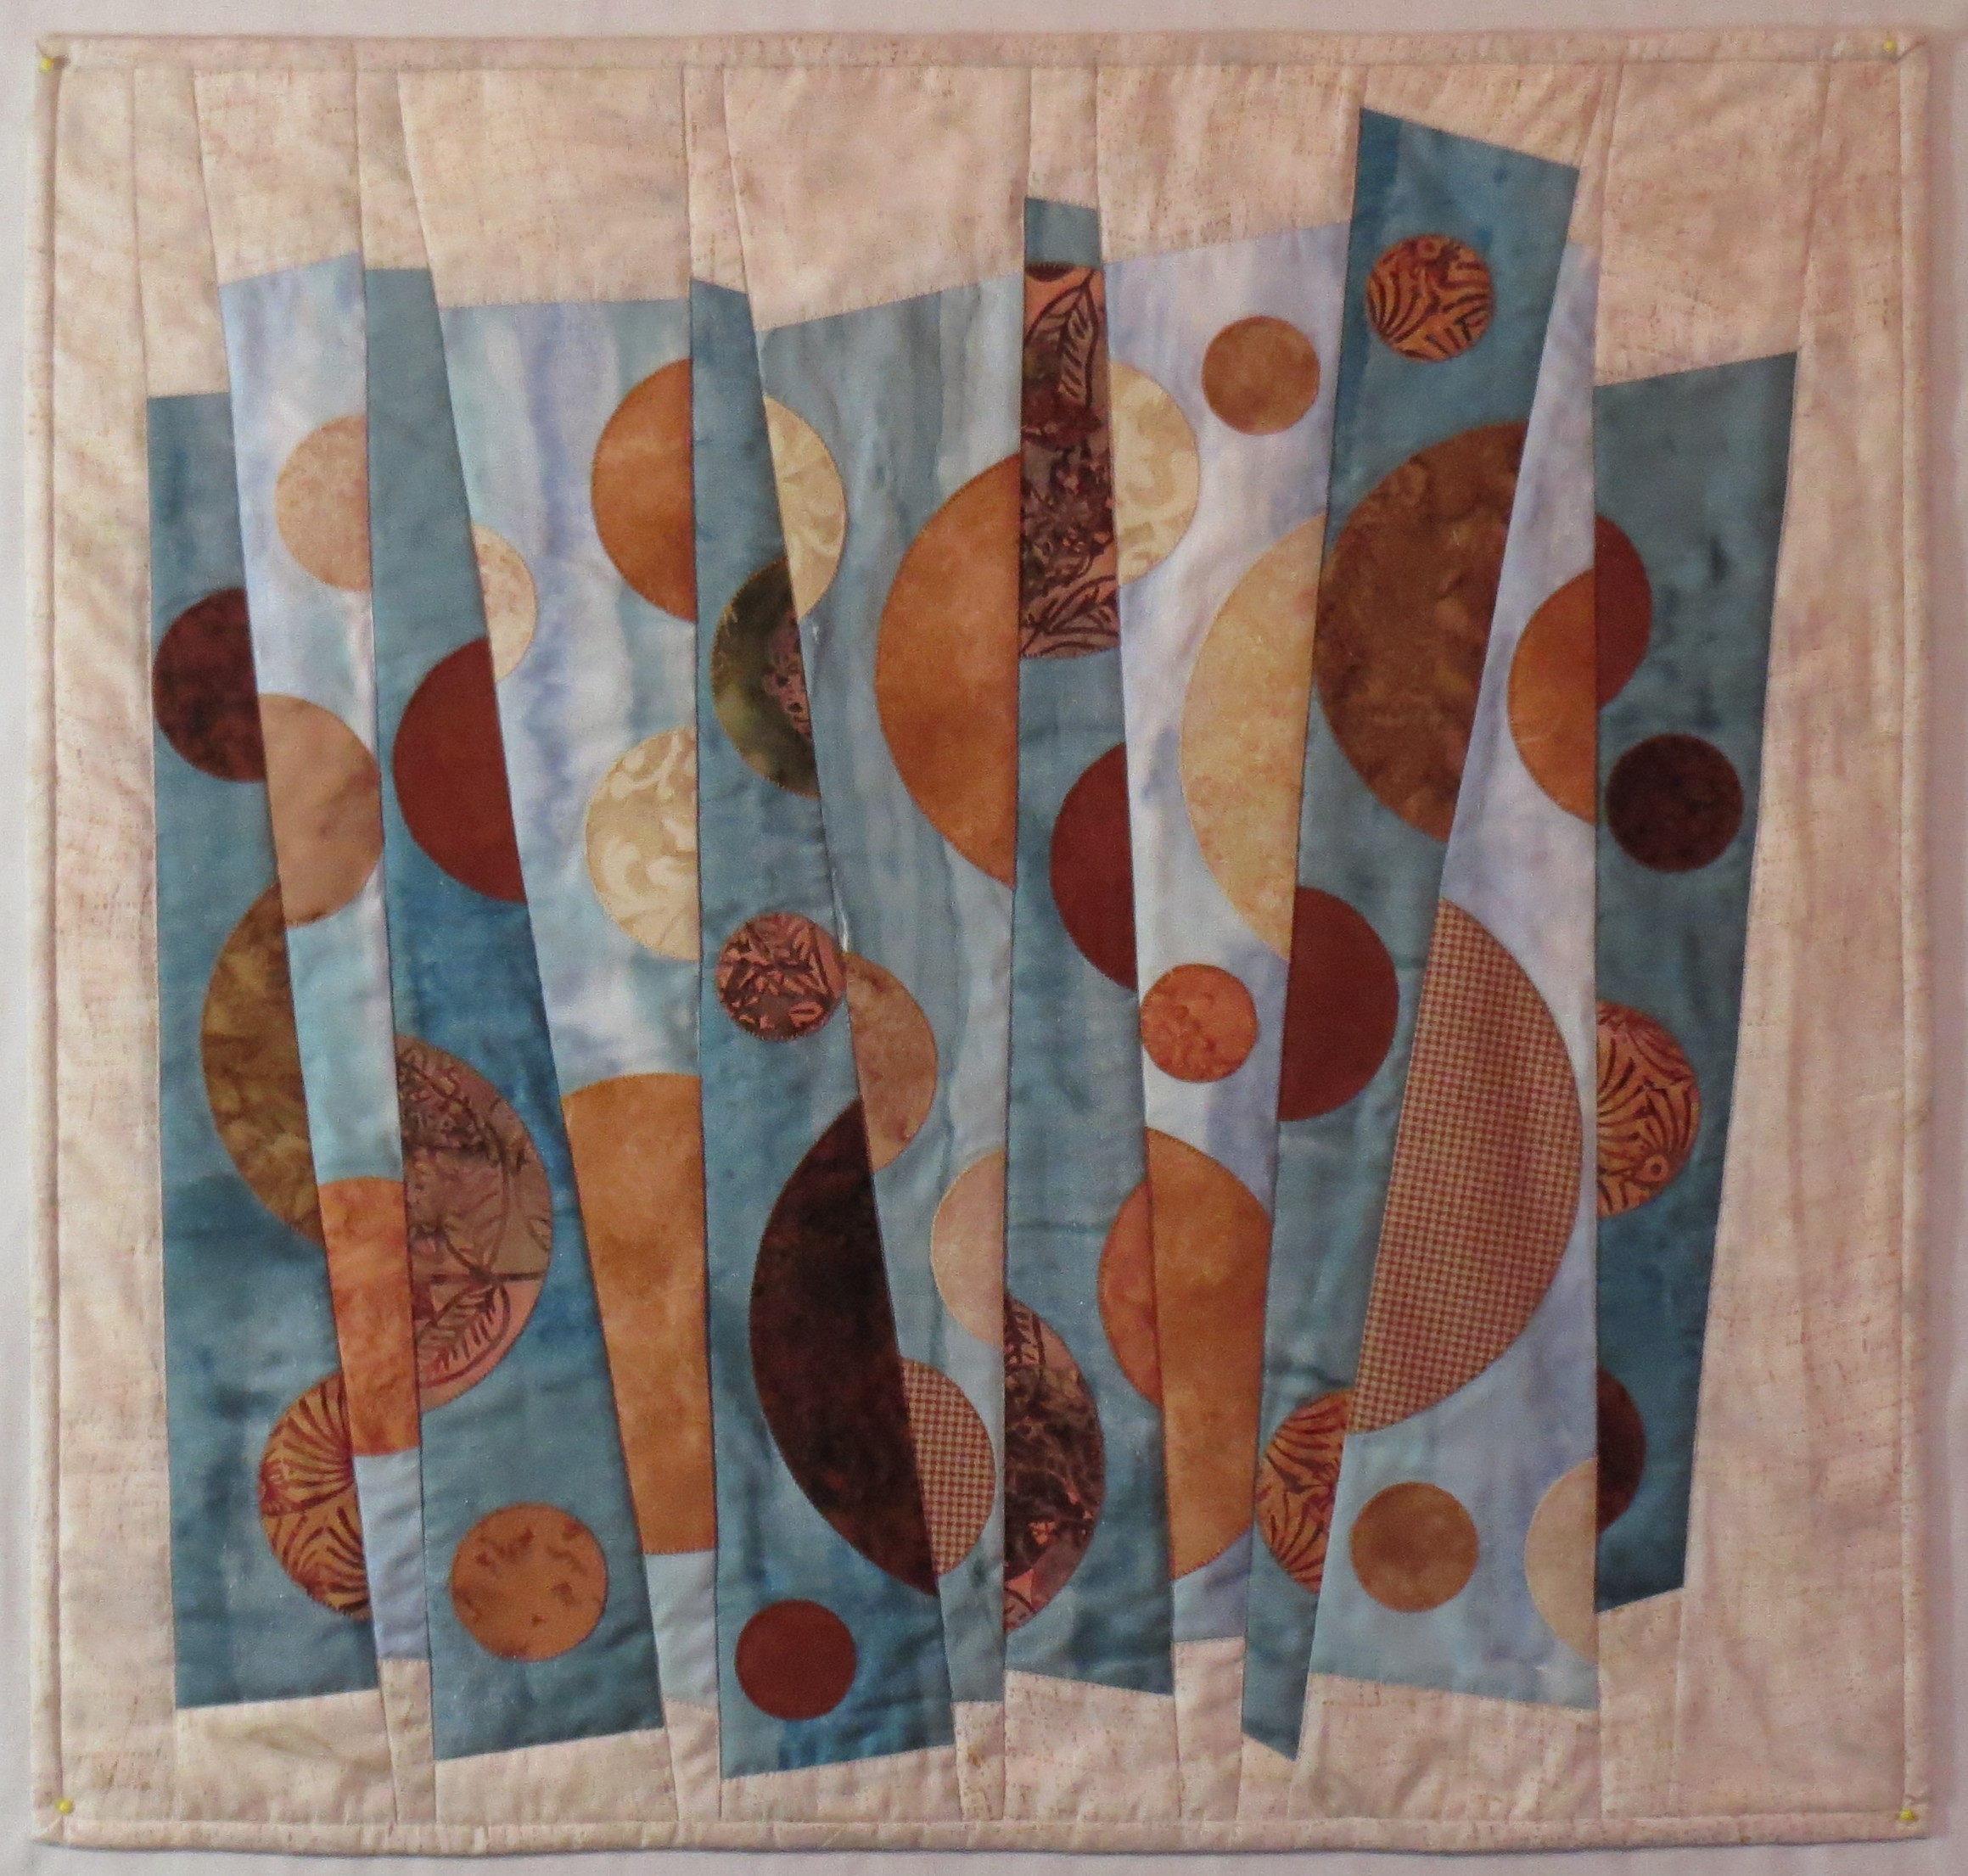
I have shown the catalogs to several members of my quilt guild and they enjoyed seeing them very much.  I wish I could show you photos here, but of course the images are copyrighted.  I include some web links and names below where you can see some of the work.

The following is a translation of the introduction to the catalog by some of the organizers.  I first used Google translate to get this from the original French to English, and did some fairly loose intrepretation so that it would make sense.  My apologies to anyone I may offend by my errors in translation!

“After having organized three exhibitions of contemporary patchwork of national importance in 1986, 1989 and 1993, Neuchatel Museum of Art and History once again wishes to show Patchwork to a wider audience, as well as how the assembly of textile elements has evolved and has become a means of art expression  in its own right in Switzerland and Europe.

Caroline Junier, curator of the department of applied art of the Museum of Art and History in Neuchatel, has organized this new exhibit, EXNA 4 in 2010. For her availability, expertise and usual dynamism, as in 1993, we are very grateful.

We are grateful to the jury who, thanks to their skills and knowledge in the contemporary art world, with impartiality selected fifty-two works from those presented in the contest.

We also thank the forty-one invited artists- among the best in Europe – who responded eagerly to our request and have enabled the exposition to present their works in the unique format selected: 35 by 35 cm.

by Maryline Collioud-Robert, Lucienne Hool, and Zibull Masson”

I have tried to find a good link to photos of the included quilts and failed to find more than a few photos.   You can find them yourself by searching for “EXNA 4 Patchwork Contemporain Suisse & Europeen”.  One of the organizers, Maryline Collioud-Robert, has a web site and blog.  She had three quilts in the show and shows these and others of her quilts at her blog: http://www.marylinecollioudrobert.com/en/Home.html .

Other quilters with multiple quilts in the show and current web presence were :     Beata Keller-Kerchner, Cecile Trentini, and Malou Zryd.  You can find some images of their work by typing their names in to the usual search engines.  Nearly all the work is very contemporary, usually abstract, and visually striking. There is a lot of use of texture in the exhibit, much more so than in the earlier 1986 and 1993 exhibits for which I also have catalogs.

Completion of “Working In Series” quilts

I have completed six quilts in my Working In Series class, and will show all of them in this post.  The class was very challenging and I recommend it highly for any of you interested in producing more art quilts.  Again, the class is taught by Elizabeth Barton through the Academy of Quilting (www.academyofquilting.com) .

Here are the quilts, in the order I completed them.

1.  Blue spheres.  The background is hand painted.  A variety of white on white fabrics were used for the strips.  The spheres started with circles in several blue and green fabrics.  The shading was produced with a white Paintstik (see earlier post for details).

Blue Spheres

Blue Spheres

2. Purple circles.  Deep purple background fabric, lavender strips (some hand painted), and a variety of purple circles.

Purple on Lavender

Purple on Lavender

3. Purple circles on yellow strips.  Half the yellow strips were painted with a diluted brown paint to darken them slightly to add more depth.  The background is dark purple.  A variety of purple and blue fabrics were used for the circles.

Purple on Yellow Strips

Purple on Yellow Strips

4. Black and white and red.  Black background fabric,  A variety of black and white prints for the strips.  Red-orange circles.

BLack and white strips with orange red circles

BLack and white strips with orange red circles

5. Blue, tan, and red.  Here circles were cut out of the original circles.  I like this idea and want to explore it further.

Blue tan and red

Blue tan and red

6. Cream, Blue gray and brown.  The blue gray strip fabric was a handpainted piece left over from a previous fabric painting class taught by Michelle Scott.


Cream BlueGray and Brown

Cream BlueGray and Brown


I can think of many ways to explore this theme further, and look forward to doing so in the future.

Coloring fabric with melted crayons

In the online class I am taking at the Academy of Quilting, I was puzzling over how to shade some circles to make them look like spheres.  One of my fellow students provided a link to a video and suggested I try the “melted crayon” technique.  I watched the video and got interested enough to try it.  I am going to put some of my results here.  At the end of this post I will provide links to the video and to a blog post that provides more details.

This technique doesn’t require any expensive investment.  You probably already own most of what you need.  I plan to use this technique for art quilts; the resulting color seems to be reasonably permanent but I would run a sample piece through the washer and dryer several times before I used it on a regular quilt.

Here is what you need:  your fabric (probably a high thread count white or very light fabric, such as Pimatex) and whatever fusible web you normally use; an applique pressing sheet – one intended for use when you are building up a multiple-piece fusible applique (the fusible is  ironed down to this sheet, but can then be peeled up and ironed permanently onto fabric); a box of crayons; some paper napkins; a roll of paper towels for cleanup; and a hot dry iron.  If you are not familiar with applique pressing sheets, you may find one at your local quilt or craft store or here is a link where you can buy one on Amazon: Bear Thread Applique Pressing Sheet .  This is a link to the smaller, less expensive one (About $12).  There is also a bigger one for about twice as much, and there are other brands as well.  This just happens to be the brand I have and it works well for me.

Here is the process, briefly.  You draw whatever shape you intend to use for the applique on the paper side of the fusible web.  Then apply the fusible web to the wrong side of your fabric following the manufacturer’s directions.  Cut out the applique shape.  Press the applique shape onto the applique pressing sheet.  You then use the iron to get the applique shape AND the applique pressing sheet very hot.  You grab a crayon and rub it on the hot pressing sheet.  This makes a little “puddle” of color.  You then pick up the color with the tip of a folded paper napkin and transfer it to your applique shape.  Like magic, you have “painted” your applique.  I am not going to provide more detail about the process because the links I am providing below give you all that.

Here are a couple of photos of the spheres I painted using this technique.

Spheres colored with melted crayons - first try

Spheres colored with melted crayons – first try

And I tried again the next day and found I was more comfortable with the technique, and was able to do it more quickly and got slightly better results:

Spheres colored with melted crayons - second try

Spheres colored with melted crayons – second try

After completing the coloring, I placed a paper towel over top of the shapes and ironed them to remove any residual color.  Then I washed them in hot soapy water; none of the color came out.  As always, your results may be different so be sure to run your own test and make sure this process is suitable for your particular project.

I also tried a couple of other techniques for coloring the spheres.  When I was colored white fabric as shown above, I got the best results with the crayon technique.  For colored or dark fabrics, I got better results using Shiva Paintstiks (opaque solid oil paints).

I tried some liquid fabric paints also but didn’t get very good results.  I suspect that has more to do with my lack of skill than with the products.

I recently did a project using the Shiva Paintstiks and will be putting up a post about that project next week.  Lots of details and step by step photos in that post, so I am not going to say much else about it here.

The melted crayon technique has some nice advantages.  You can have a full range of colors for the modest price of a big box of crayons.  A small project can be completed quickly with little cleanup since the color is applied with paper – so no brushes to clean.    A second or third color can be layered on top of the first one immediately.  The color is dry right away – no waiting until the next day or several days for the paint to dry.

Here is the link to the video for any of you who are interested:  https://www.youtube.com/watch?v=VJN41E2Akto  .

My friend Charlie, who also took the class, provided a link to a blog post by another quilter, with great photos and useful information about the technique.  I have tried to put the link here, but for unknown reasons it won’t work.  I don’t know why I can get to the link from my email or from a google search, but not when I post it here.  So I can only suggest you also do a google search for “Quilt Whimsy blogspot melted crayons” and it should come right up.  I found it helpful to read this blog post after watching the video; it sort of reinforced the details and I could study the photos more carefully to make sure I understood the process.  The video and blog show using this technique on an apple and a leaf, and used multiple colors to get a very realistic look.  Terrie Kygar, who did the video, also has written a book about the technique, available through Amazon here: Creative Quilts from Your Crayon Box: Melt-n-Blend Meets Fusible Applique

Pacific West Quilt Show 2013

Last week I volunteered at the Pacific West Quilt Show for the first time.  I would encourage all of you to volunteer at a major quilt show at least once.  I certainly appreciated the show more for having seen the effort involved.  Many of our well known local quilt instructors and authors were in attendance.  I  was impressed that these ladies, so busy  teaching classes, writing books, etc., would contribute so much time to the show.

I helped hang the quilts in the main exhibition hall on Thursday. Heidi Lund  was in charge of the quilt hanging and maintained amazing calm considering the chaos.  I took a wonderful class from Heidi a few years ago.  She is a real master with thread, and some of you may have seen her spectacular garments in wearable art shows.  In the morning I worked with Maggie Ball (www.dragonflyquilts.com   ) and another quilter named Val whose last name I didn’t learn.  They were a pleasure to work with and had hung the quilts before, so we made lots of progress.  Seeing the quilts up close and personal during the hanging (especially the backs of the quilts, mostly not visible during the actual show) helped us appreciate the incredible skills of the quilt makers.

On Friday morning I was at the volunteer desk, checking in the many volunteers working the show.  Susan Purney-Mark was in charge and did a great job directing the volunteers and solving the many small problems that came up.  Susan had taught a class the day before and said she volunteers for the duration of the show every year.  In the few quiet moments, she graciously offered advice about book publishing, blogs, etc.  I really enjoyed our conversation.  Check out Susan’s website,  ( http://www.susanpm.com  )  and her blog (www.susanpm.blogspot.com ) for some really interesting info on fabric painting, stenciling, coming up with original quilt designs, etc.

I am not sure if there are restrictions about publishing photos of other quilters work here, so I will include a couple of photos of my quilts hanging in the show and no others.  There were as usual many spectacular quilts.  I am always astounded by the amazing skill and patience shown by the makers of the winning quilts.  I expect there will be photos of the winning quilts available online fairly soon.

Fireballs Quilt at the Pacific West Quilt Show 2013

Fireballs Quilt at the Pacific West Quilt Show 2013

Leaves In The Wind at PWQS
Leaves In The Wind at the Pacific West Quilt Show 2013

My quilts from the show arrived back at my house on Tuesday about noon, so the quilt return process was conducted with the same efficiency as the rest of the show.  The judge’s comments on my quilts were included with the returned quilts and were both encouraging and helpful.  Congratulations to show director Elizabeth Spannring (www.plaidcat.com) and the rest of the team for all their great work!

New art quilts

I have finished a couple of little quilts I started in the art quilting class I took from Marilyn Belford last spring.  The first is a still life made using the Broderie Perse technique.  The background is a commerically made gradated fabric for the lower part and a light mottled print for the top. A lighter gradated fabric was used for the pear.

A fusible web was placed on the back of a rose floral print and the individual flowers cut out.  Leaves were cut from a green fabric, and a vase shape made from the black.  Then the pieces were arranged in a pleasing manner and fused down.   This process is fun and relaxed, since the pieces can be rearranged at will before fusing.  After fusing, the pieces were sewn down using free motion. A stabilizer was used on the back to keep the top from puckering during this stitching process.

Coordinating borders were added and the whole thing quilted. Walking foot quilting was used for the straight lines and free motion for the rest.

A rose floral arrangement made using the Broderie Perse technique.

A rose floral arrangement made using the Broderie Perse technique.

The second quilt is one that was a series of exercises in use of “negative space”.  Fusible web was placed on the back of a rectangle of green.  It was then cut up into smaller shapes, mostly rectangles.  The pieces were spread out on top of a blue print to leave gaps between.  I had to add a few additional small pieces to “fill in” the whole rectangle.  The pieces were fused down and stitched around the edges with a decorative stitch.

I then added the green border and did the binding in the blue print.  I wanted the binding to be a design element, so I cut 3 inch wide strips and sewed the binding on with a 7/16 inch seam allowance.  This results in a nice wide binding and the corners really miter into nice sharp points!  The rectangle and borders are done slightly asymmetrically – partly due to the placement of the cut up rectangle on the original piece of blue print.   I think it would have been better if I had either kept it all symmetric (cutting off some of the lower blue print) or made it more asymmetric, so that it looked more deliberate.  The quilting was all done with a walking foot.

A cut up rectangle demonstrates the use of negative space in a quilt design.

A cut up rectangle demonstrates the use of negative space in a quilt design.


Trunk Show and “Meet the Author” event August 7

As previously announced, I am doing a book signing/trunk show/demonstration event next week at Silverdale Quality Sewing and Vacuum.  This is a first time for me so I have spent a lot of time in the last few weeks gathering quilts, getting organized, etc.  This week the store put out a very nice promotional email, which I have reproduced below.  Contact the store directly via their website (www.QualitySewing.com)  or phone (360-692-2992) to sign up for the show.

Trunk Show and Signing Event Coming to Silverdale!

Would you like to learn how to free-motion quilt? How about doing a Prairie Point binding?
Come meet Shirley Sandoz, local author, quilt designer, and educator. Author of “Fast Fabulous Bindings” and “Super Swift Quilts,” plus numerous quilt design patterns.

We are fortunate to have Shirley in our Silverdale store August 7th to sign her book and give a demonstration, along with bringing a trunk show full of all her fabulous quilt designs.
Sign up early and receive a $5 shopping spree to use the day of the show.

Shirley Sandoz: Trunk Show & Signing Event Silverdale: Wednesday, 8/7, 10:00 AM to 1:00 PM

Quilt Museum links

I just received an email from our guild webmistress with a link to the Victoria and Albert Museum (in London, England) quilting section. They have some excellent material and it is well worth taking a look:

http://www.vam.ac.uk/page/q/quilts-patchwork-and-quilting/

And don’t forget the excellent resources at the International Quilt Study Center & Museum at Lincoln, Nebraska:

http://www.quiltstudy.org/

And the National Quilt Museum in Paducah, Kentucky

http://www.quiltmuseum.org/

All these places would be wonderful to visit. Fortunately they have some excellent resources online, so we can benefit from their work even if we can’t go visit.