
I frequently need to mark circles, either on freezer paper, fusible web, or directly on fabric. I have a couple of circle marking drafting tools that usually meet my needs. Recently I had the students in my beginning machine quilting class marking concentric circles as a quilting pattern. I only had one large circle template with me and it was a little confusing to use (hard to see what circles on it were the right ones). A compass could be used but I always have trouble getting them adjusted to the right radius – and by the time I have gotten around the whole circle, the compass has slipped and my circle ends don’t match up. I have been thinking about how to solve this problem when the solution suddenly came to me today. Fortunately I had everything to make this at home, so in ten minutes I had a great circle marking tool!
The supplies needed are: template plastic (I used gridded, but plain will also work), a 1/16th inch hole punch, a thumbtack, an old pencil eraser, and a marking pen with a fine point like a Frixion (for temporary marks) or an ultrafine Sharpie (for permanent marks). You will also need to cut your template plastic with your rotary cutter or scissors, and a short piece of tape.
The hole punch I used is one I purchased at my local craft store. It is made by Fiskars and is shown in the photo below. I bought this after it was recommended for use with templates by Sally Collins (well known for her incredible precision piecing and miniature quilts). Sally punches holes at the seam allowance intersections of her templates so she can mark where to start and stop stitching. In case you can’t find the hole punch locally, here is a link to buy it on Amazon: Fiskars 12-23508897 Hand Punch, 1/16-Inch, Circle
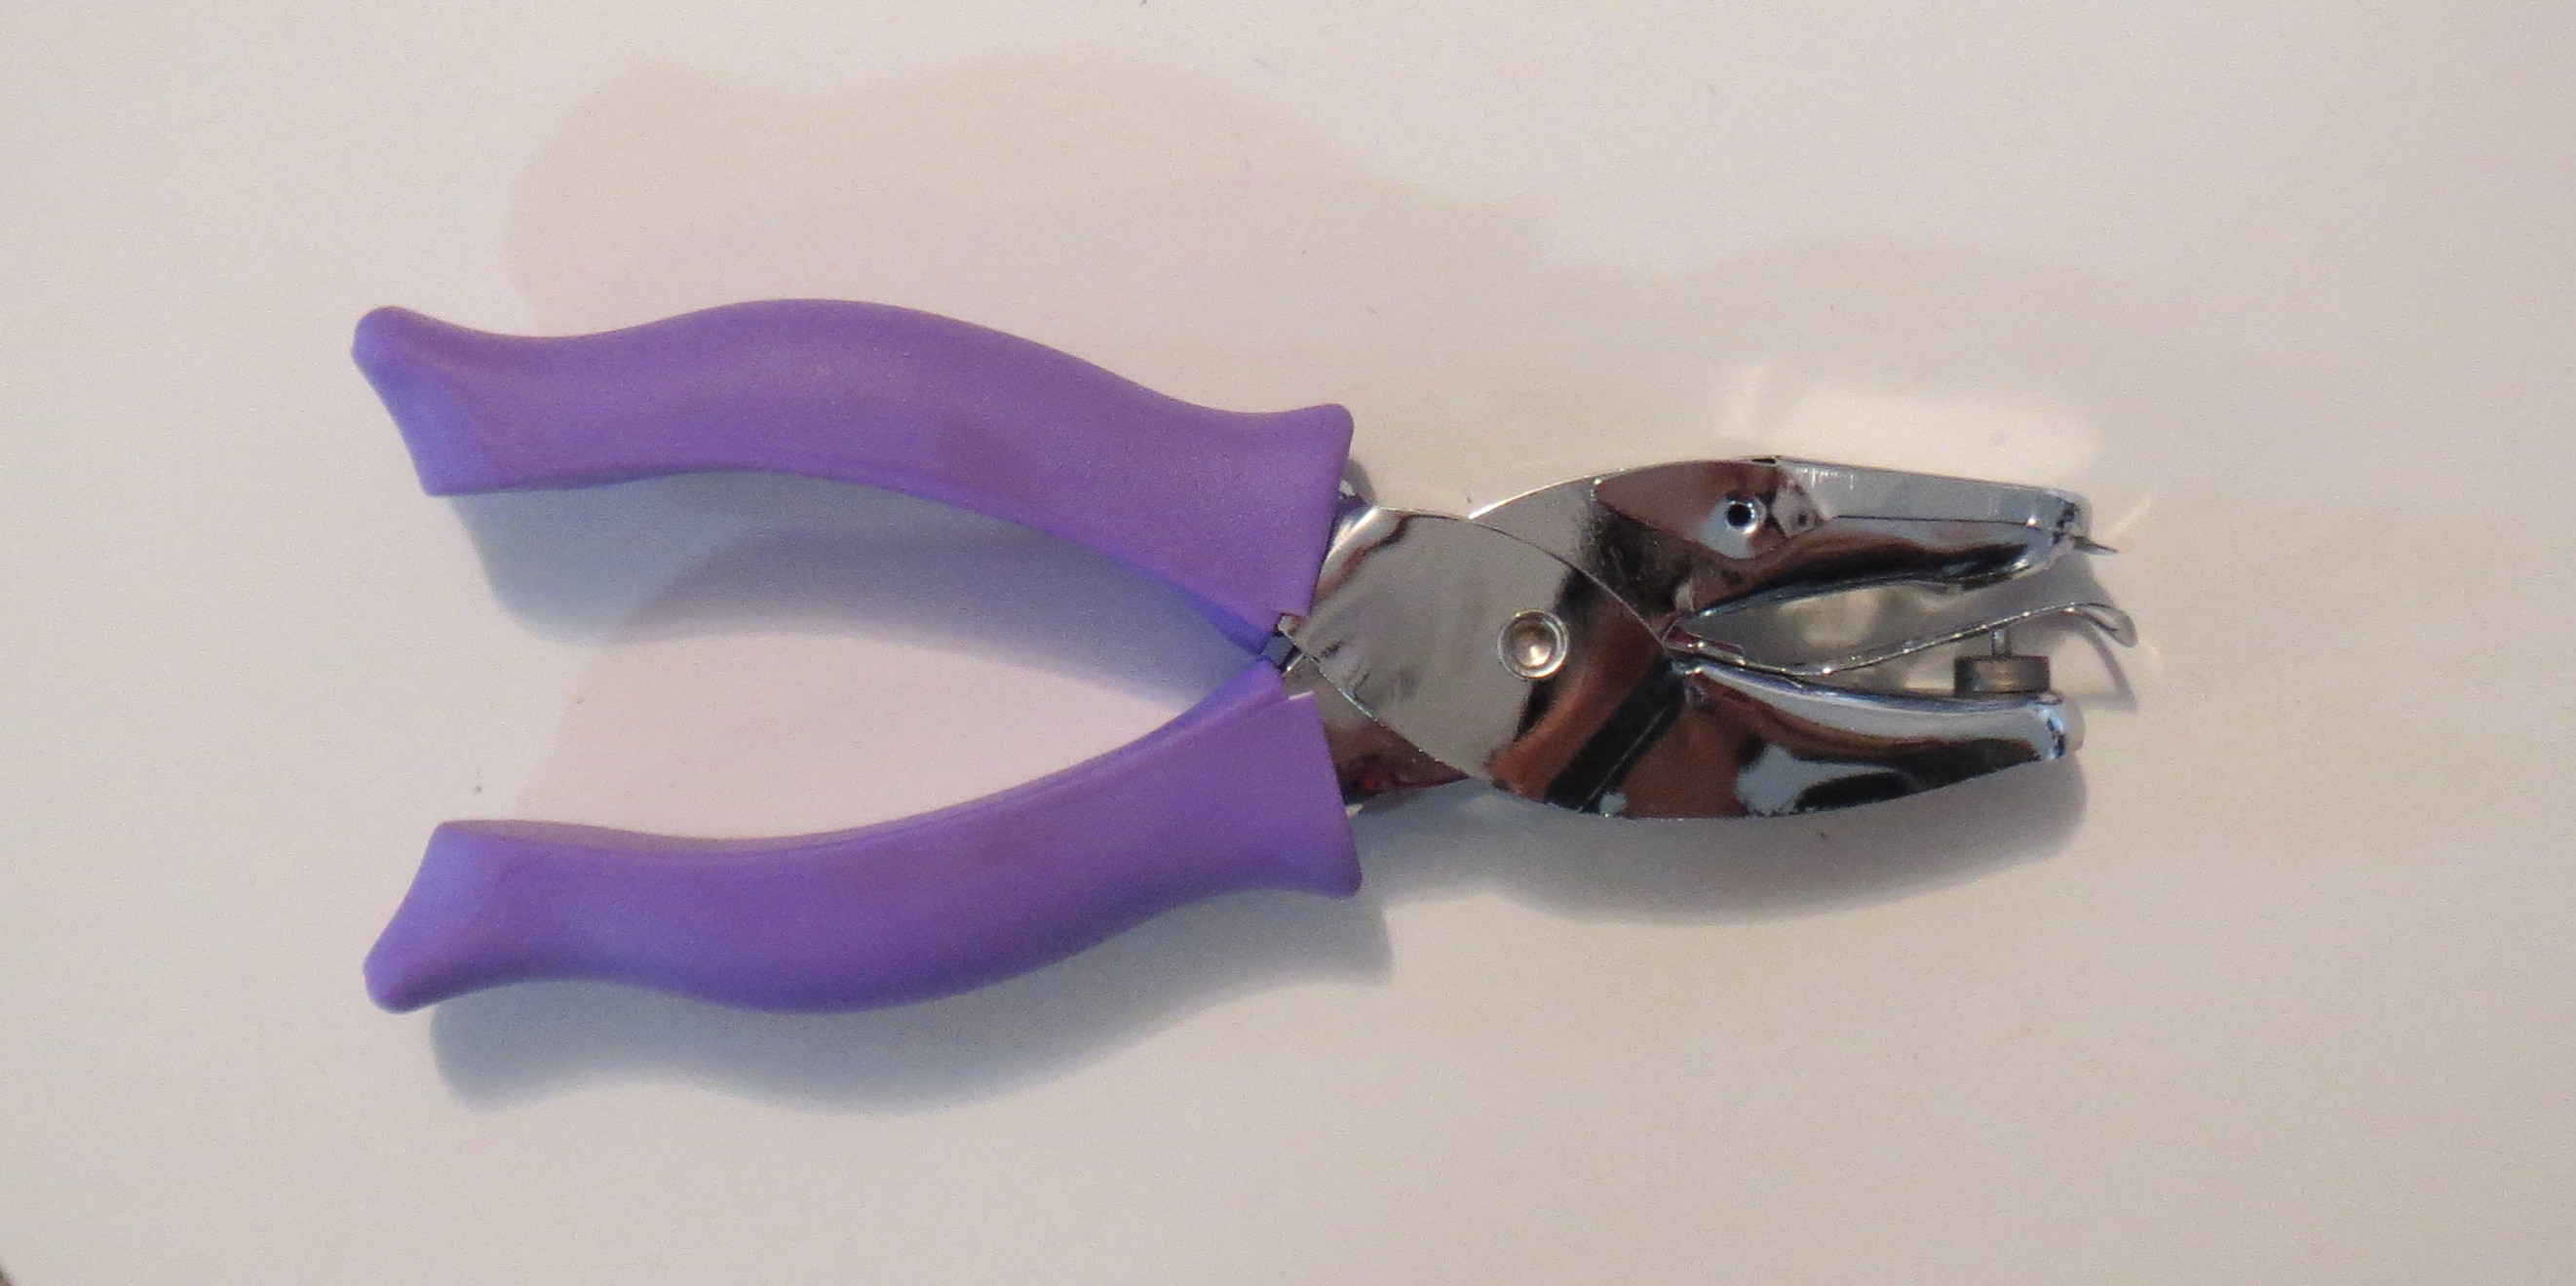
Fiskars 1/16 inch hole punch
The size of your template is up to you; I cut a piece of template plastic about 1 inch wide and 8 inches long. Then I used the hole punch to make holes every inch. I used a Sharpie to draw a circle around each hole so I could see them easier, and also to mark the dimensions. At the top of the photo you can see the eraser I will be using later. The eraser came out of a supply of eraser refills I have for a mechanical pencil, but you can probably find something else to do the job if you don’t have one.

Circle marking template and eraser
Then I put a small thumbtack through my fabric at the center of my circles, from the back. After mounting the thumbtack, I taped it in place as shown in the second photo.

Thumbtack through center point on back of fabric

Tape over the thumbtack on the back
And here is the centered thumbtack from the front:
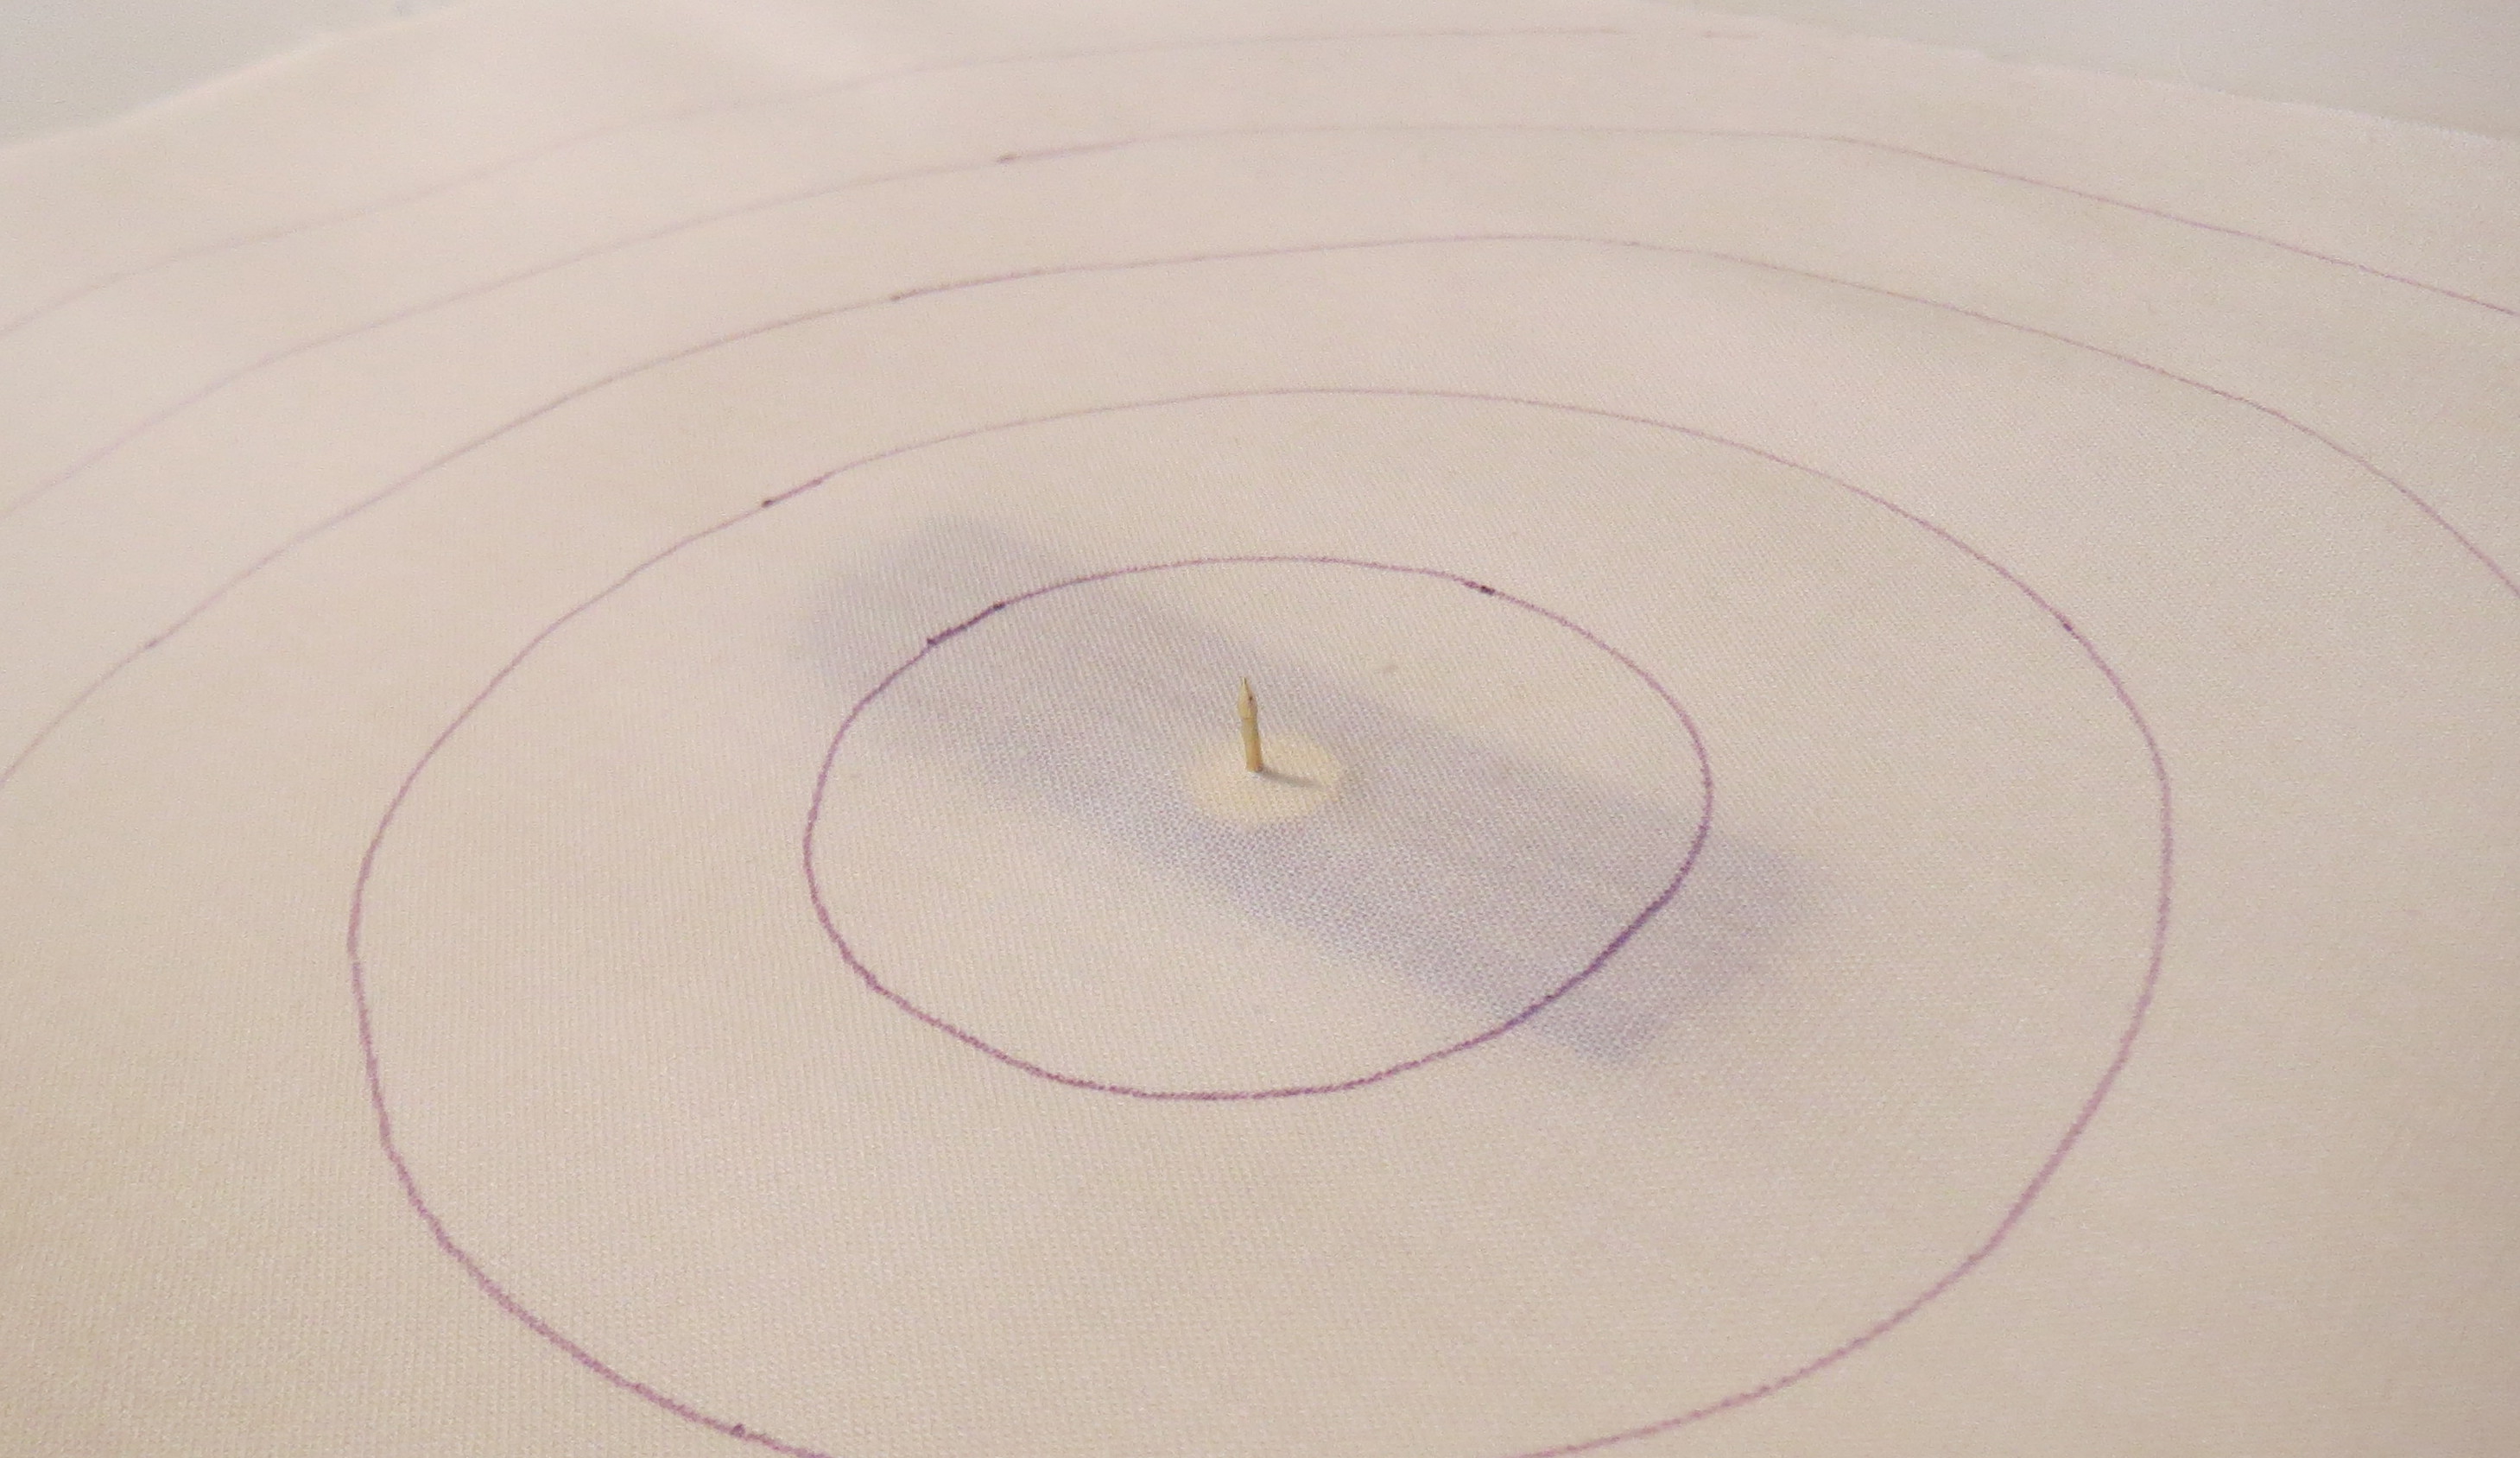
Thumbtack through center from the front
And the marking template mounted on top of the thumbtack, with the eraser put on top to hold the template down.

Circle marking template mounted on thumbtack and held in place with eraser
Then insert the pen point through one of the other holes for the size circle you want, and carefully draw the circle. Make sure the fabric stays flat. If you were concerned about the fabric moving, you can use a gripping mat such as a Good Grip or iron the fabric to freezer paper or Totally Stable on the back side before you start. Probably you don’t need any of that if you just mark carefully and slowly.
Here is what it looks like in use:
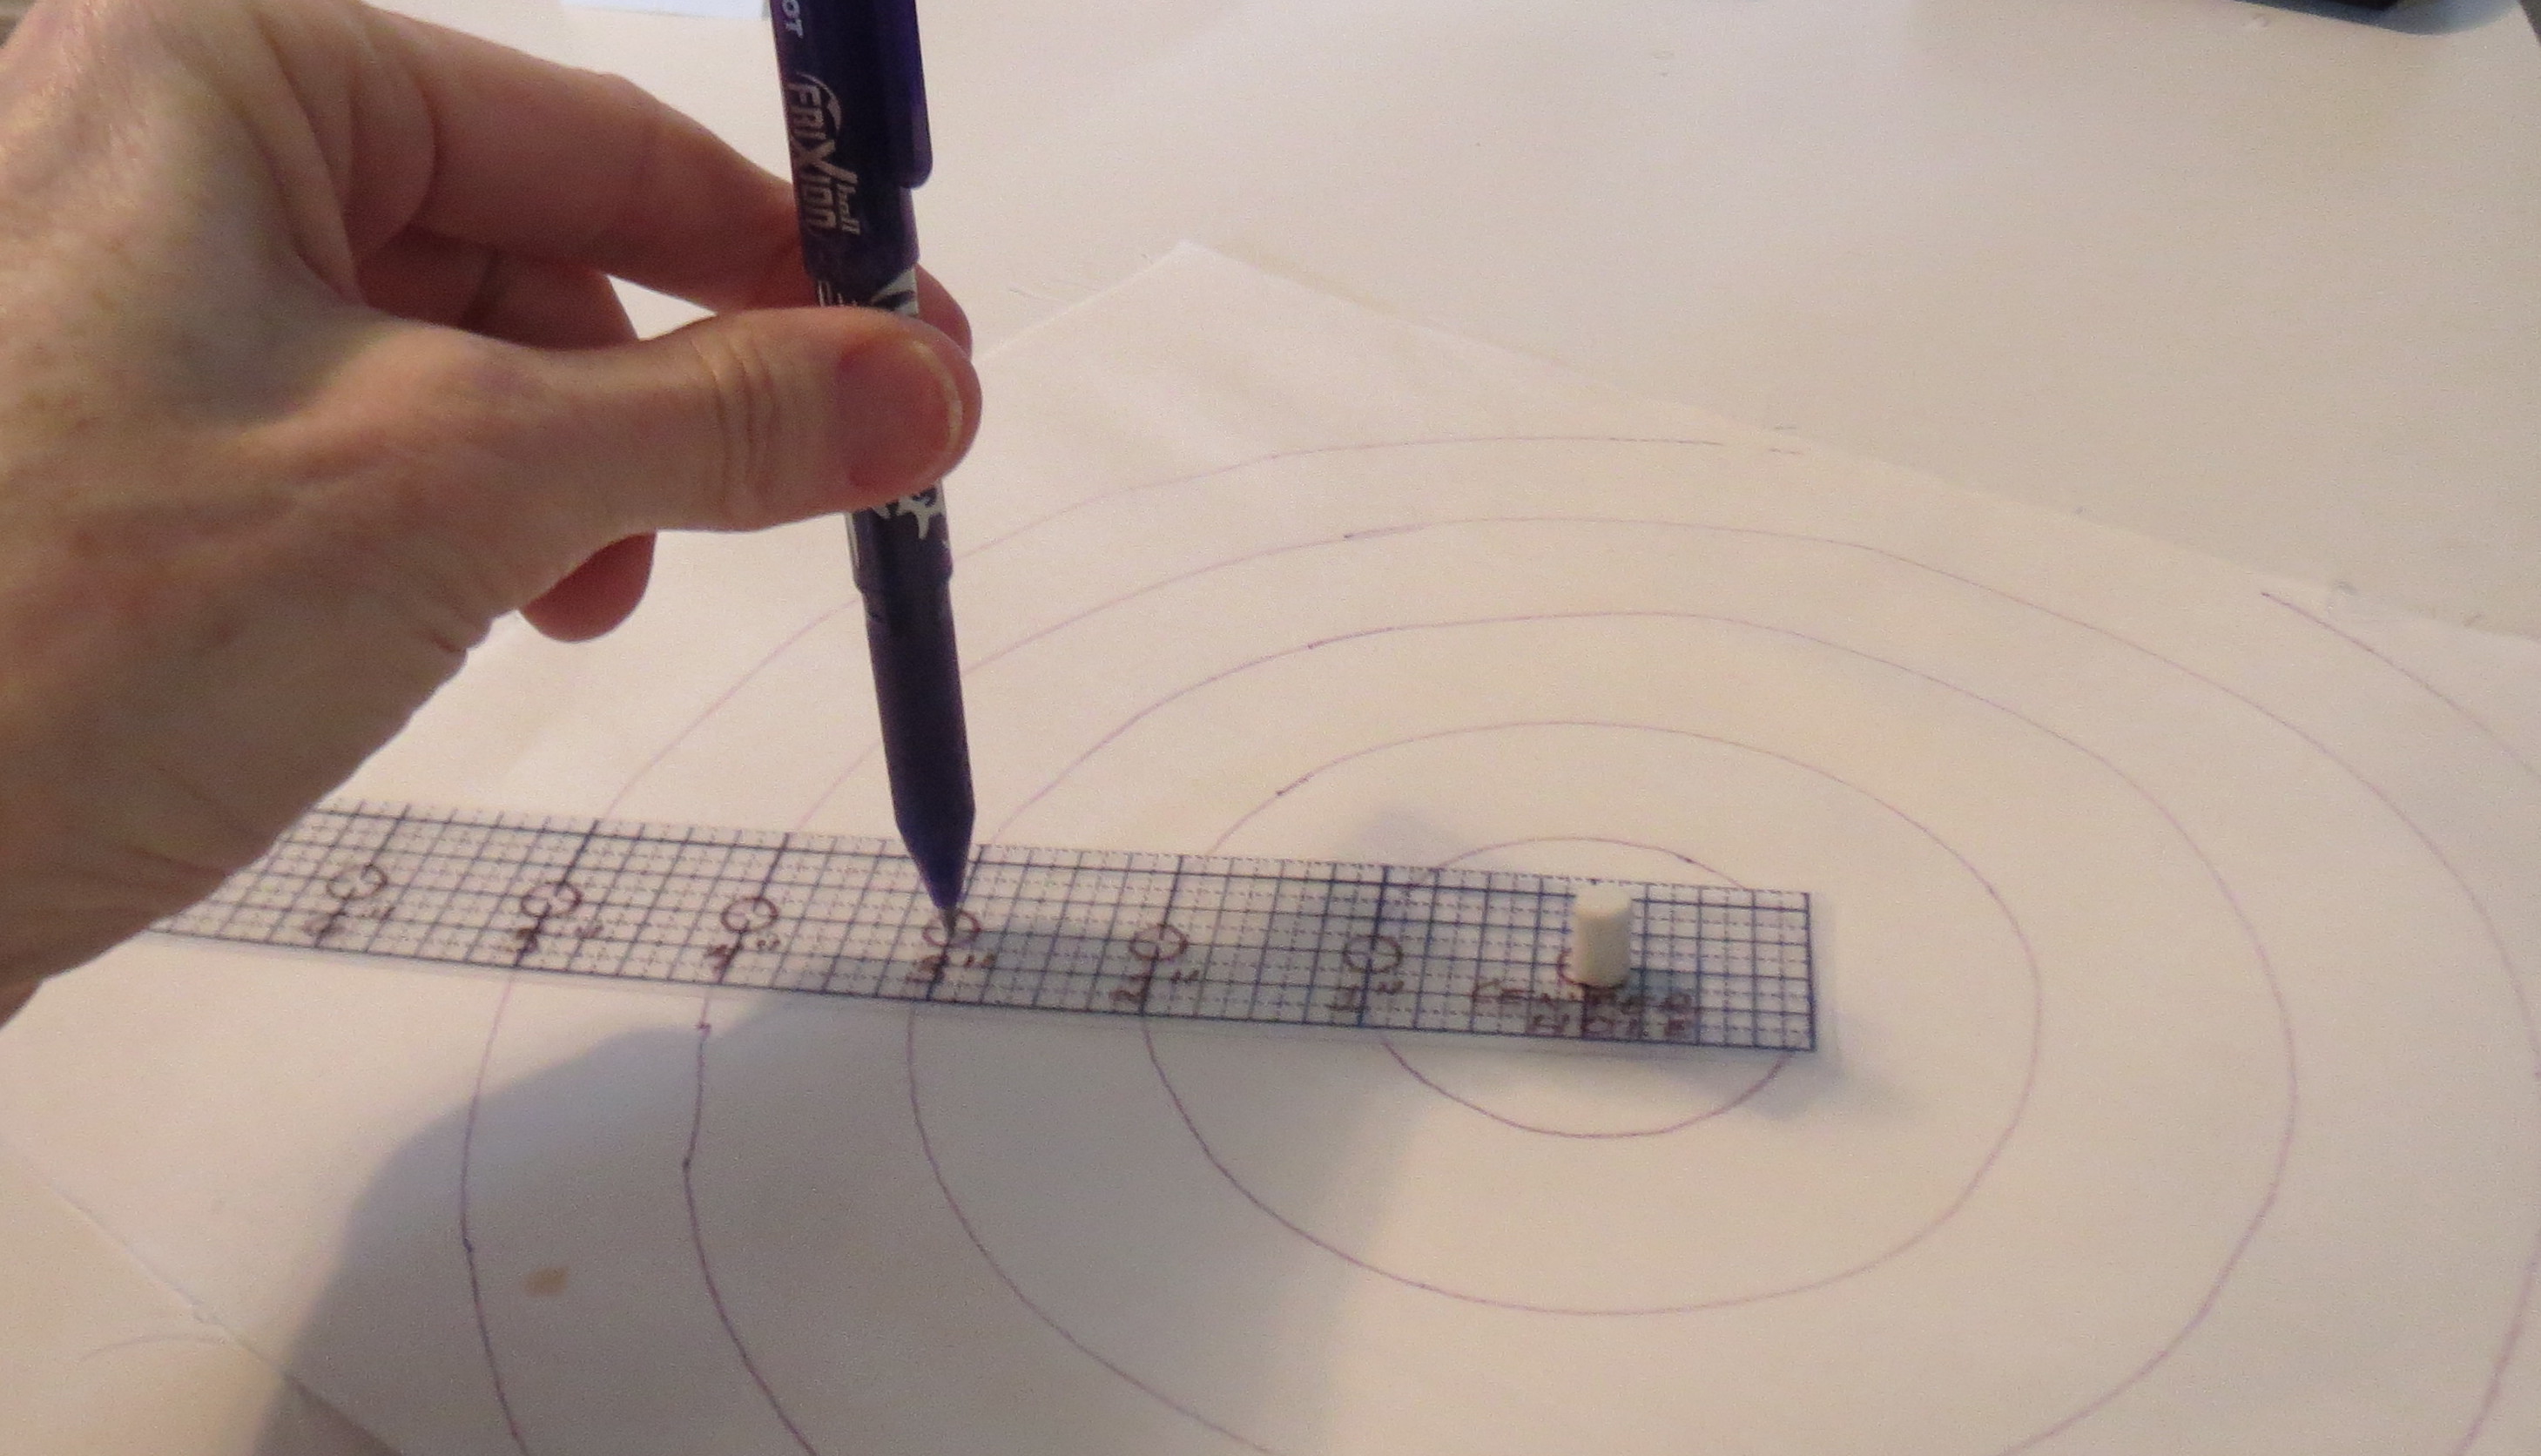
Marking template in use with Frixion pen
I am pleased with this simple tool. Template plastic is great stuff! You can find it at your local quilt shop or craft store, or buy it online. Here is a link to the kind I use at Amazon, in case you need more details about template plastic: EZ Quilting 882670027 Quilter’s Template Plastic Assortment, 6-Piece
