Tag Archives: strip piecing

Landscape Quilt Class prototypes

I will be teaching a beginning landscape quilt class at Quality Sewing in Silverdale in September and I am doing the preparation work for the class.  Recently I taught a practice class at Creative Union in Port Townsend and it was very useful to me, plus my students created some great quilts.

The class uses the book “Lovely Landscapes” by Cathy Geier as the basis. The objective of the quilt design for this class is to make it easy for beginners and simple enough that the students can accomplish most of the assembly process in class.  So I decided to use a sunset scene with a silhouetted tree.

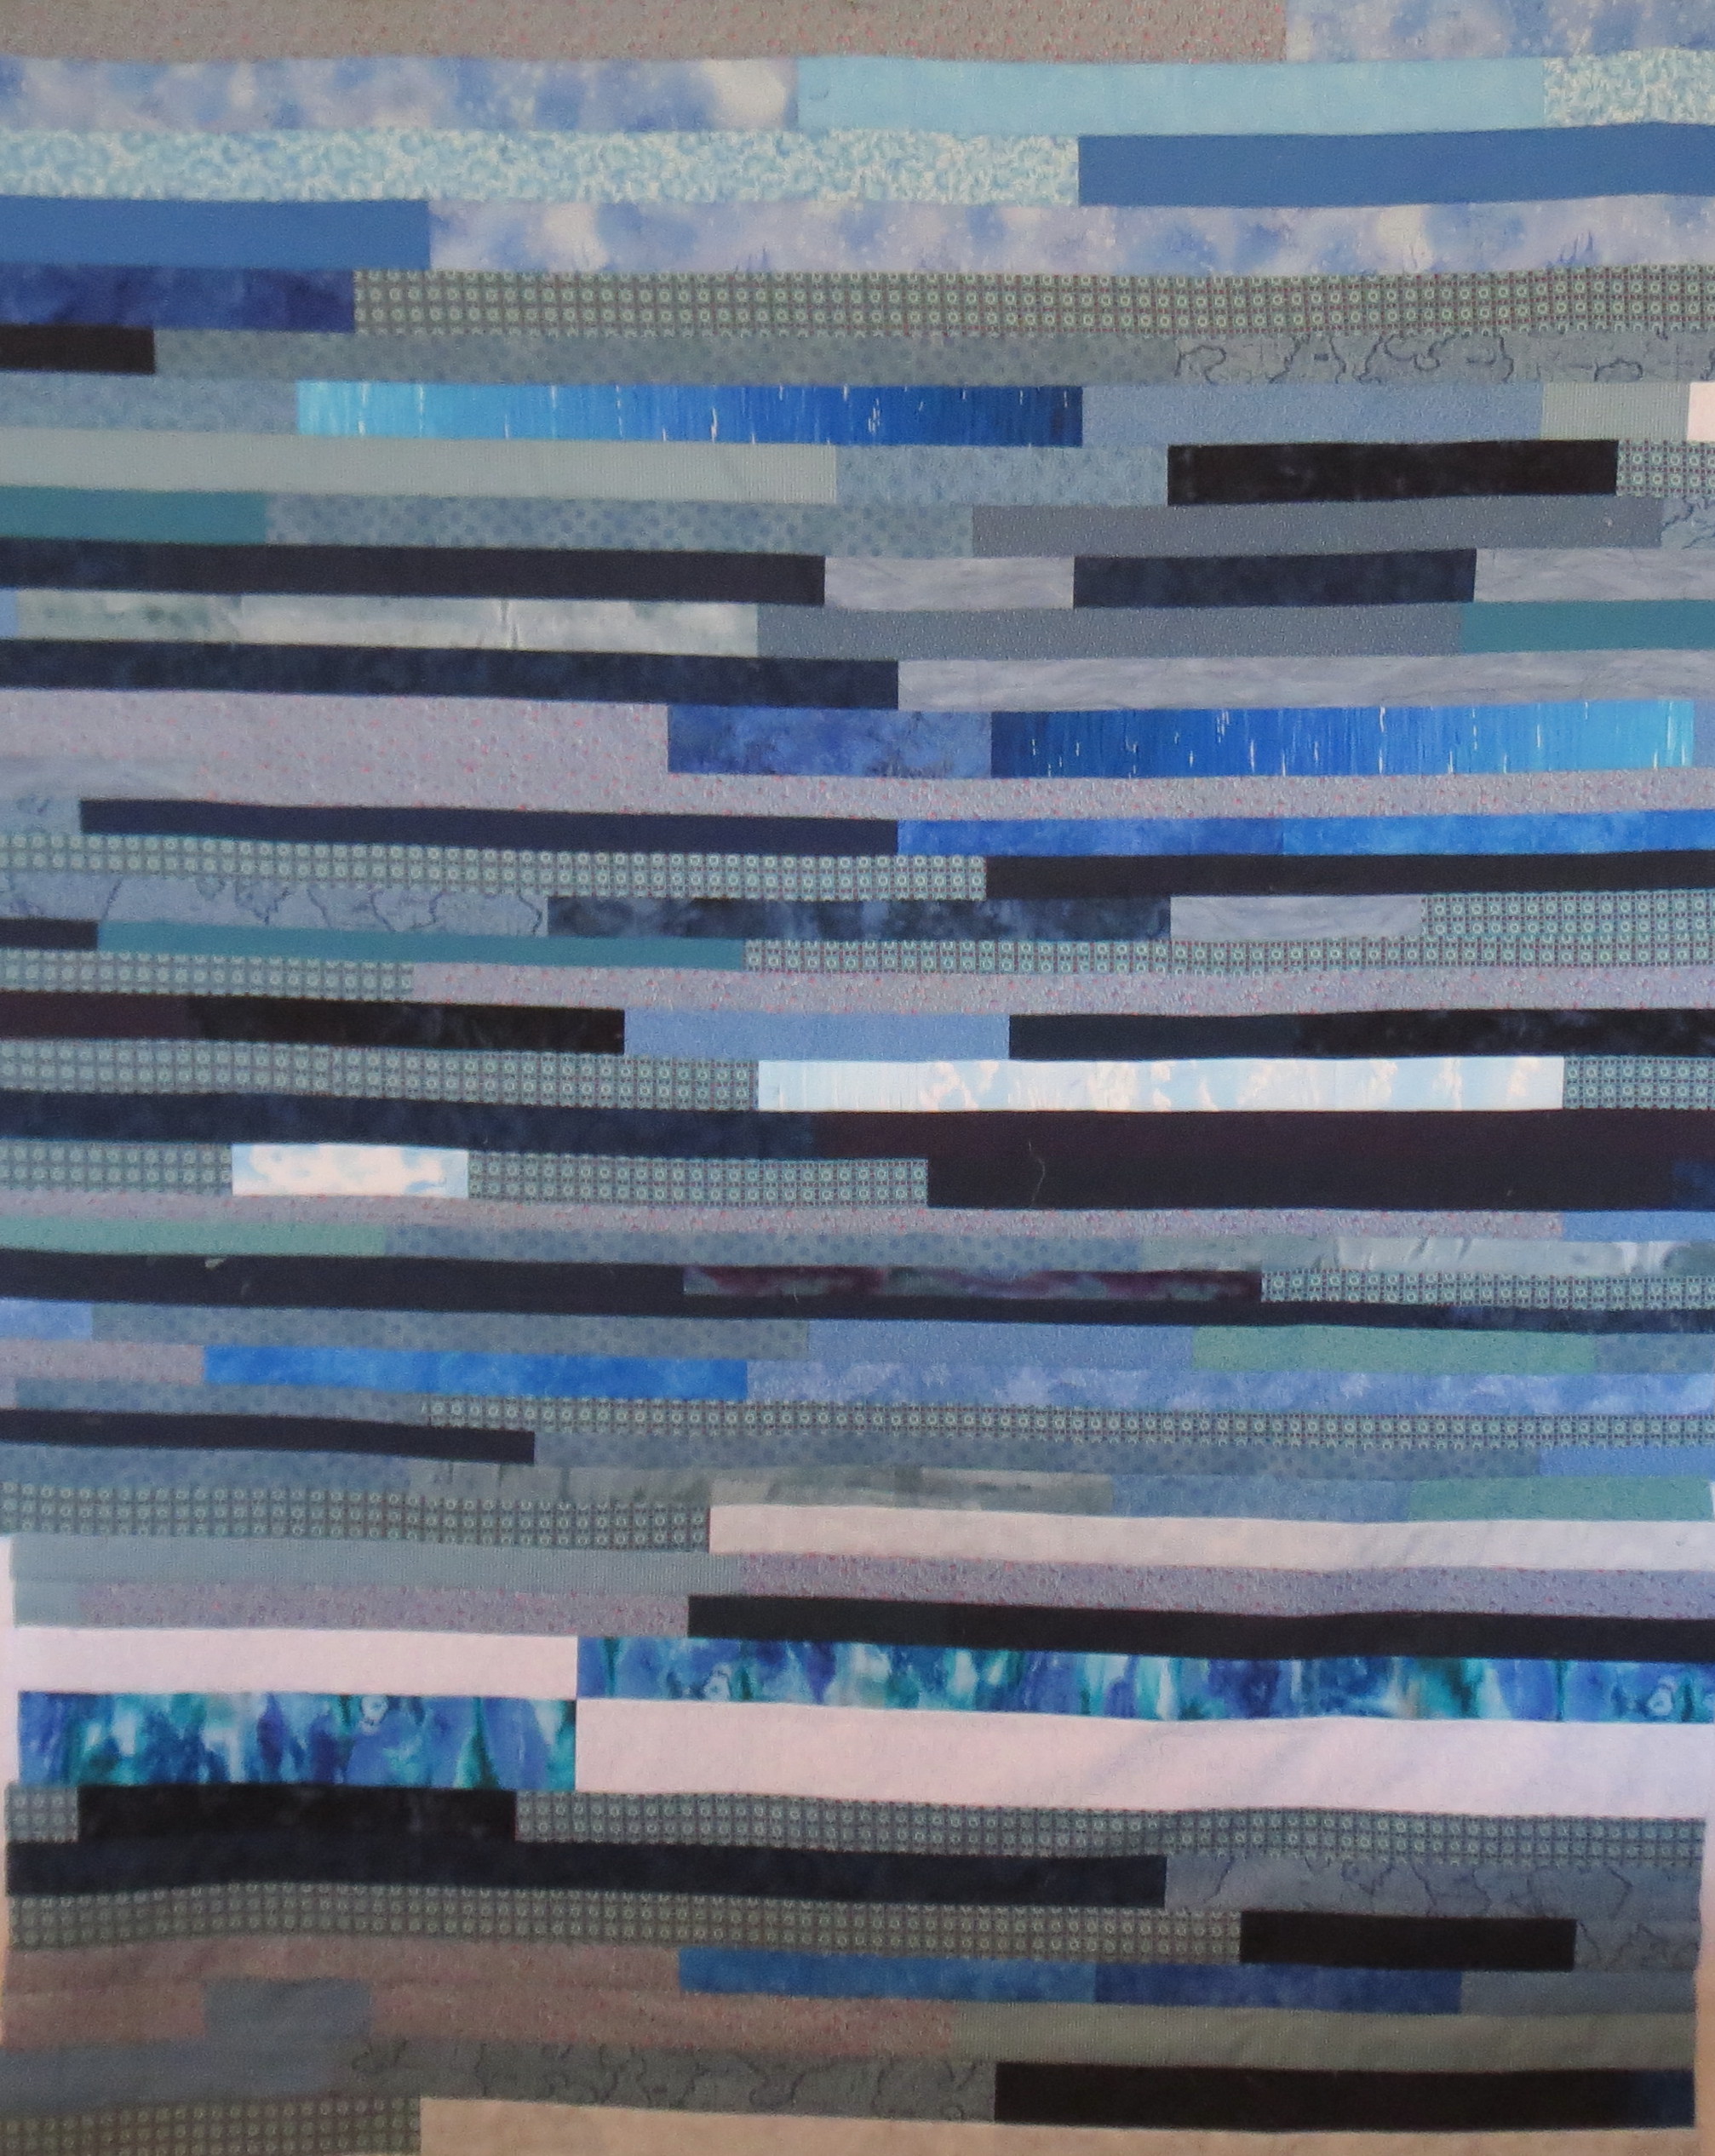
My first prototype is shown below.

landscape quilt 1 Apr 2015

I decided this one was too dark and the tree needed more detail.  Also the water wasn’t right — the horizon was too high and the water wasn’t interesting.

So I altered the foreground design and lightened up the sky some.  Also added a silhouetted sailboat for a little more interest.

landscape quilt 2 Apr 2015

I still think the sky needs to be lighter yet, and the change in the water is more interesting but adds quite a bit of time to the assembly process.  I will need to simplify the design further by reducing the number of strips.  Also the area where the sand meets the horizon line is not good and needs some adjustment.

And here is the quilt made by one of my students and fellow guild members, Susan Sawatsky.  She decided to go with a daylight scene and did some wonderful collage work with embroidery thread to make the leaves in the tree.  Didn’t she do great?

Susan landscape

I will post more later as I evolve the design for the class.

Scrappy Blue Diamond Quilt

My blue scrap bin has been overflowing, even after I pulled out an assortment of light and dark blues for the pinwheel quilt I posted last time.  Many of my scraps are long strips, so I decided to make a blue quilt using these strips. I also cut more strips, ranging in width from 1 1/2 inches to 2 1/2 inches wide.   All these strips came out of the blue scrap bin, often from wider strips.  The length of the strips varied from 5 inches to 40 inches.

I cut out a bunch of 6 1/2 inch squares from newsprint to use as foundations for the blocks.  The blocks I made used light fabrics on one side and medium/dark on the other side, as shown in the photo below.  I found I had to mark a straight line on the wrong side of the fabric to ensure the seam was straight.  In spite of the spiffy laser line on my new Brother machine (more about that in another post), I couldn’t get a really straight line without marking.

Six inch finished blue diamond block

Six inch finished blue diamond block

After I had 80 blocks made like this, I arranged them into diamond shapes and sewed together the blocks to make the quilt top below.

Scrappy Blue Diamond, 48 by 60 inches

Scrappy Blue Diamond, 48 by 60 inches

There were lots of strips left over so I used them to make the quilt back as shown here.  I had been careful to stay with a limited blue palette in the blocks so the colors would blend, but I used some stronger blue colors in the back.

Strip pieced back for blue diamond quilt

Strip pieced back for blue diamond quilt

And here is what is remaining in my blue scrap bin.  It doesn’t even look like I made a dent in it!  Actually I did, because before I started it was hard to get the top closed.   I used up most of the lights but still have plenty of medium and dark blues left.

My blue scraps after finishing the blue scrappy quilts

My blue scraps after finishing the blue scrappy quilts

I think it is time to either get serious about managing my scraps or give them away!  More about scrap management in another post coming up — several quilters have developed systems for organizing scraps, and I’m going to investigate them to see if I like one.