Author Archives: Shirley at Mystery Bay Quilt Design

Unknown's avatar

About Shirley at Mystery Bay Quilt Design

A quilt designer, author, and teacher located in Washington State on the Olympic Peninsula.

Points of Elegance pattern now available

I have just published the pattern for my fireplace mantle runner and the matching table runner and placemat. The mantle runner is shown below; photos of the table runner and placemat, plus the link to Pattern Spot where you can buy the patterns are shown on my Pattern page.

fireplace mantle runner

Points of Elegance Fireplace Mantle Runner

Port Gamble Fiber and Fabric Show May 18-19

Today I visited the Port Gamble Fiber and Fabric Show.  Lovely old quilts displayed in the beautiful church, and new quilts and fiber art on display in the Pavilion along with a spinning demonstration.  It is a very relaxed affair with no admission fee and a modest crowd – no parking problem.  And of course we must stop in at The Quilted Strait for a little fabric shopping in the bargain.  Open tomorrow 10-3 if you are nearby.

The historic St. Paul's Church in Port Gamble

The historic St. Paul’s Church in Port Gamble


Old and new quilts on display in St Paul's Church

Old and new quilts on display in St Paul’s Church


A beautiful Port Gamble  Rhody in bloom!

A beautiful Port Gamble Rhody in bloom!


Tablerunner and Placemat

I have just completed a tablerunner and placemat that I designed to coordinate with the fireplace mantle runner I show in the Pattern section of this blog. Here they are:

Gold, black and cream tablerunner

Gold, black and cream tablerunner with prairie points and stripes

Gold, black and cream striped placemat with prairie points

Placemat with stripes and prairie points

I am writing up the pattern for all three now, and hope to have it completed in a week or so. Then I will upload it to Pattern Spot and announce here that it is for sale.

Garden Tiles Pattern now available

Garden tiles quilt in pinks and blues

My super simple but dramatic Garden Tiles quilt, made from my guild’s charity quilt fabric stash

I am pleased to announce that I have my first quilt pattern available for download at Pattern Spot. The link to get to my pattern shop there is on my Pattern Page (see buttons above the banner photo on this page).  On that page I also show another version of the quilt.

I am offering the pattern for free to  the first two quilters who volunteer to test it in the next couple of months and tell me about any problems they have with the pattern.  Also, I am not very excited about the name.  I will also give a free pattern to the person who comes up with a name I like better than Garden Tiles.  For either of these offers, just email me at shirley@mysterybayquiltdesign.com .

If you read my earlier postings, you saw some earlier versions of this quilt under the title “Quilt Pattern Tune-up”.  I plan to complete the Garden Windows version of this quilt as a pattern also.

Use of “negative space” in quilts

I am taking a class right now called “Art for Quilters”, taught by Marilyn Belford ( http://www.marilynbelford.com ) at Quilt University ( http://www.quiltuniversity.com ). One of the first homework assignments is in the use of “negative space” – that is, the space outside the design elements where there is no piecing or applique. Negative space is also one of the common elements of the Modern Quilting movement so popular currently. Although they don’t name it, traditional quilters often use negative space in the form of alternating plain blocks, plain setting triangles, or sashing. Negative space gives the eye a place to “rest” as it moves around the quilt. It helps emphasize the importance of the positive elements of the quilt.

I am pleased with the impact that can be achieved with simple geometric shapes and using a lot of negative space. Here are some examples from my class homework.

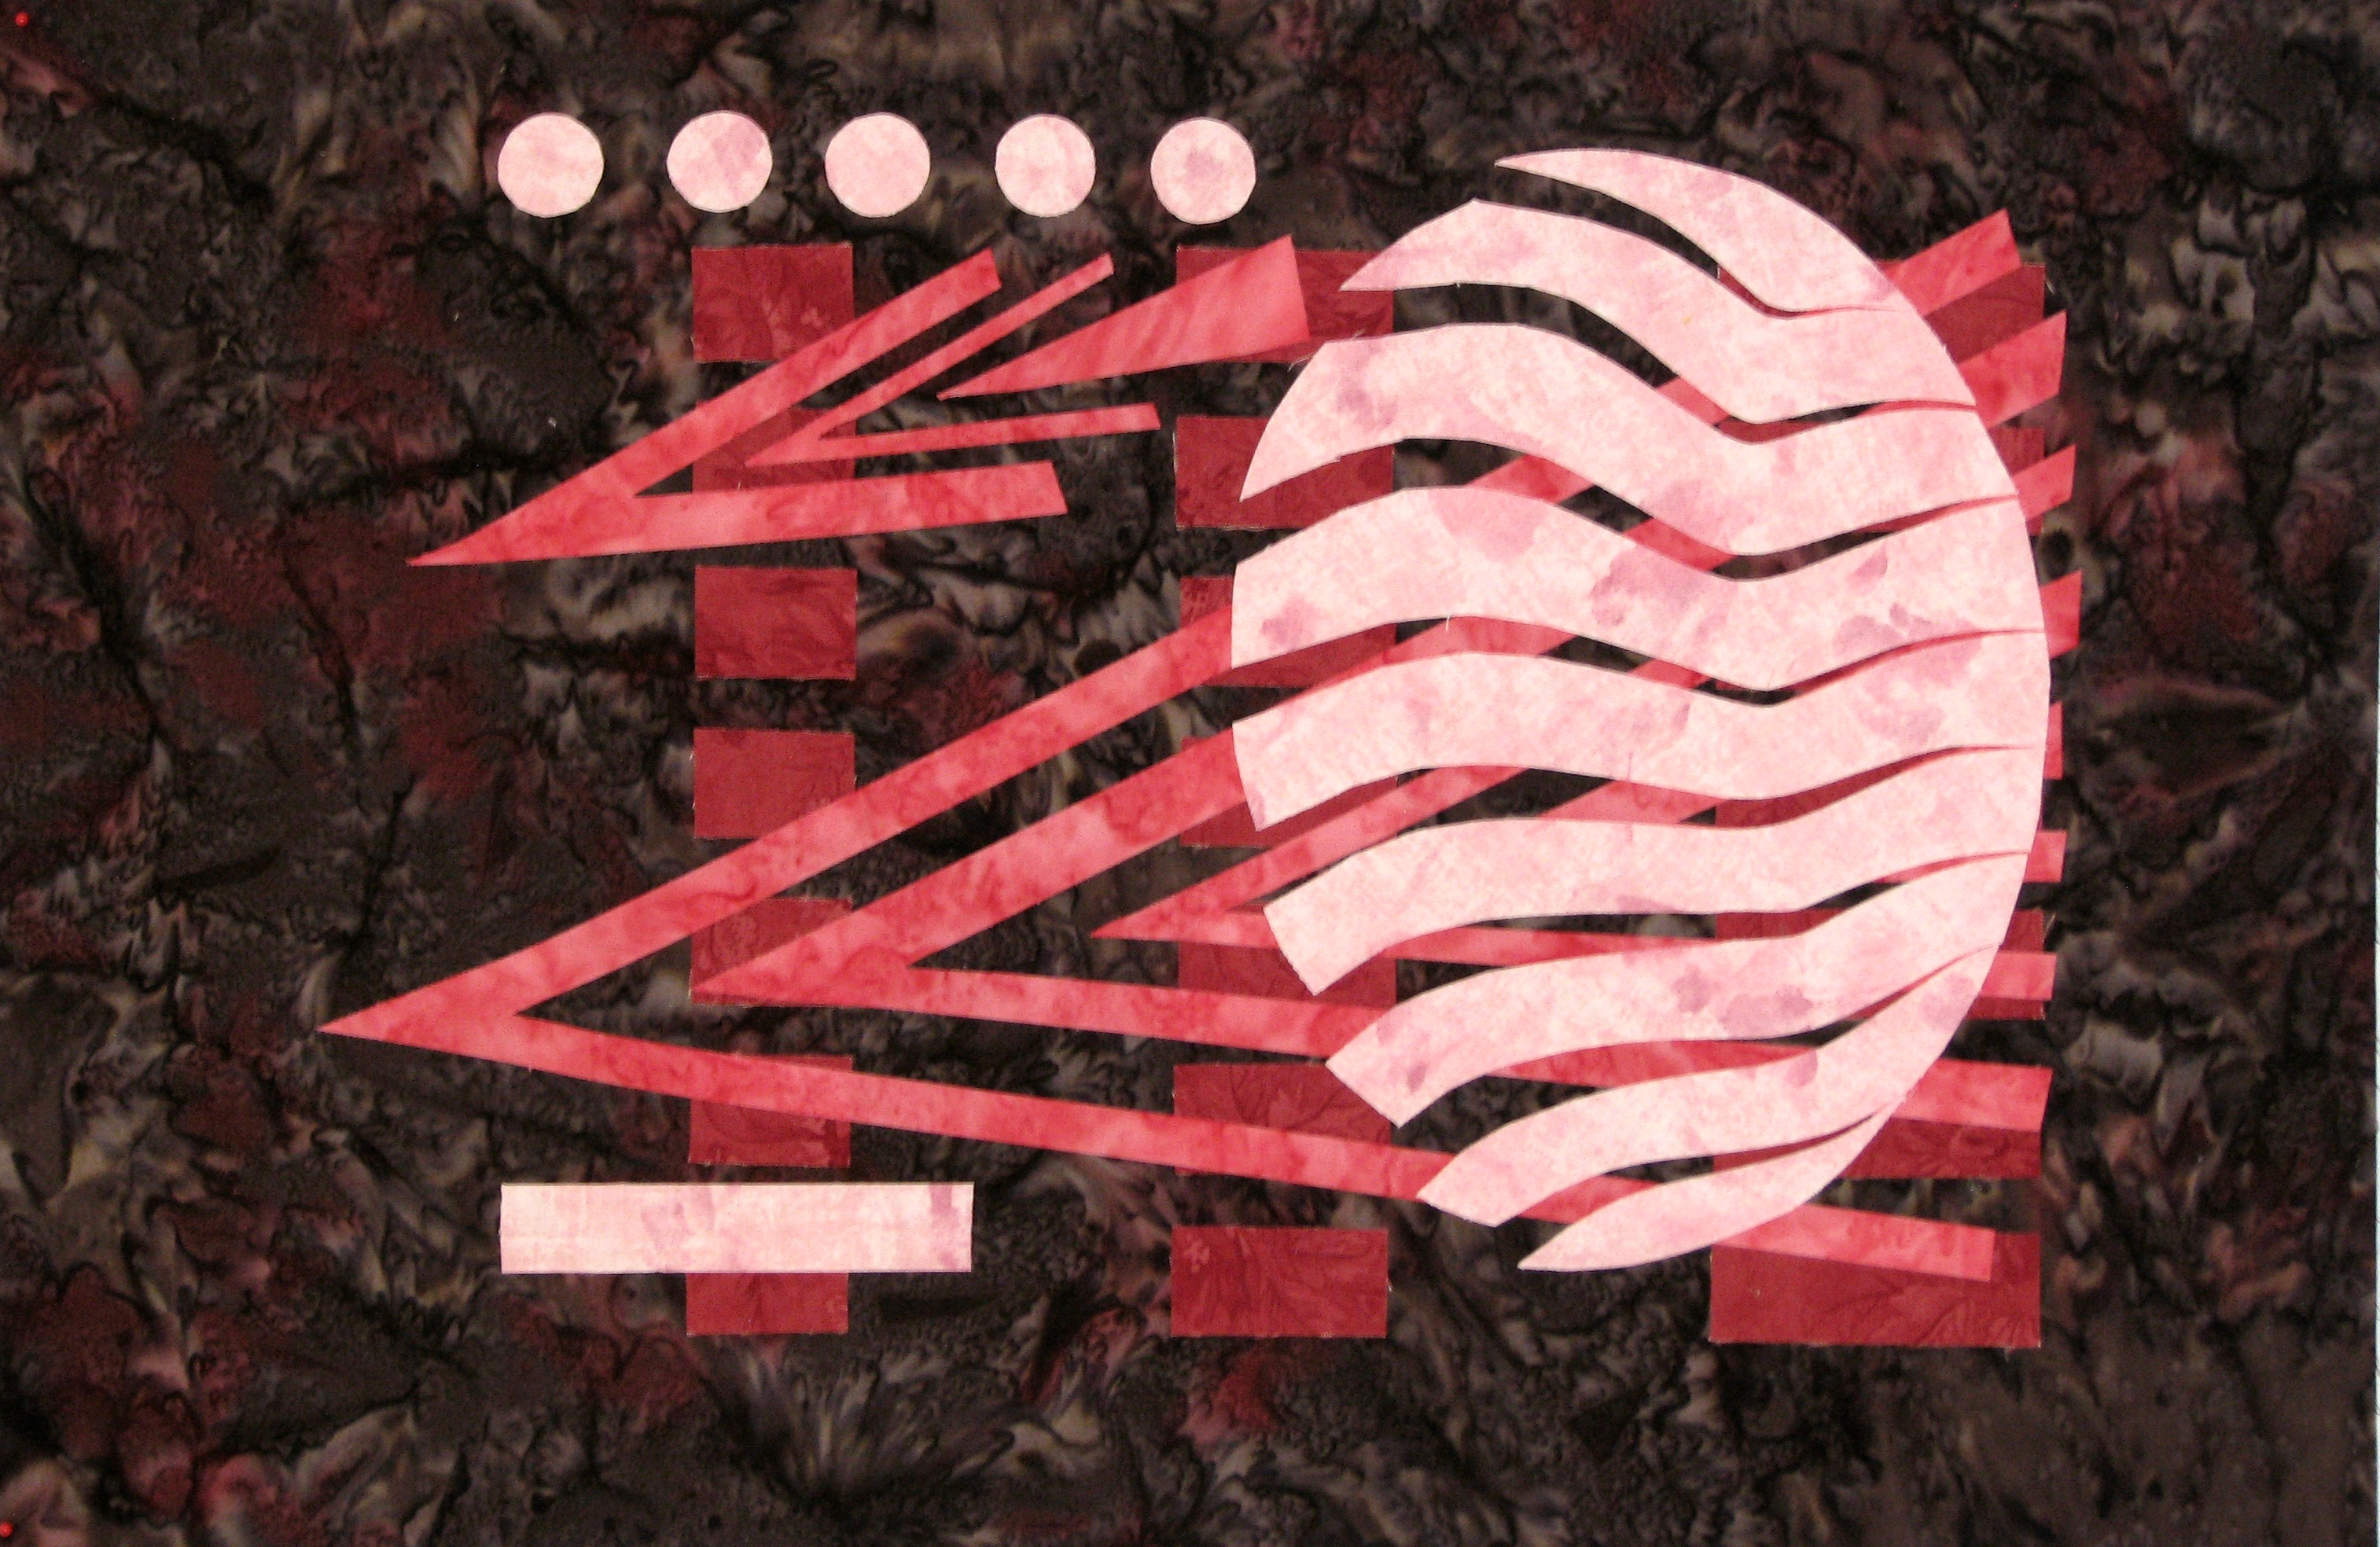
First, I cut a rough circle was out of a lavender fabric, cut it into irregular pieces, and then scattered them about on a purple background:

Cut up circle with negative space

Circle cut up for negative space exercise

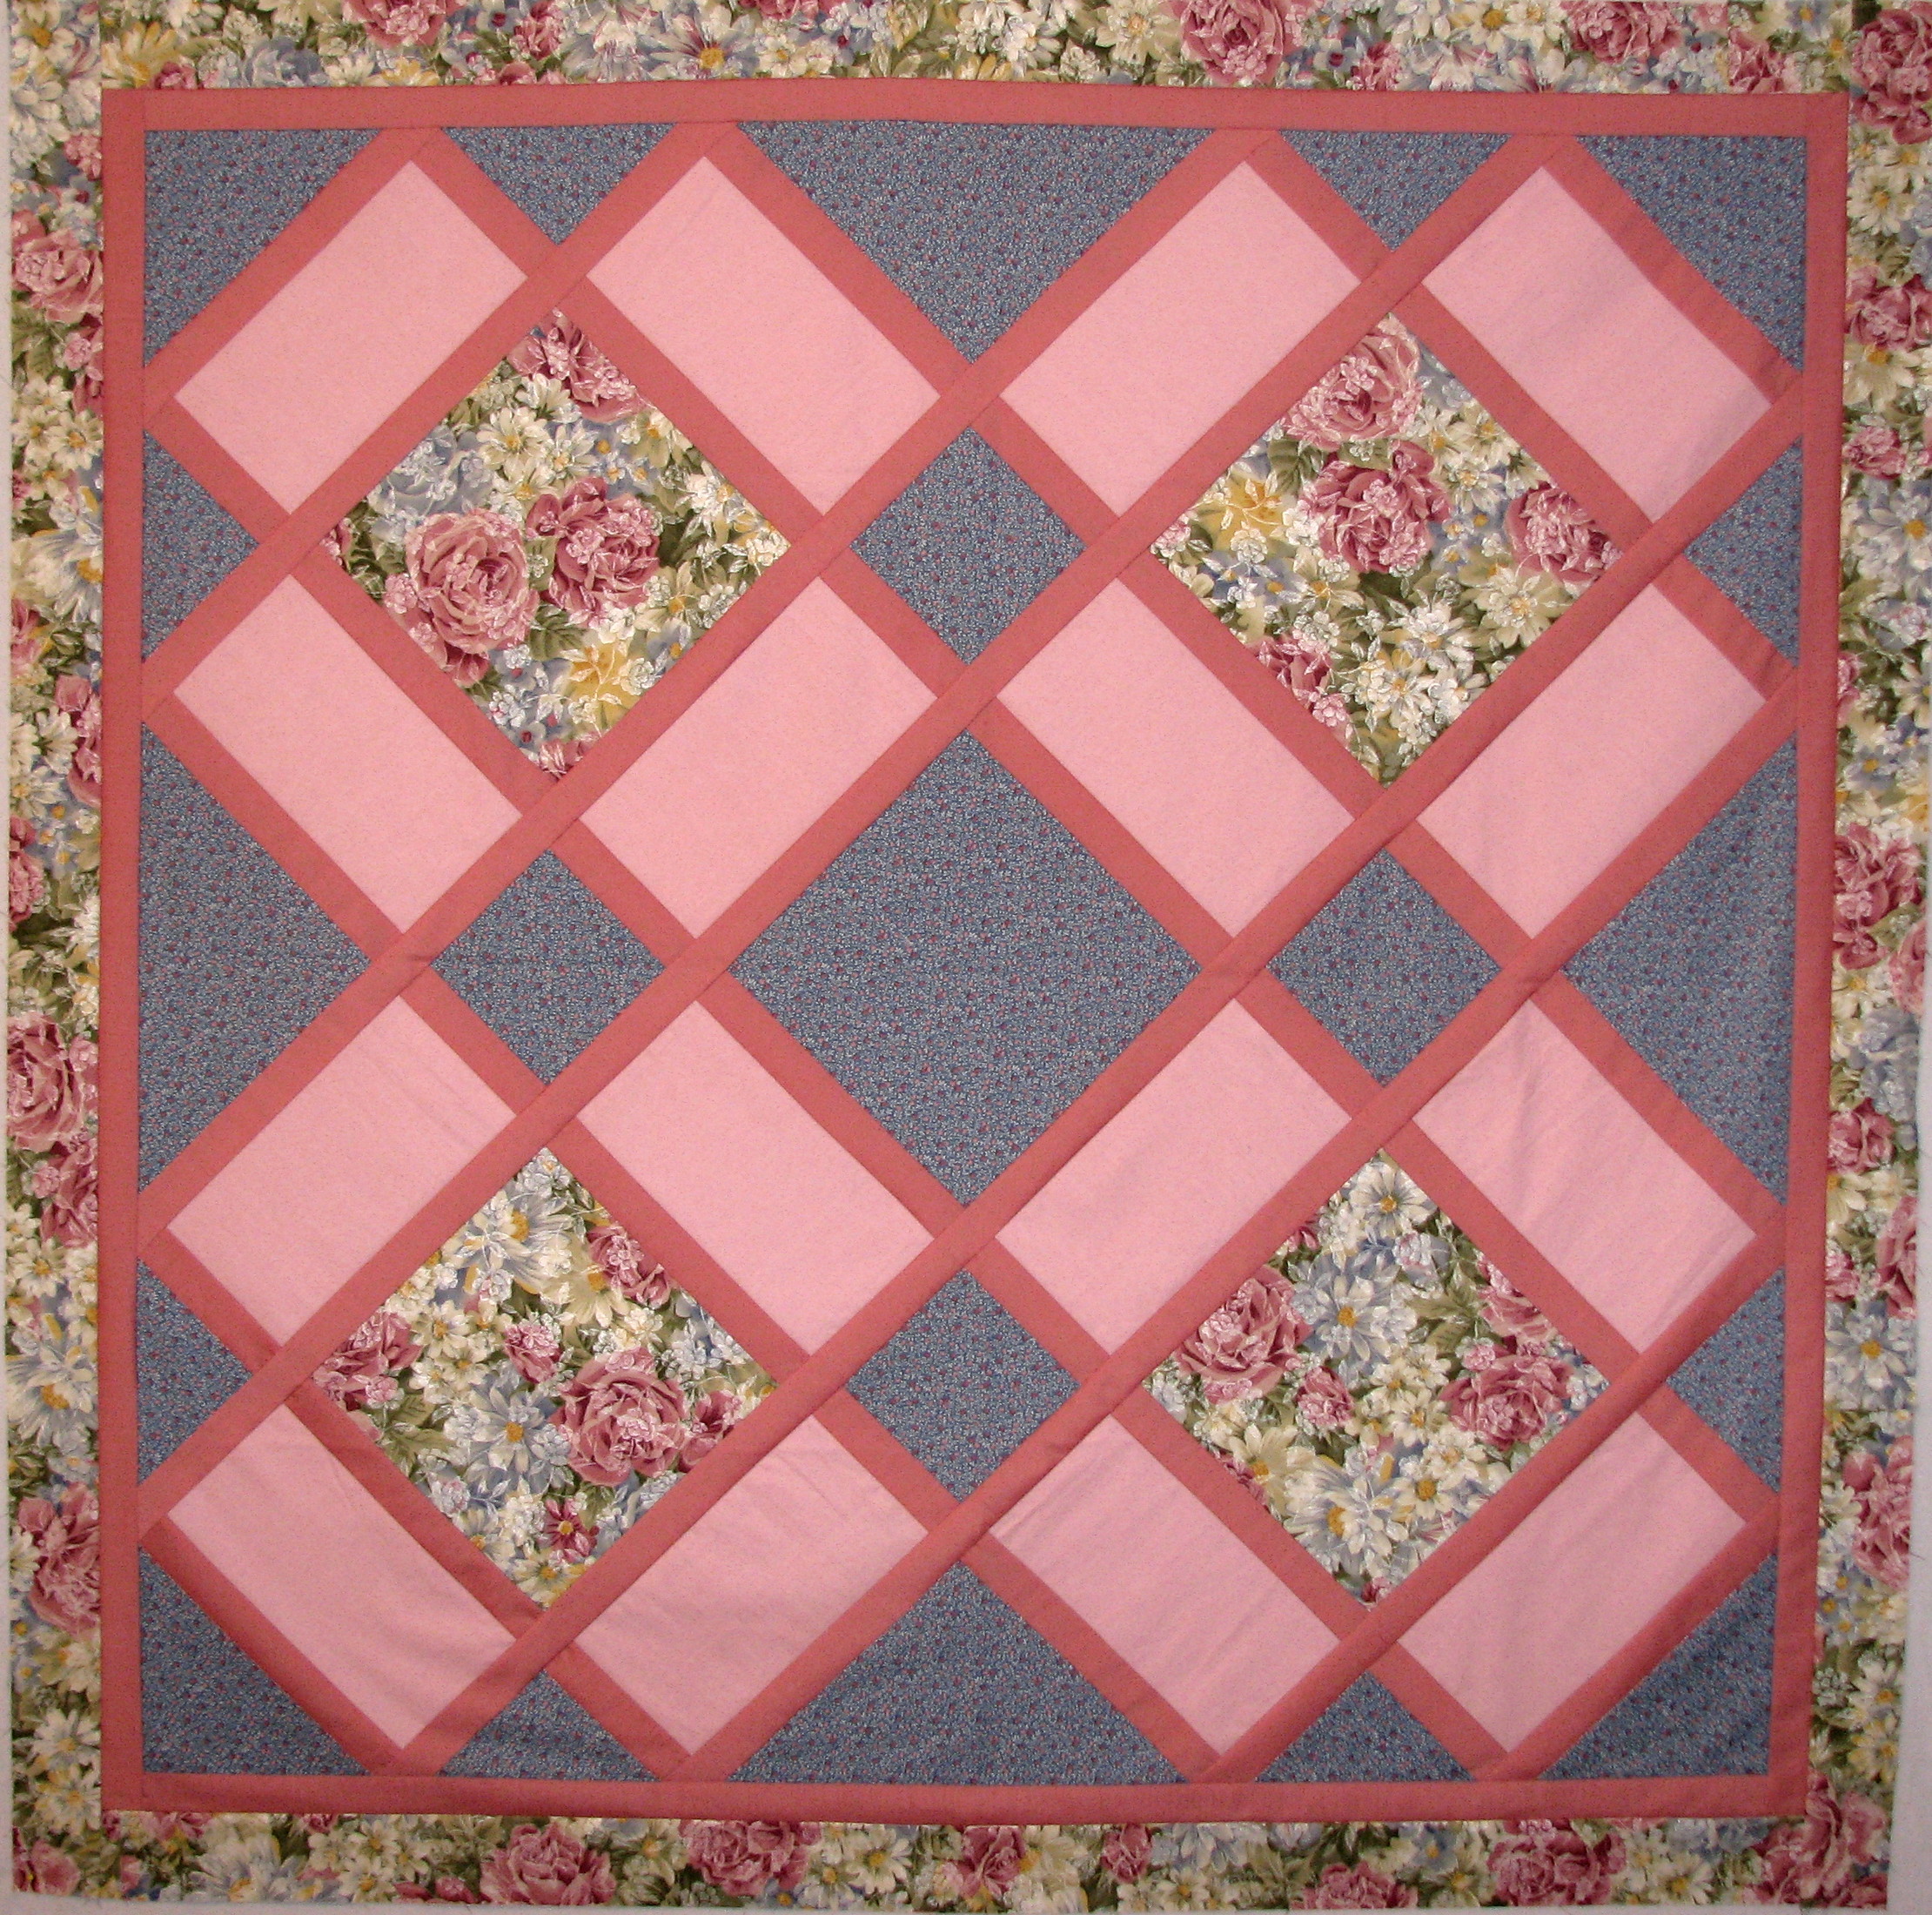
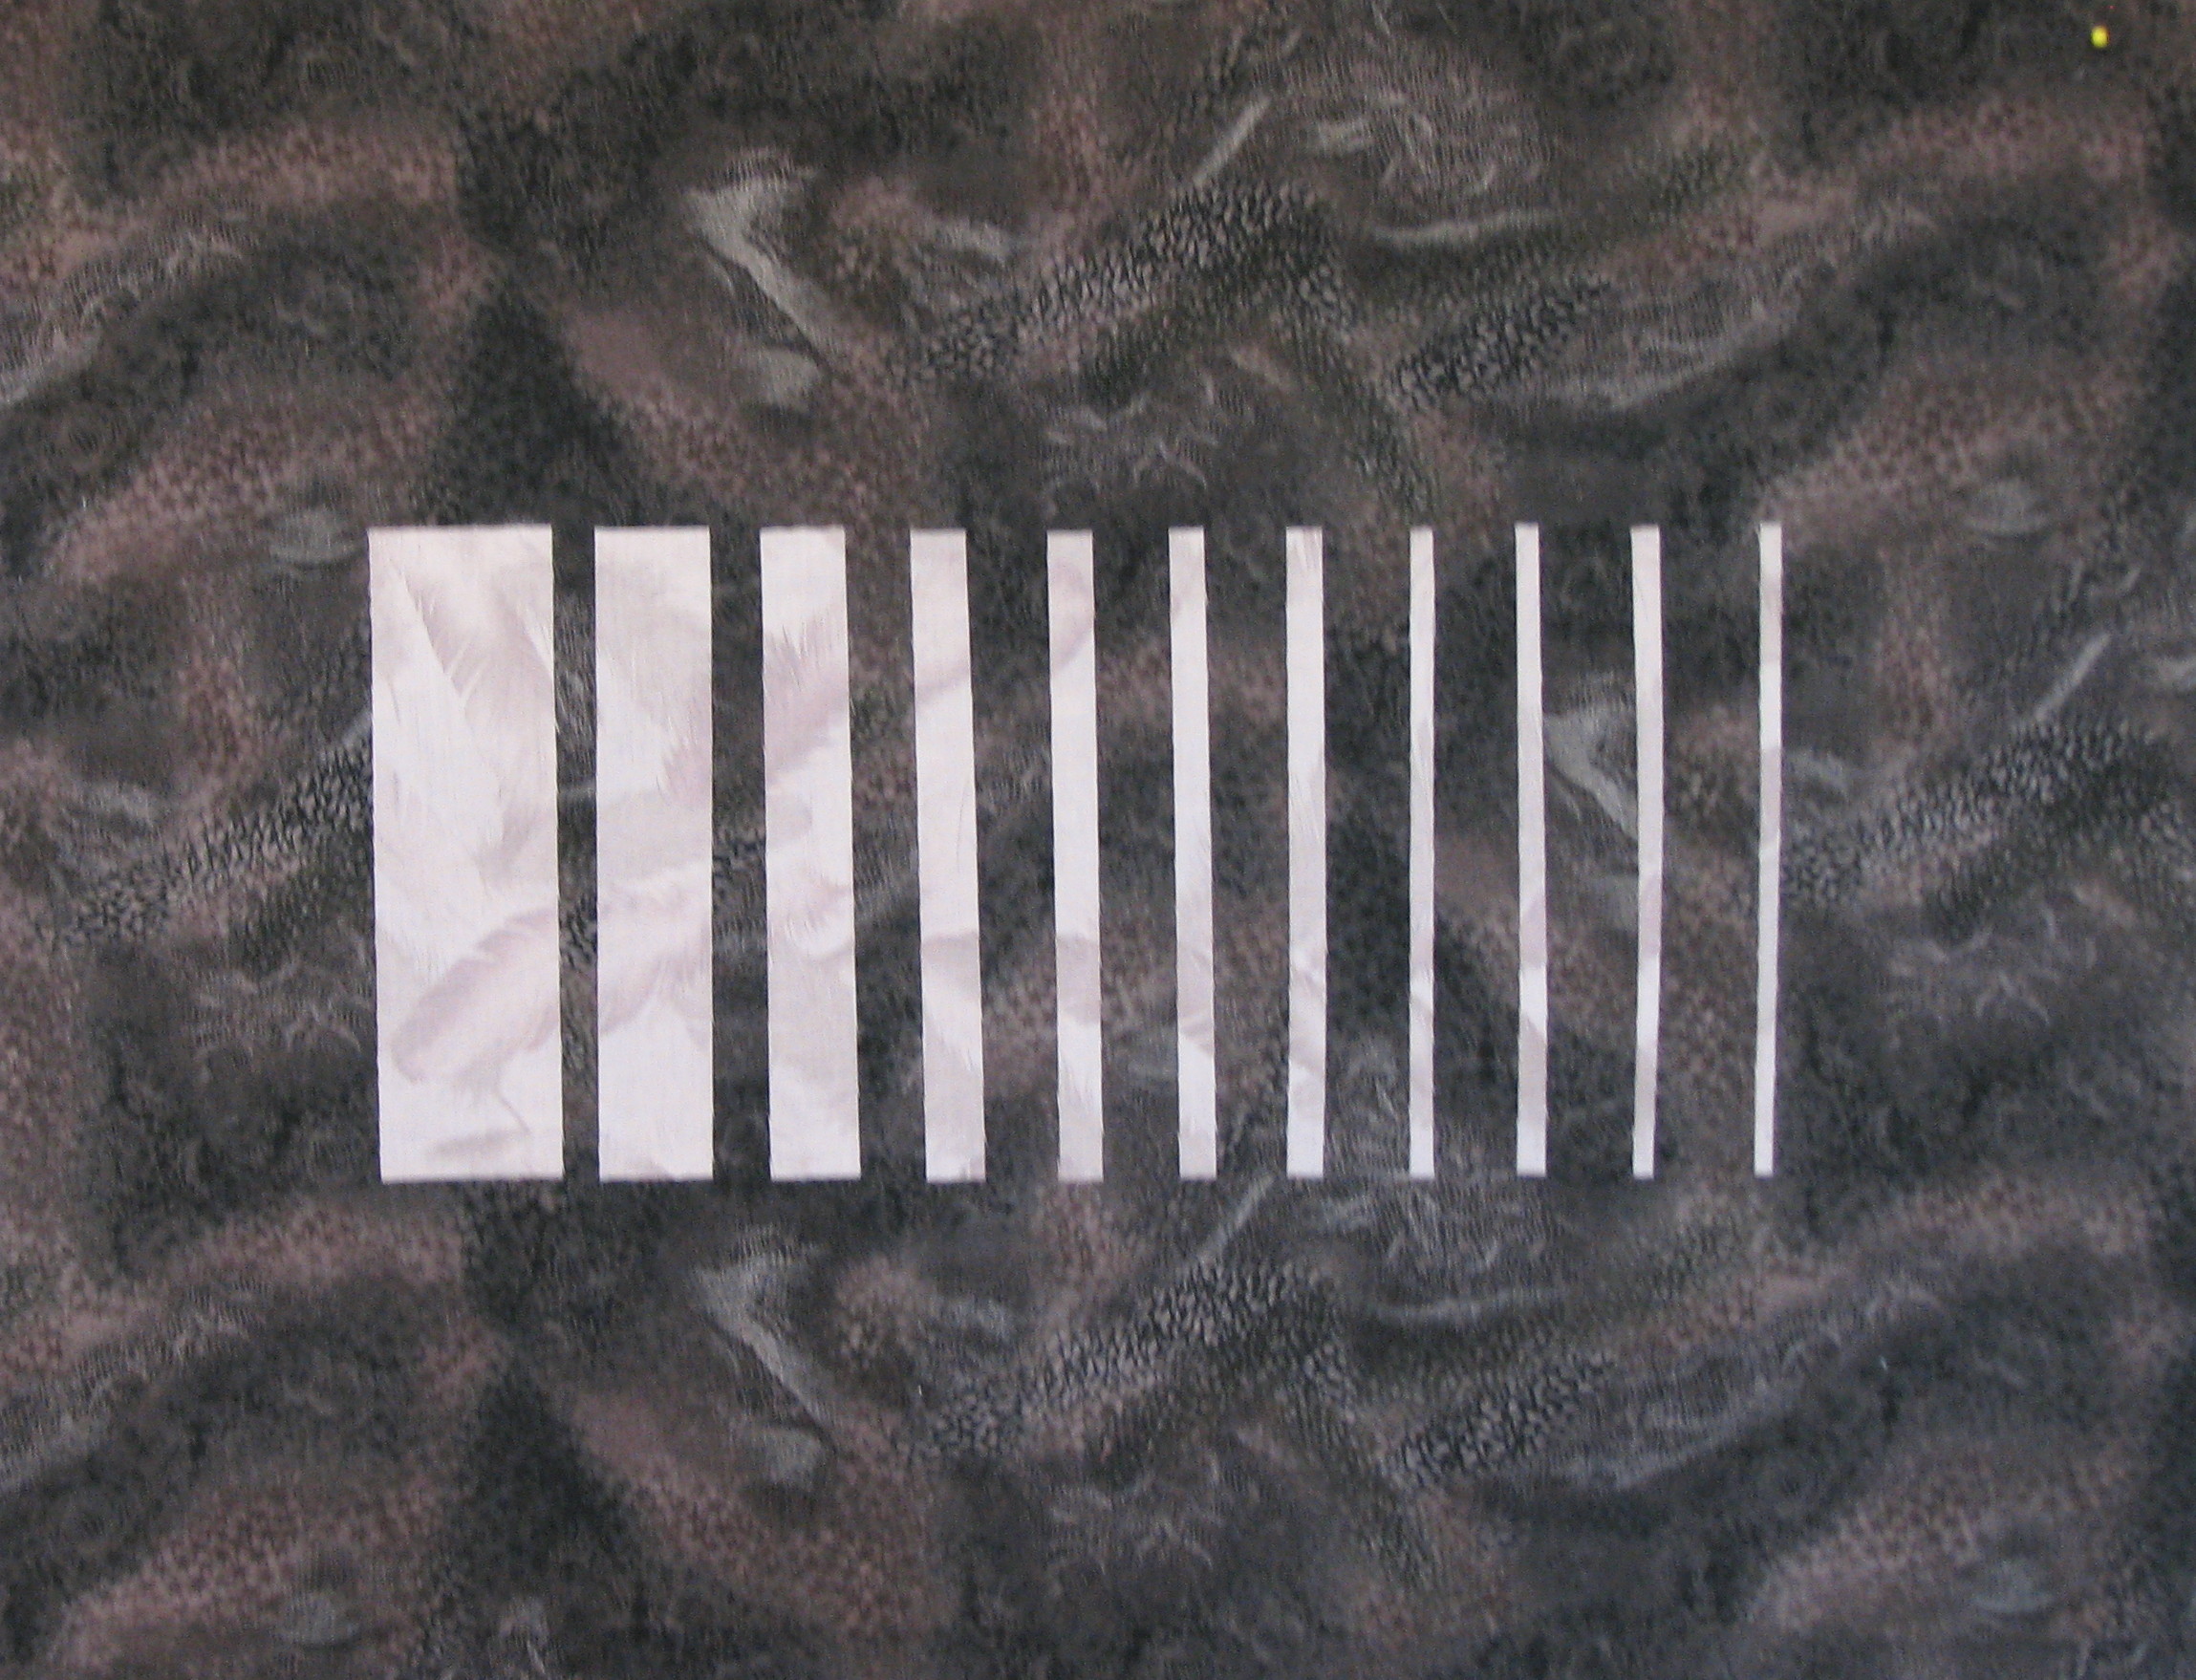
Then, I cut a light grey square into strips and placed them on a very dark grey background:

Square cut in strips showing negative space

Square cut in strips for negative space exercise

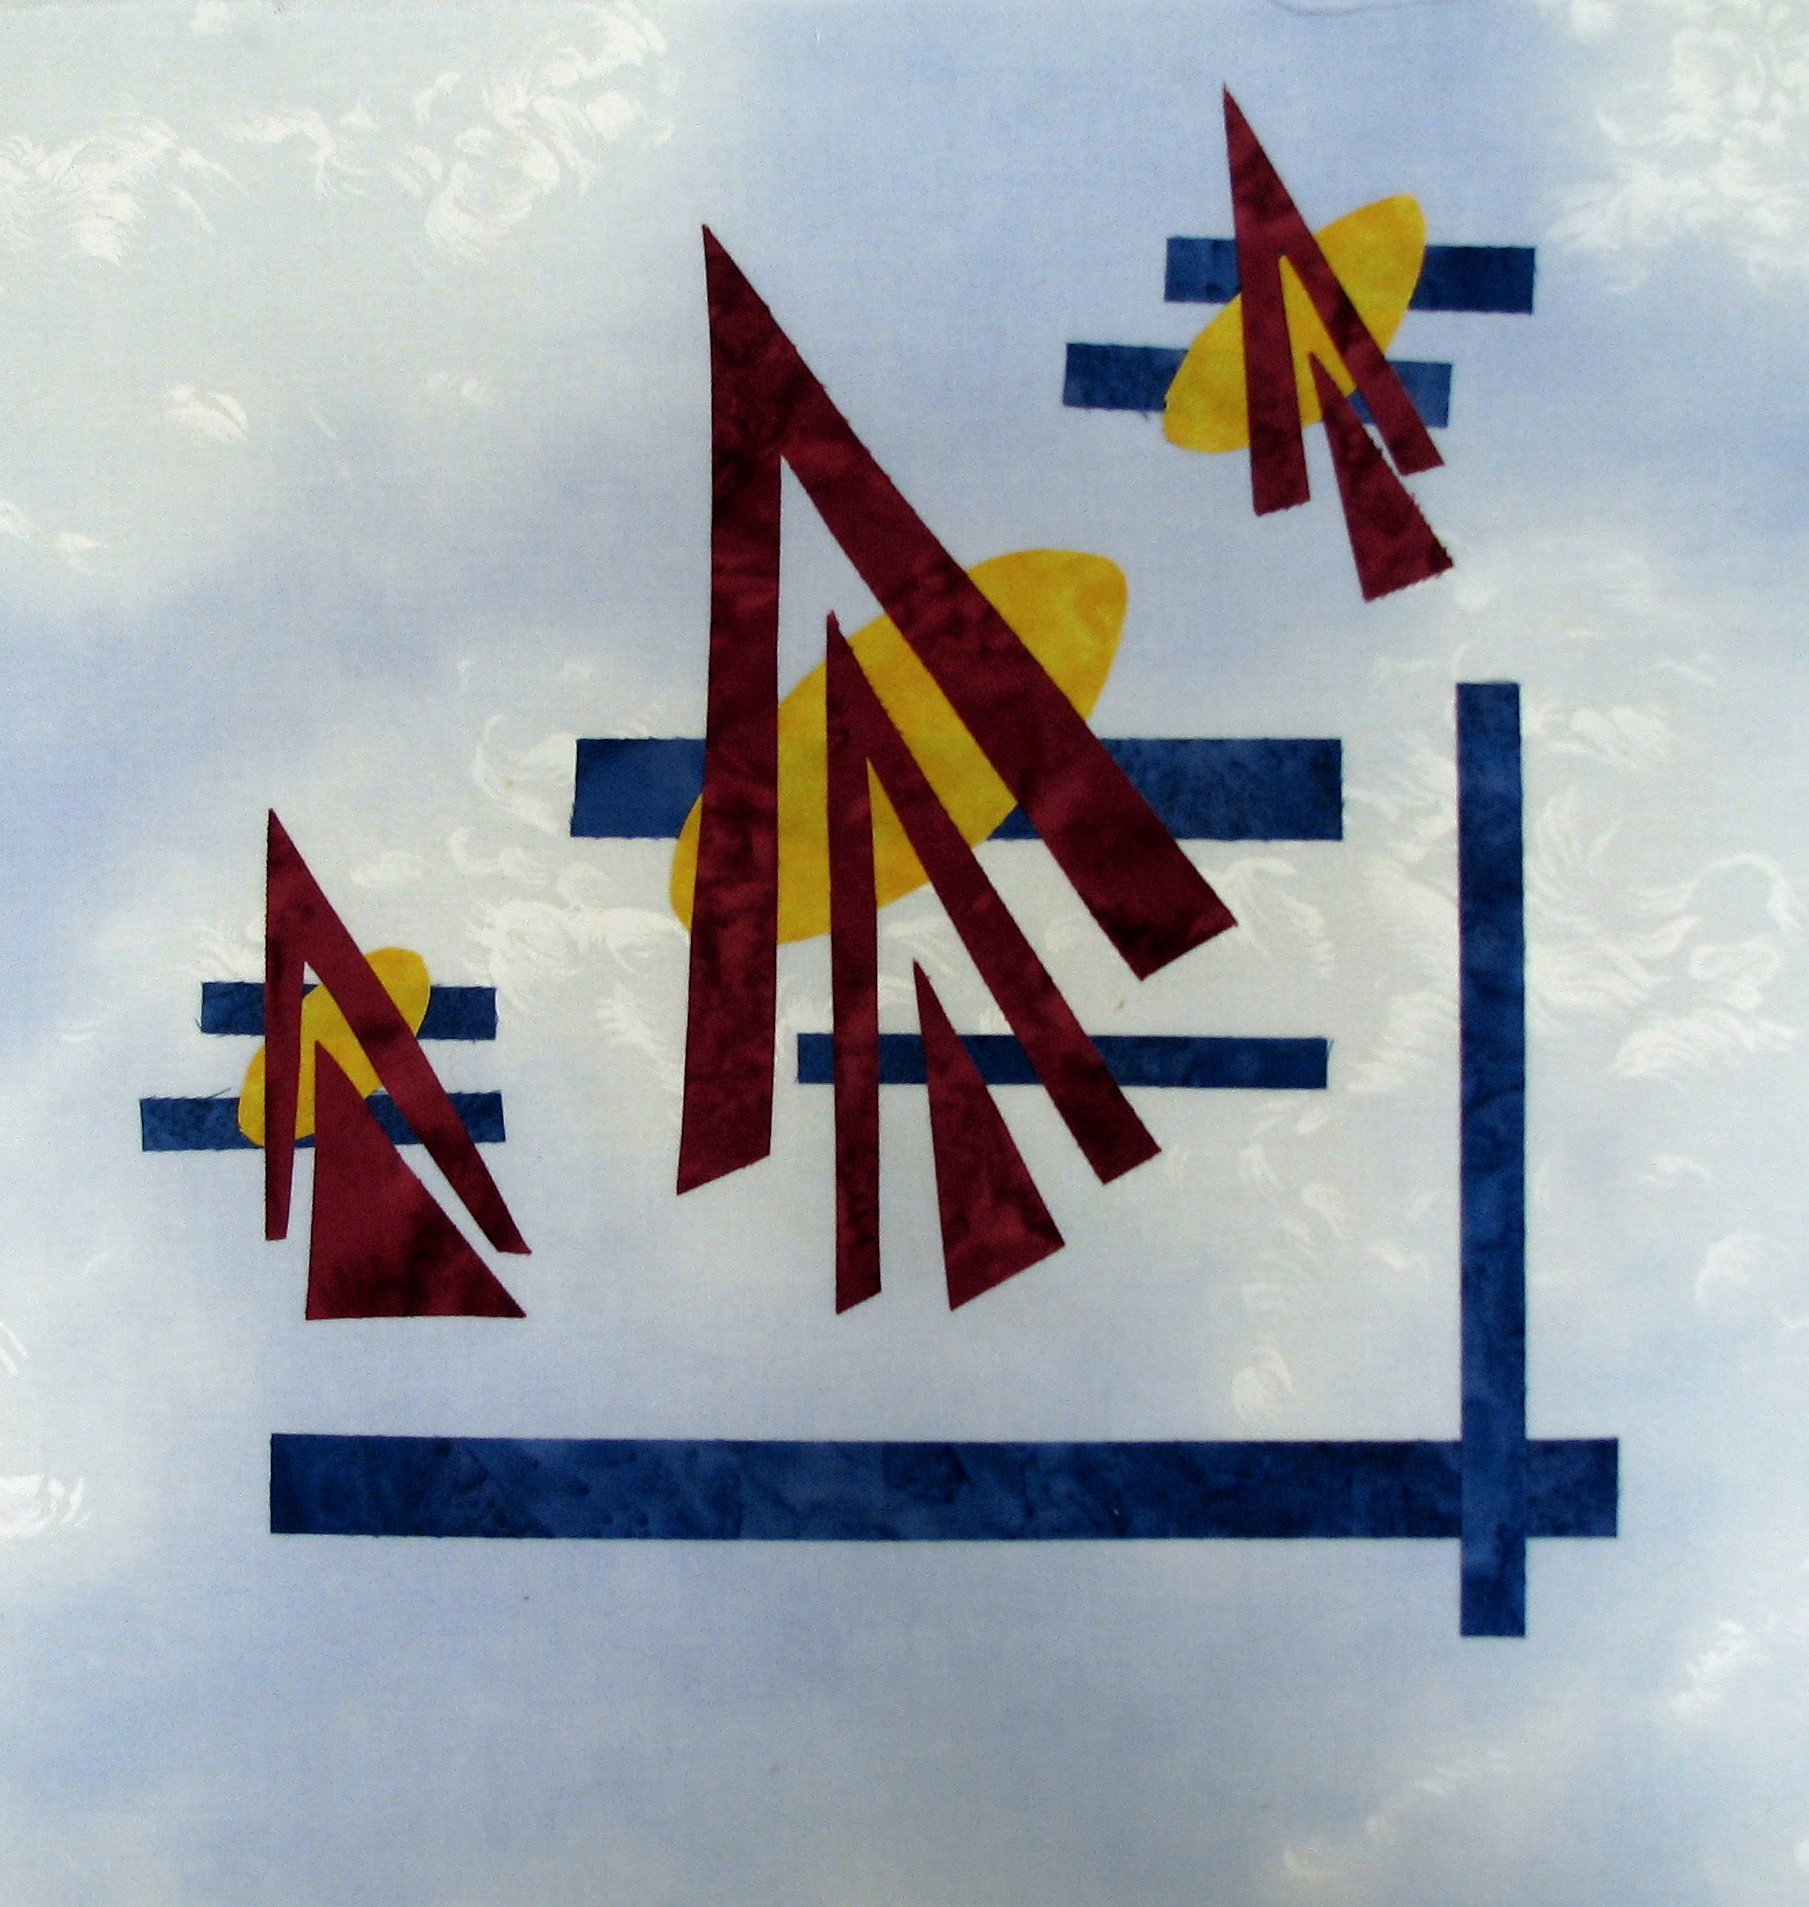
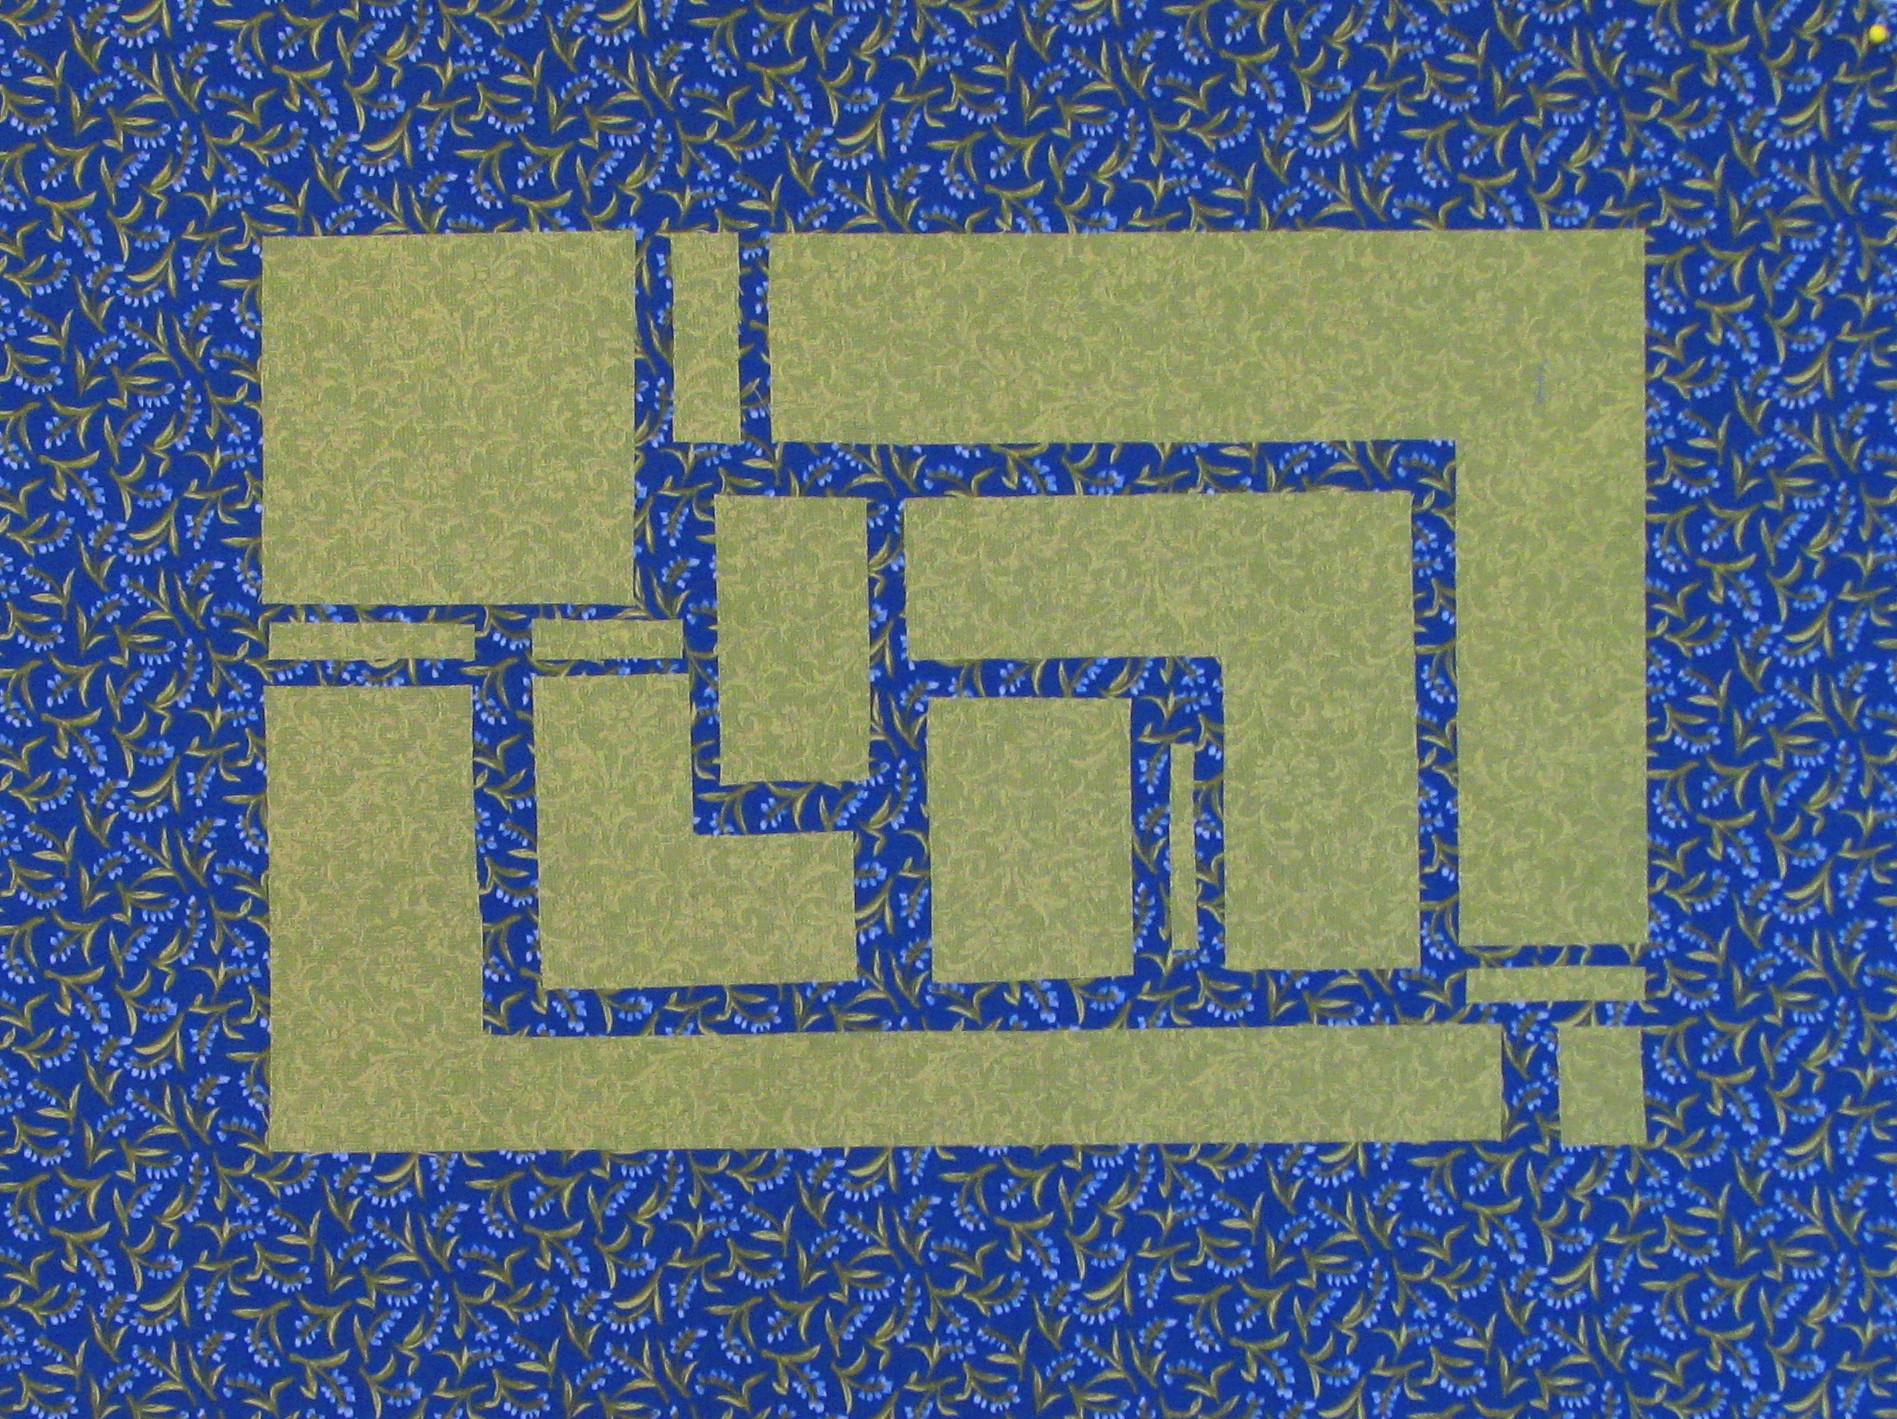
I cut a green rectangle into smaller rectangles and other shapes and placed them on a blue print background:

Rectangle cut up for negative space exercise

Rectangle cut up for negative space exercise – I had to do some additional cutting to make the pieces fit on this one

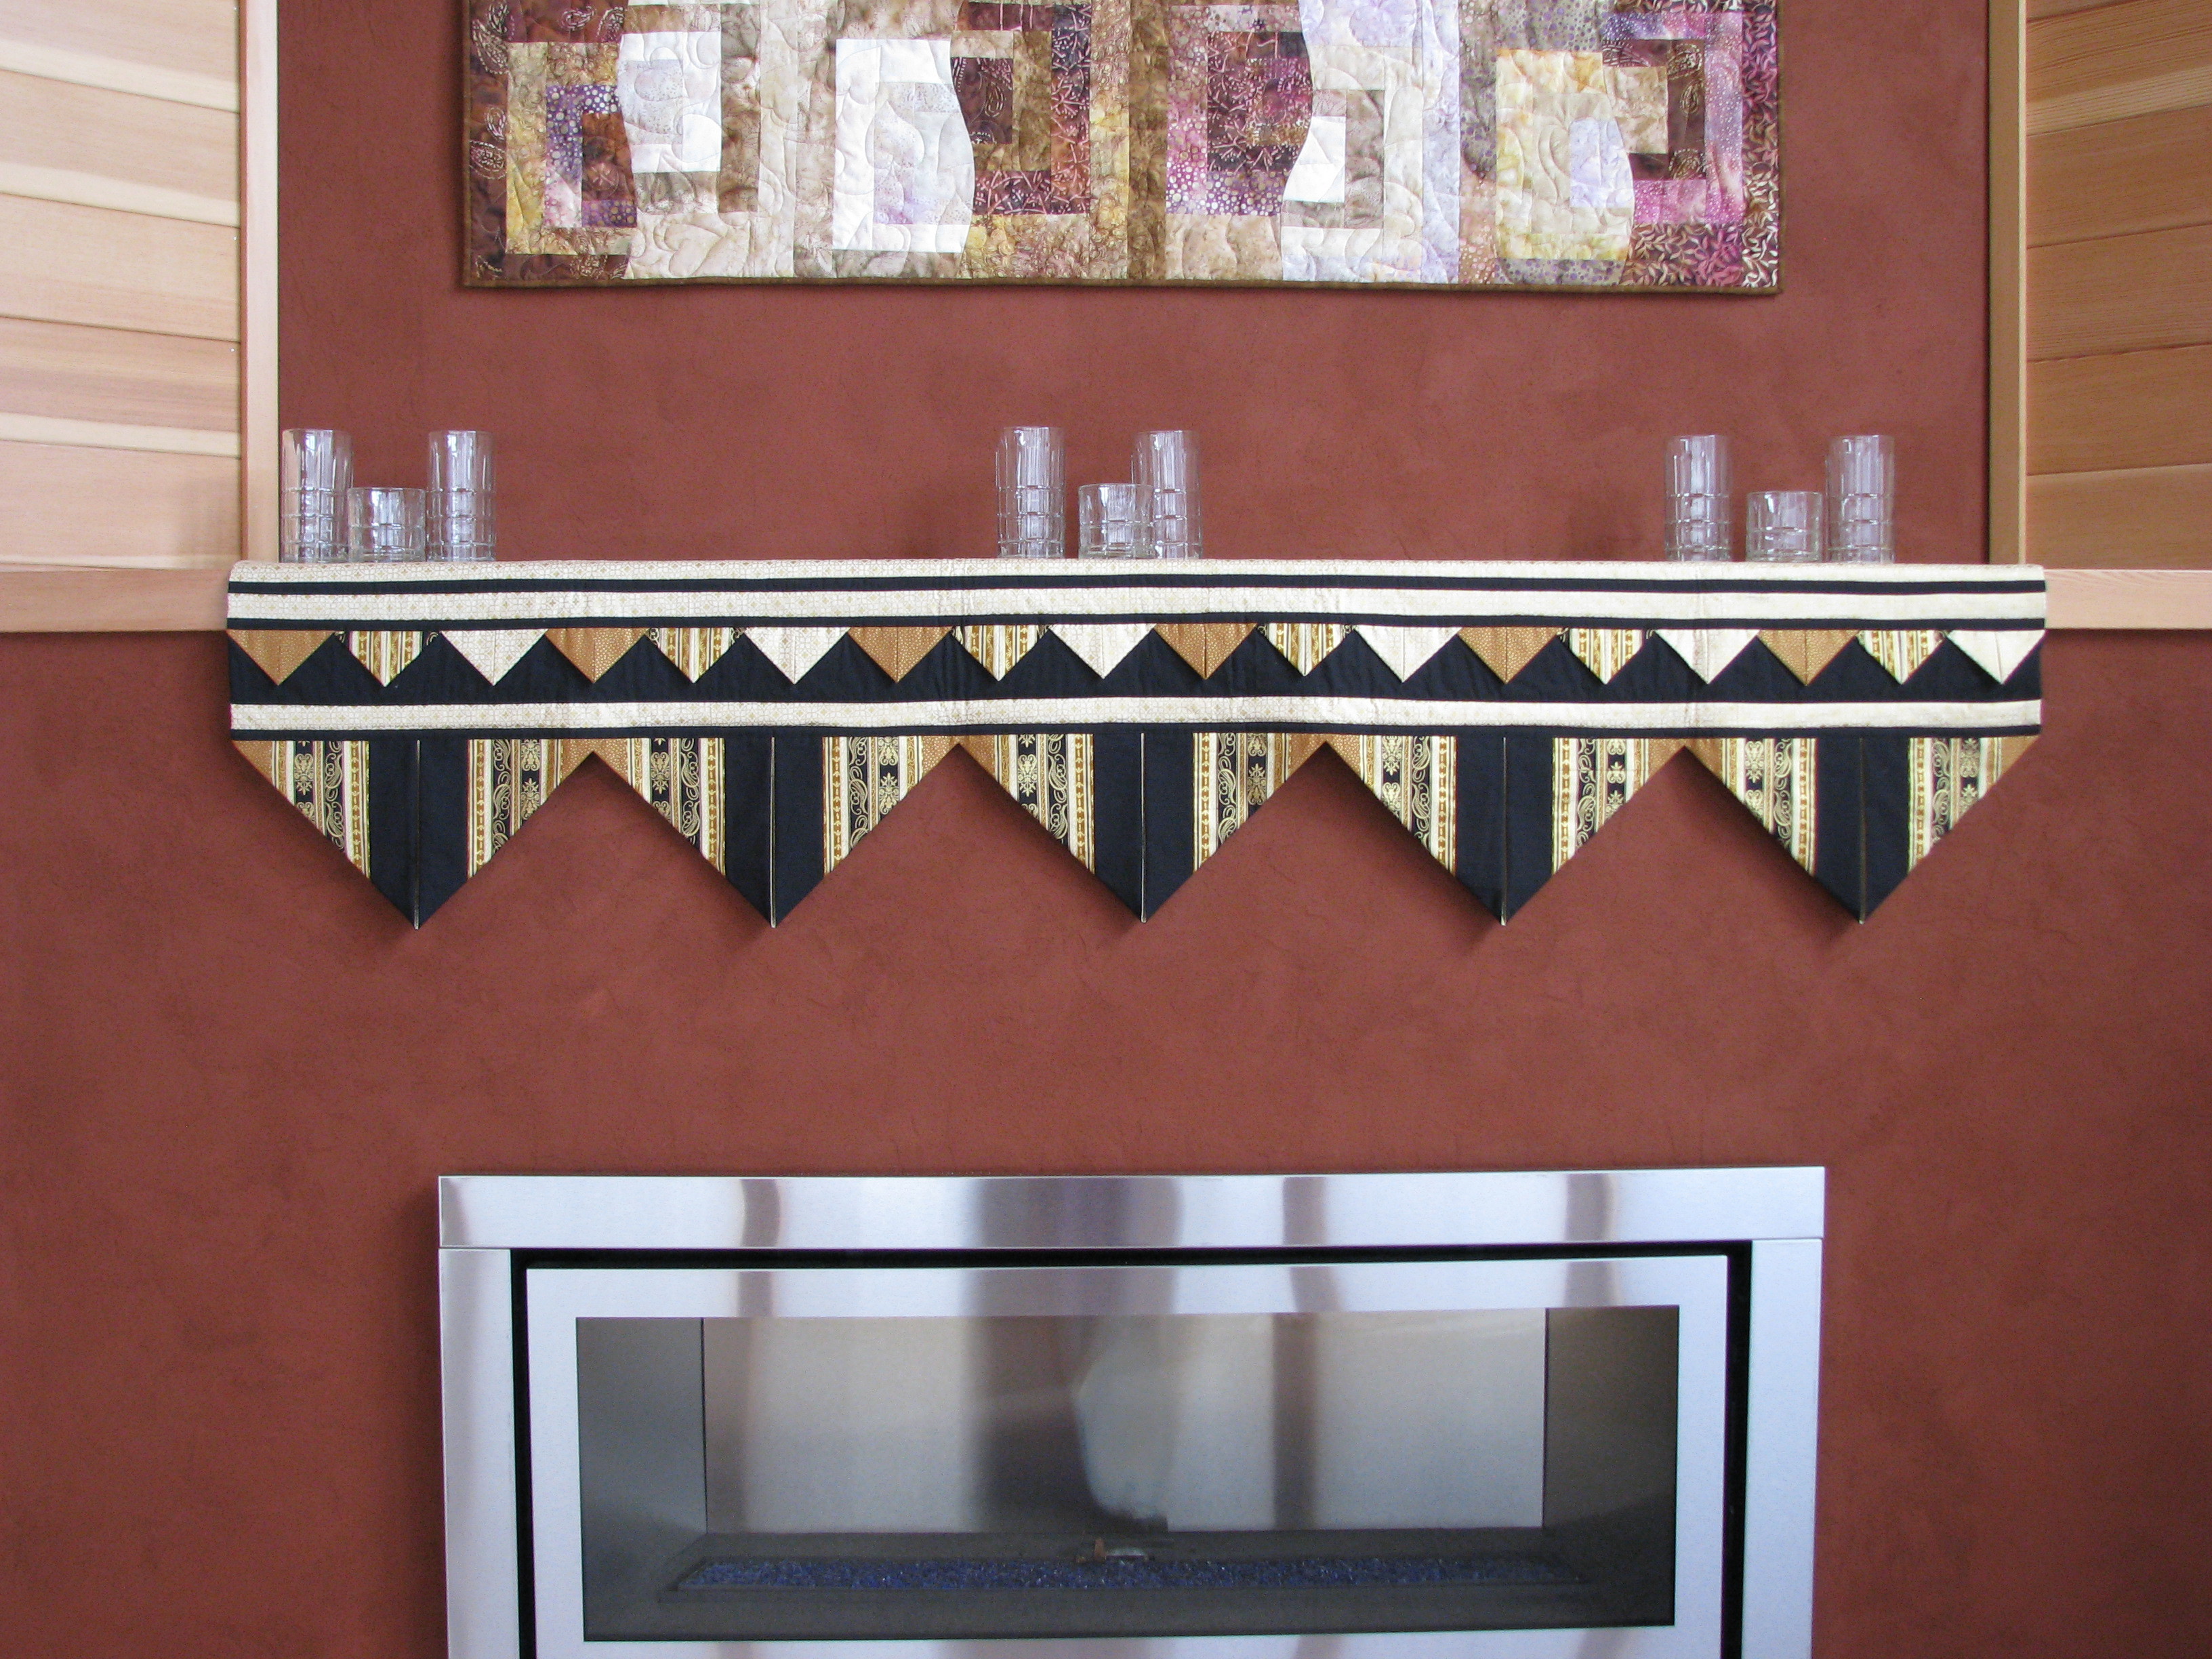
And I cut up several black triangles and placed them on a marbled grey/mauve background:

Cut up triangles for negative space exercise

Cut up triangles for negative space exercise – this one looks sort of Native American to me

Aren’t these interesting? With some appropriate borders and free motion quilting in the negative space, I think these are going to make dramatic little quilts. I will report more progress as I continue.

I am very pleased with this teacher and the class materials so far. Marilyn Belford also teaches a class called Realistic Fabric Portraits at QU that starts June 28. She has a book available on the same topic Portraits For Fabric Lovers  (if you click on the name here it will take you to Amazon to buy the book, so don’t click unless you want to do that).

I was saddened to find out that Quilt University – where I have taken many classes and learned so much – is shutting down at the end of this calendar year. It was founded by Carol Miller who recently died after a short illness. Her husband Roger, who was always the technical guy behind the scenes, has decided to have a graceful shutdown and allow all us QU addicts to take the classes we have been putting off. I am going to be very busy for the next few months trying to do just that.

Quilt Museum links

I just received an email from our guild webmistress with a link to the Victoria and Albert Museum (in London, England) quilting section. They have some excellent material and it is well worth taking a look:

http://www.vam.ac.uk/page/q/quilts-patchwork-and-quilting/

And don’t forget the excellent resources at the International Quilt Study Center & Museum at Lincoln, Nebraska:

http://www.quiltstudy.org/

And the National Quilt Museum in Paducah, Kentucky

http://www.quiltmuseum.org/

All these places would be wonderful to visit. Fortunately they have some excellent resources online, so we can benefit from their work even if we can’t go visit.

A quilt pattern tuneup – part 2


Based on some excellent comments from Charlie, I have gone back to Electric Quilt and come up with a couple of revised designs. The first just changes the widths of the sashing strips so they are all a consistent one inch finished. I think Charlie is right, it is better with the consistent width. The second, shown below, follows Charlie’s suggestion of making all the sashing strips one color. This quilt would actually be easier to make because the sashing would not have to be added to each block individually, and it takes fewer fabrics. The first version has a little more “punch” and the second is softer and emphasizes the print fabric more.  I like them both.

Garden windows quilt with purple and blue sashing

   Garden windows with all sashing the same width

Garden Windows with blue sashing only

Garden Windows with blue sashing only


A quilt pattern tuneup part 1

I designed a quilt pattern a few years ago for a local shop, using a specific fabric line (Kumiko Sudo was the designer). The line included one fabric with a very large pattern. So the resulting quilt design, which I called Garden Windows, looked like this mocked up in Electric Quilt:

Garden windows quilt in red

Garden Windows in red from Kumiko Sudo fabric line

And here is another version, using a smaller scale focal print:

Garden windows purple and green quilt

Garden windows quilt in purple and green

I hadn’t actually made this pattern up in fabric, since I wasn’t getting paid for the design. I like the pattern enough to rework it, so this is my first report on the re working. I am labeling this post part 1 because I am not totally happy with the quilt yet, so I expect to change it a little.

I found another fabric with a large design at my local quilt shop, and selected several fabrics to accompany it. The fabrics are shown here.

Focus print and companion fabricss

Initial fabric choices for the Garden Window qult

The red and blue solids bring out the flower colors in the focal print. I hadn’t decided on the fabric for the borders and setting triangles at this point, but thought I would try to find a blue and black print. I couldn’t find one that worked, so I had to go another direction. I went back to the shop and bought a coordinating leaf print in the same line as the focal print. The completed quilt top is shown below.

Garden Windows quilt with red and blue flowers

Garden Windows red and blue flowers version

In retrospect, I think the solid blue is too bright, and I should have used a darker blue or switched to the red for the block sashing rectangles around the white/green blocks. Fussy cutting the large blocks consumed an incredible amount of fabric – not good in this day of rising fabric prices. I also think the blue sashing strips are too narrow. I will go back to Electric Quilt and mock up a new version of the pattern with wider strips — if that will work geometrically. Don’t know yet. Stand by for further developments…

Quilt Binding – One Tip for nicer corners

Are you having trouble  turning the corners on your double fold bindings? Do they refuse to make a nice miter and lay down flat, even though the rest of your binding folds over nicely and behaves?

The problem may be as simple as the thickness of your batting. Try this simple tip to solve the problem. In the corner, fold back the quilt top and back and cut out the corner of the batting only. This will reduce bulk in the corner and make your corners behave better. Here are some step by step photos. First photo shows the quilt corner nicely trimmed, before the binding is applied. Second photo shows the top folded up and the approximate batting seamline marked. Third photo shows the batting trimmed out of the corner.

binding corner - 1 Apr 19 2013        binding corner - 2 Apr 19 2013       binding corner - 3 Apr 19 2013

After the batting corners are trimmed, apply your binding in the usual way. I think you will find the corners will behave better.

Even though you may never have this problem with your normal bindings, you may find it occurs with embellished bindings, such as those with piping or an integrated flange.  Test construction of a corner in this type of binding before applying it to your quilt.  You may solve the problem by cutting out the batting, or you may find you need to widen your binding strip slightly to give you more ease.

If you are uncertain how to make proper binding corners, ask your quilting friends to look at your bindings and give you suggestions. (Or of course you could buy my book, Fast Fabulous Quilt Bindings.)

© 2013 by Shirley Sandoz and Mystery Bay Quilt Design.  All rights reserved.