Category Archives: Quilting with a Walking Foot

Presser Foot Pressure Adjustment – second post

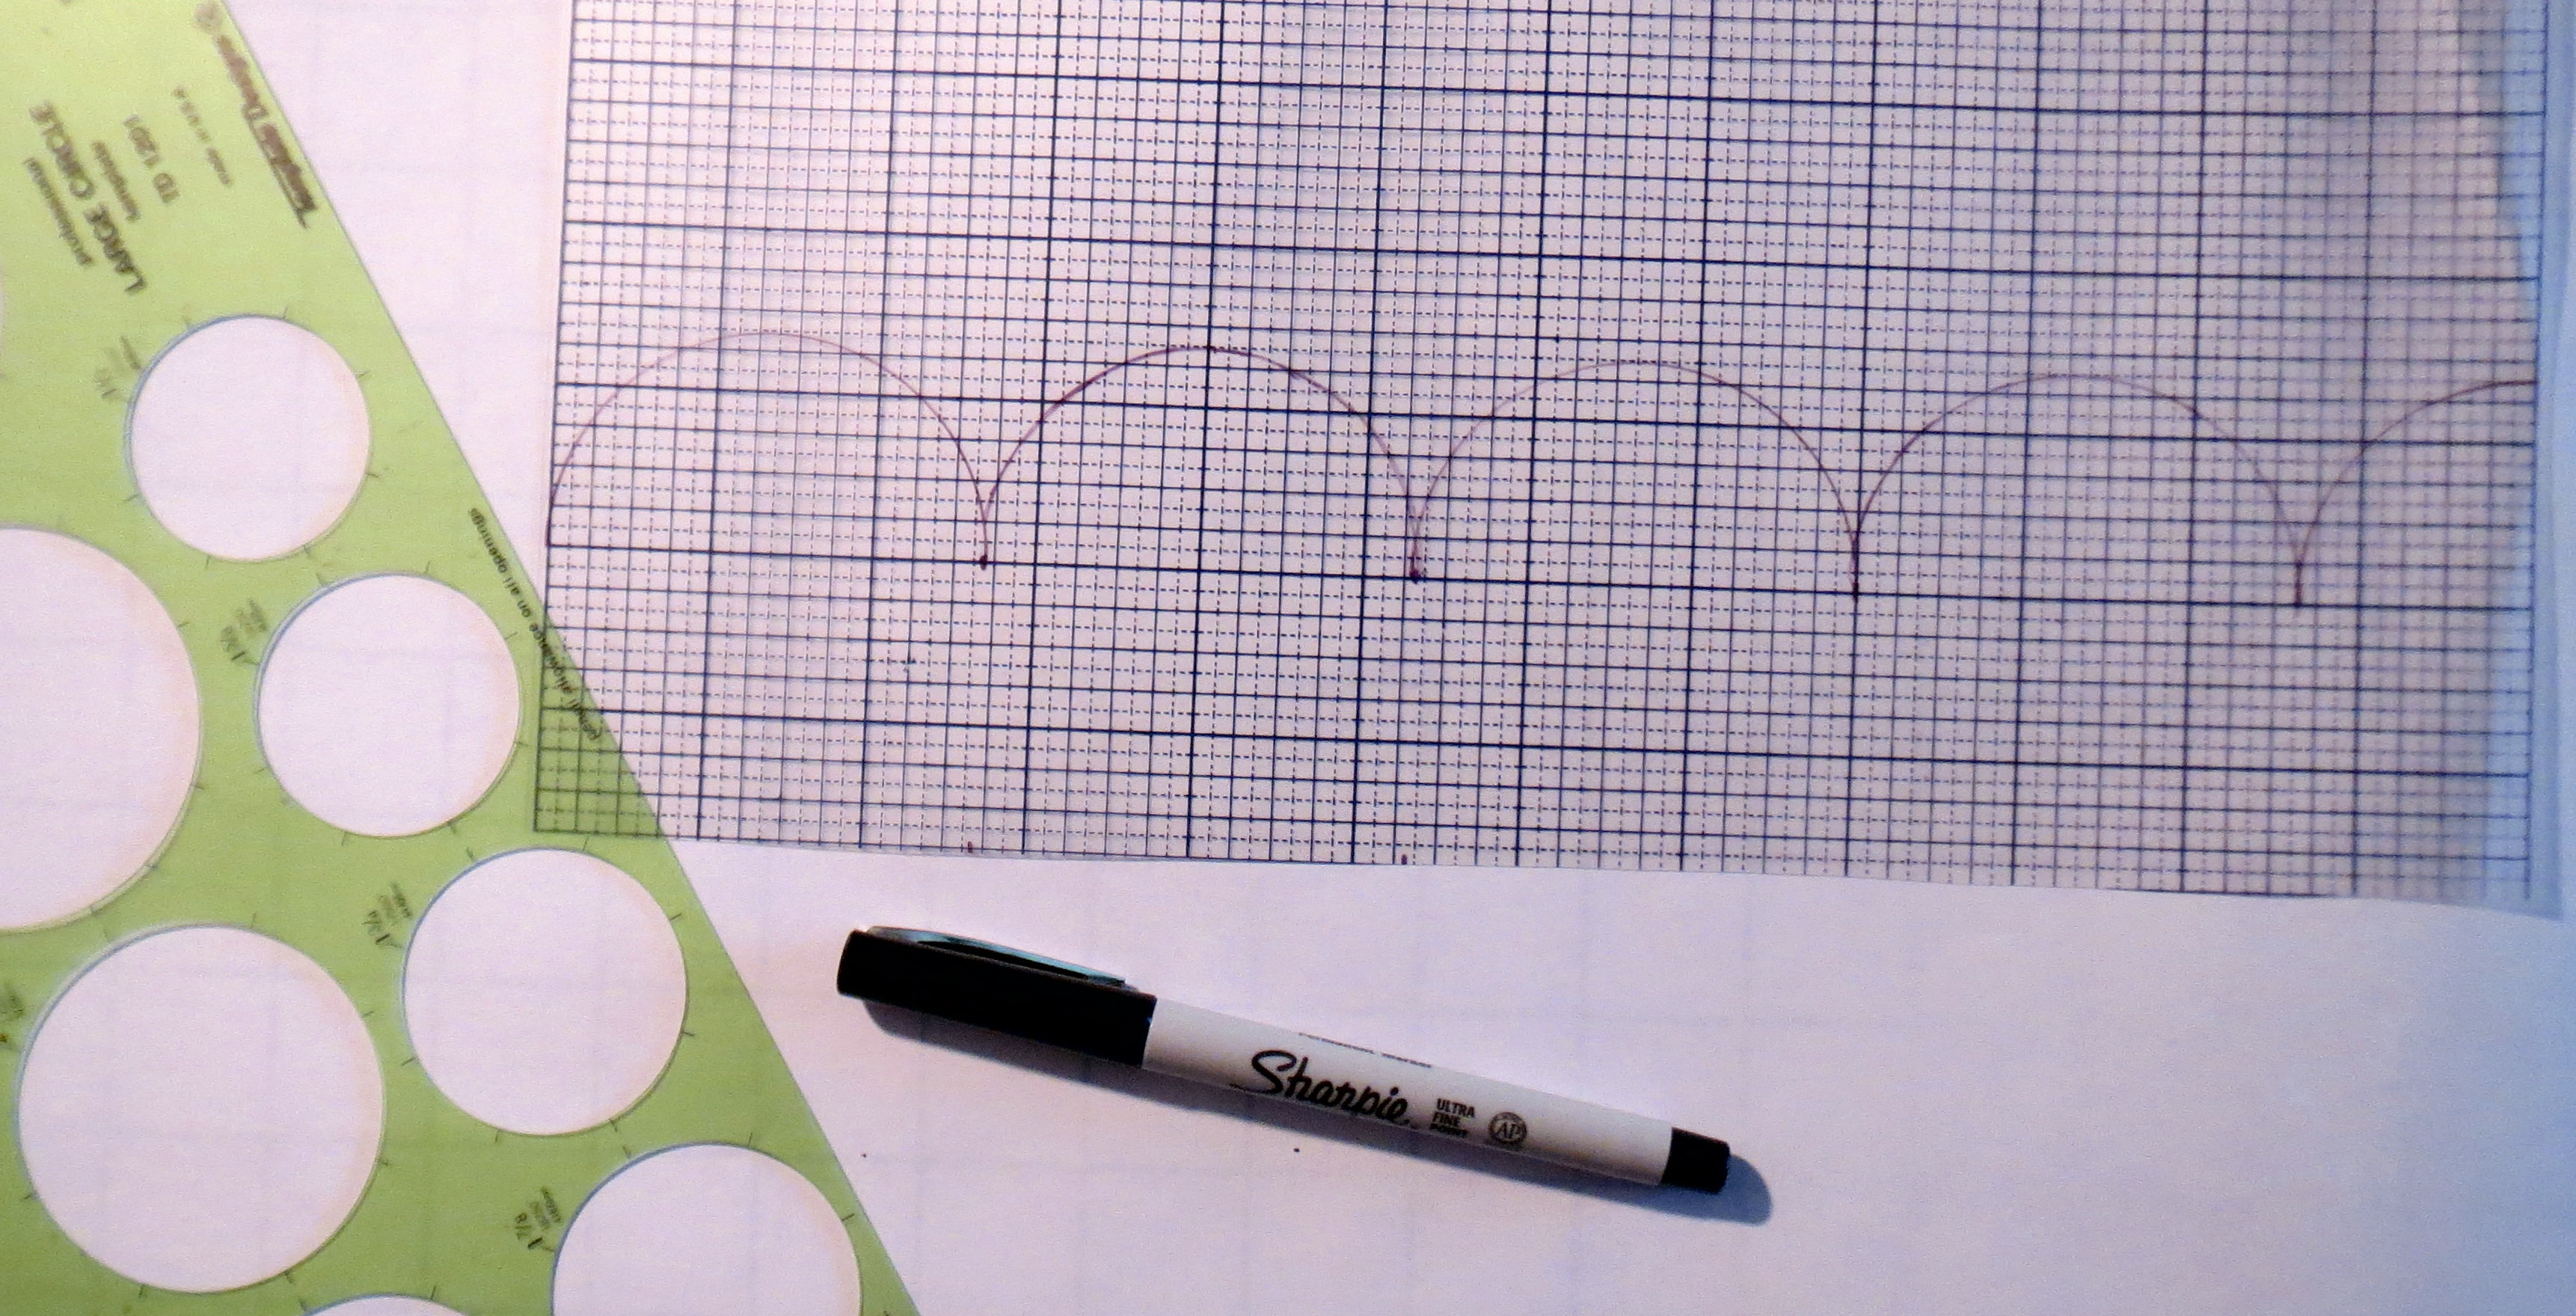
Recently I posted a short discussion and a link to a youtube video on the subject of presser foot pressure adjustment.  Following that post, I did some testing on my own machines, with walking feet installed.  As I did the tests, I wrote on the fabric to show the settings used.  You can see the settings in the photos.  After sandwiching batting between two pieces of fabric, you sew a crossways seam at the bottom of the piece.  Then the test stitching is done by stitching from the top down towards the crossways stitching.  If the top fabric is being pushed forward, it will show up as a pleat at the crossways stitching.

First, my old faithful Bernina Artista 180.  I was quite impressed with the results.  The range of adjustment is very good.  The lowest setting (no numbers on the machine, but I labelled it 0) was way too light — the stitching wasn’t very straight and the stitch length was inconsistent.  The best setting seemed to be about 8, or two thirds of the way.  Even the highest pressure setting was pretty good.  You can see these results in the photo below:

Bernina 180 walking foot pressure test

Bernina 180 walking foot pressure test

Second, I put the optional walking foot on my Brother Dreamweaver VQ 3000.   I purchased it because it gives  better visibility than the “Muvit™” foot that comes with the machine.  Frankly, up to this point I had never used the Muvit™ foot because it only came with a closed toe sole plate that I really didn’t like.  Also the Muvit™ foot is quite large (since it contains a motor) and I didn’t like that either.  I have recently changed my mind, but more about that later.

The photo below shows the results with the optional walking foot.  There are four possible pressure settings for this machine – 1 through 4 – and I tried them all.  The lowest setting was just barely tolerable.  The results with the higher settings were quite bad.  I tried various other adjustments — presser foot height, auto fabric sensor on or off — and nothing helped.  Here are the results:

Brother VQ 3000 pressure test with optional walking foot

Brother VQ 3000 pressure test with optional walking foot

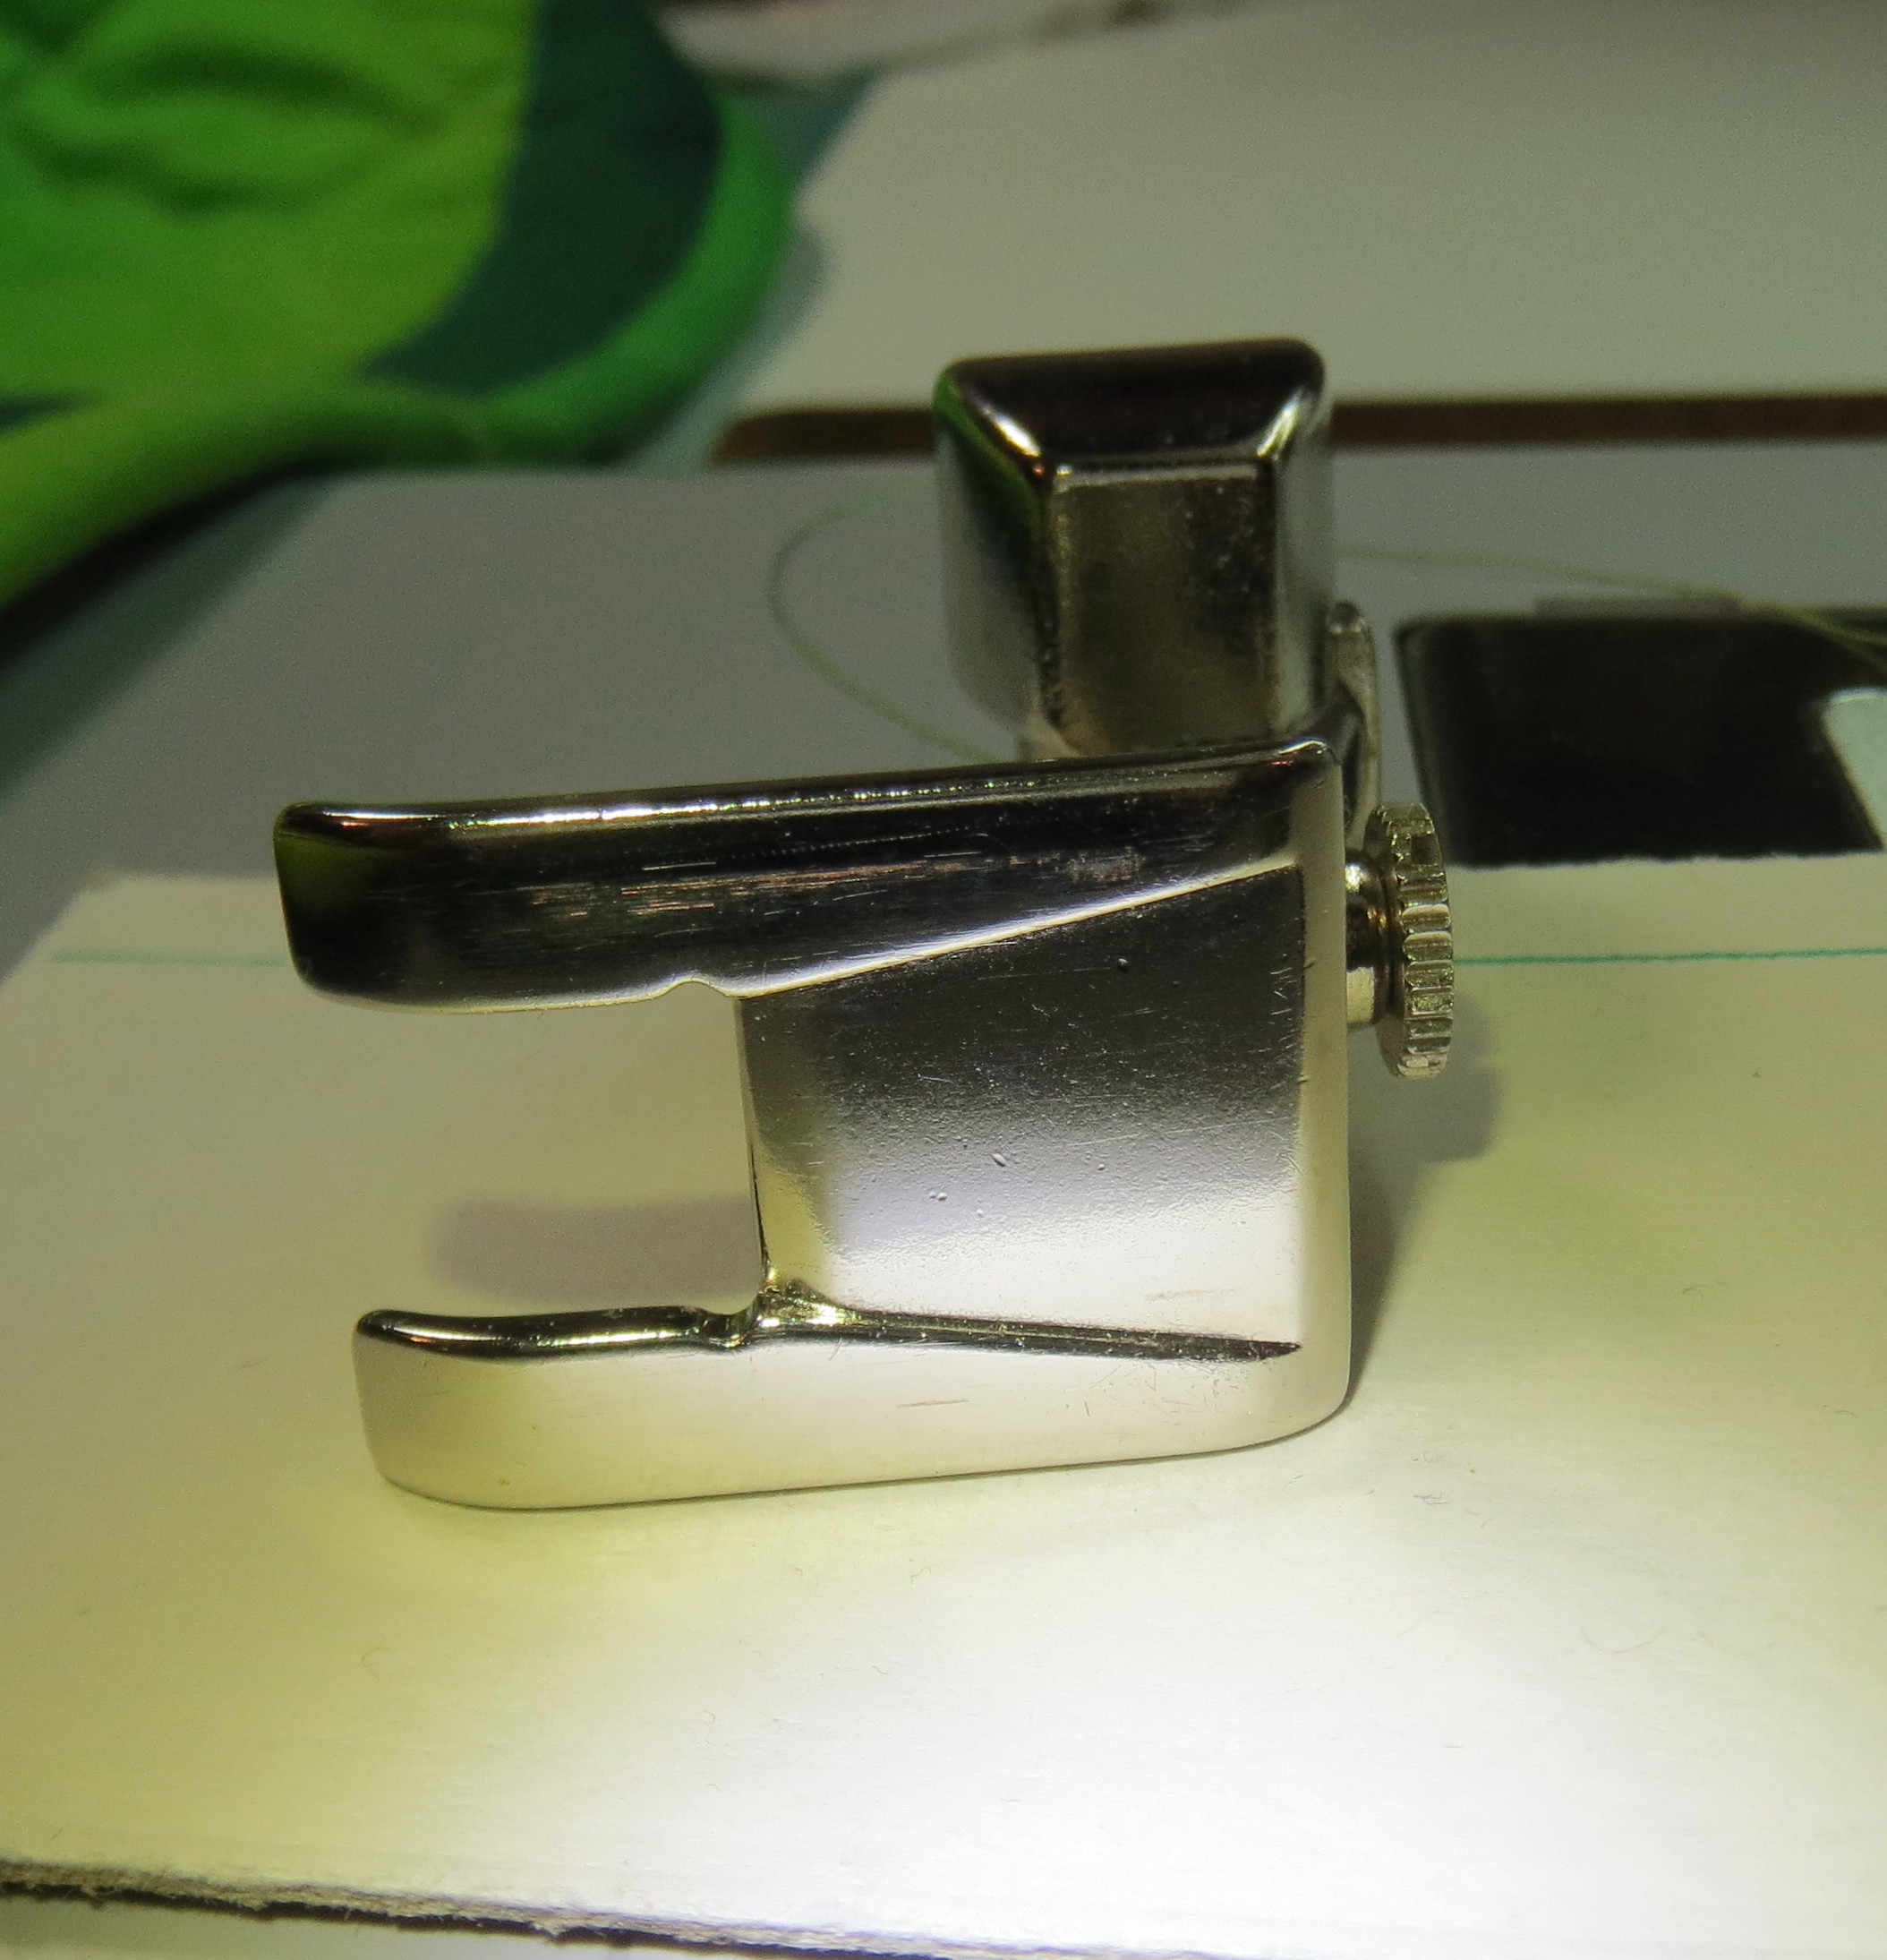
After consulting with Quality Sewing about this problem, I went to the shop and tested a machine like mine, but using the Muvit™ foot.  The results were excellent, and the visibility problem that so bothered me initially has been solved with a new open toe sole plate for the Muvit™ foot.  Here is a photo of the Muvit™ foot installed on the machine, so you get the idea.

Brother Muvit foot installed

Brother Muvit foot installed

Here is a photo of the two sole plates for comparison.  The 1/8 and 1/4 inch markings on the open sole plate are very helpful.

Brother Muvit foot sole plate comparison

Brother Muvit foot sole plate comparison


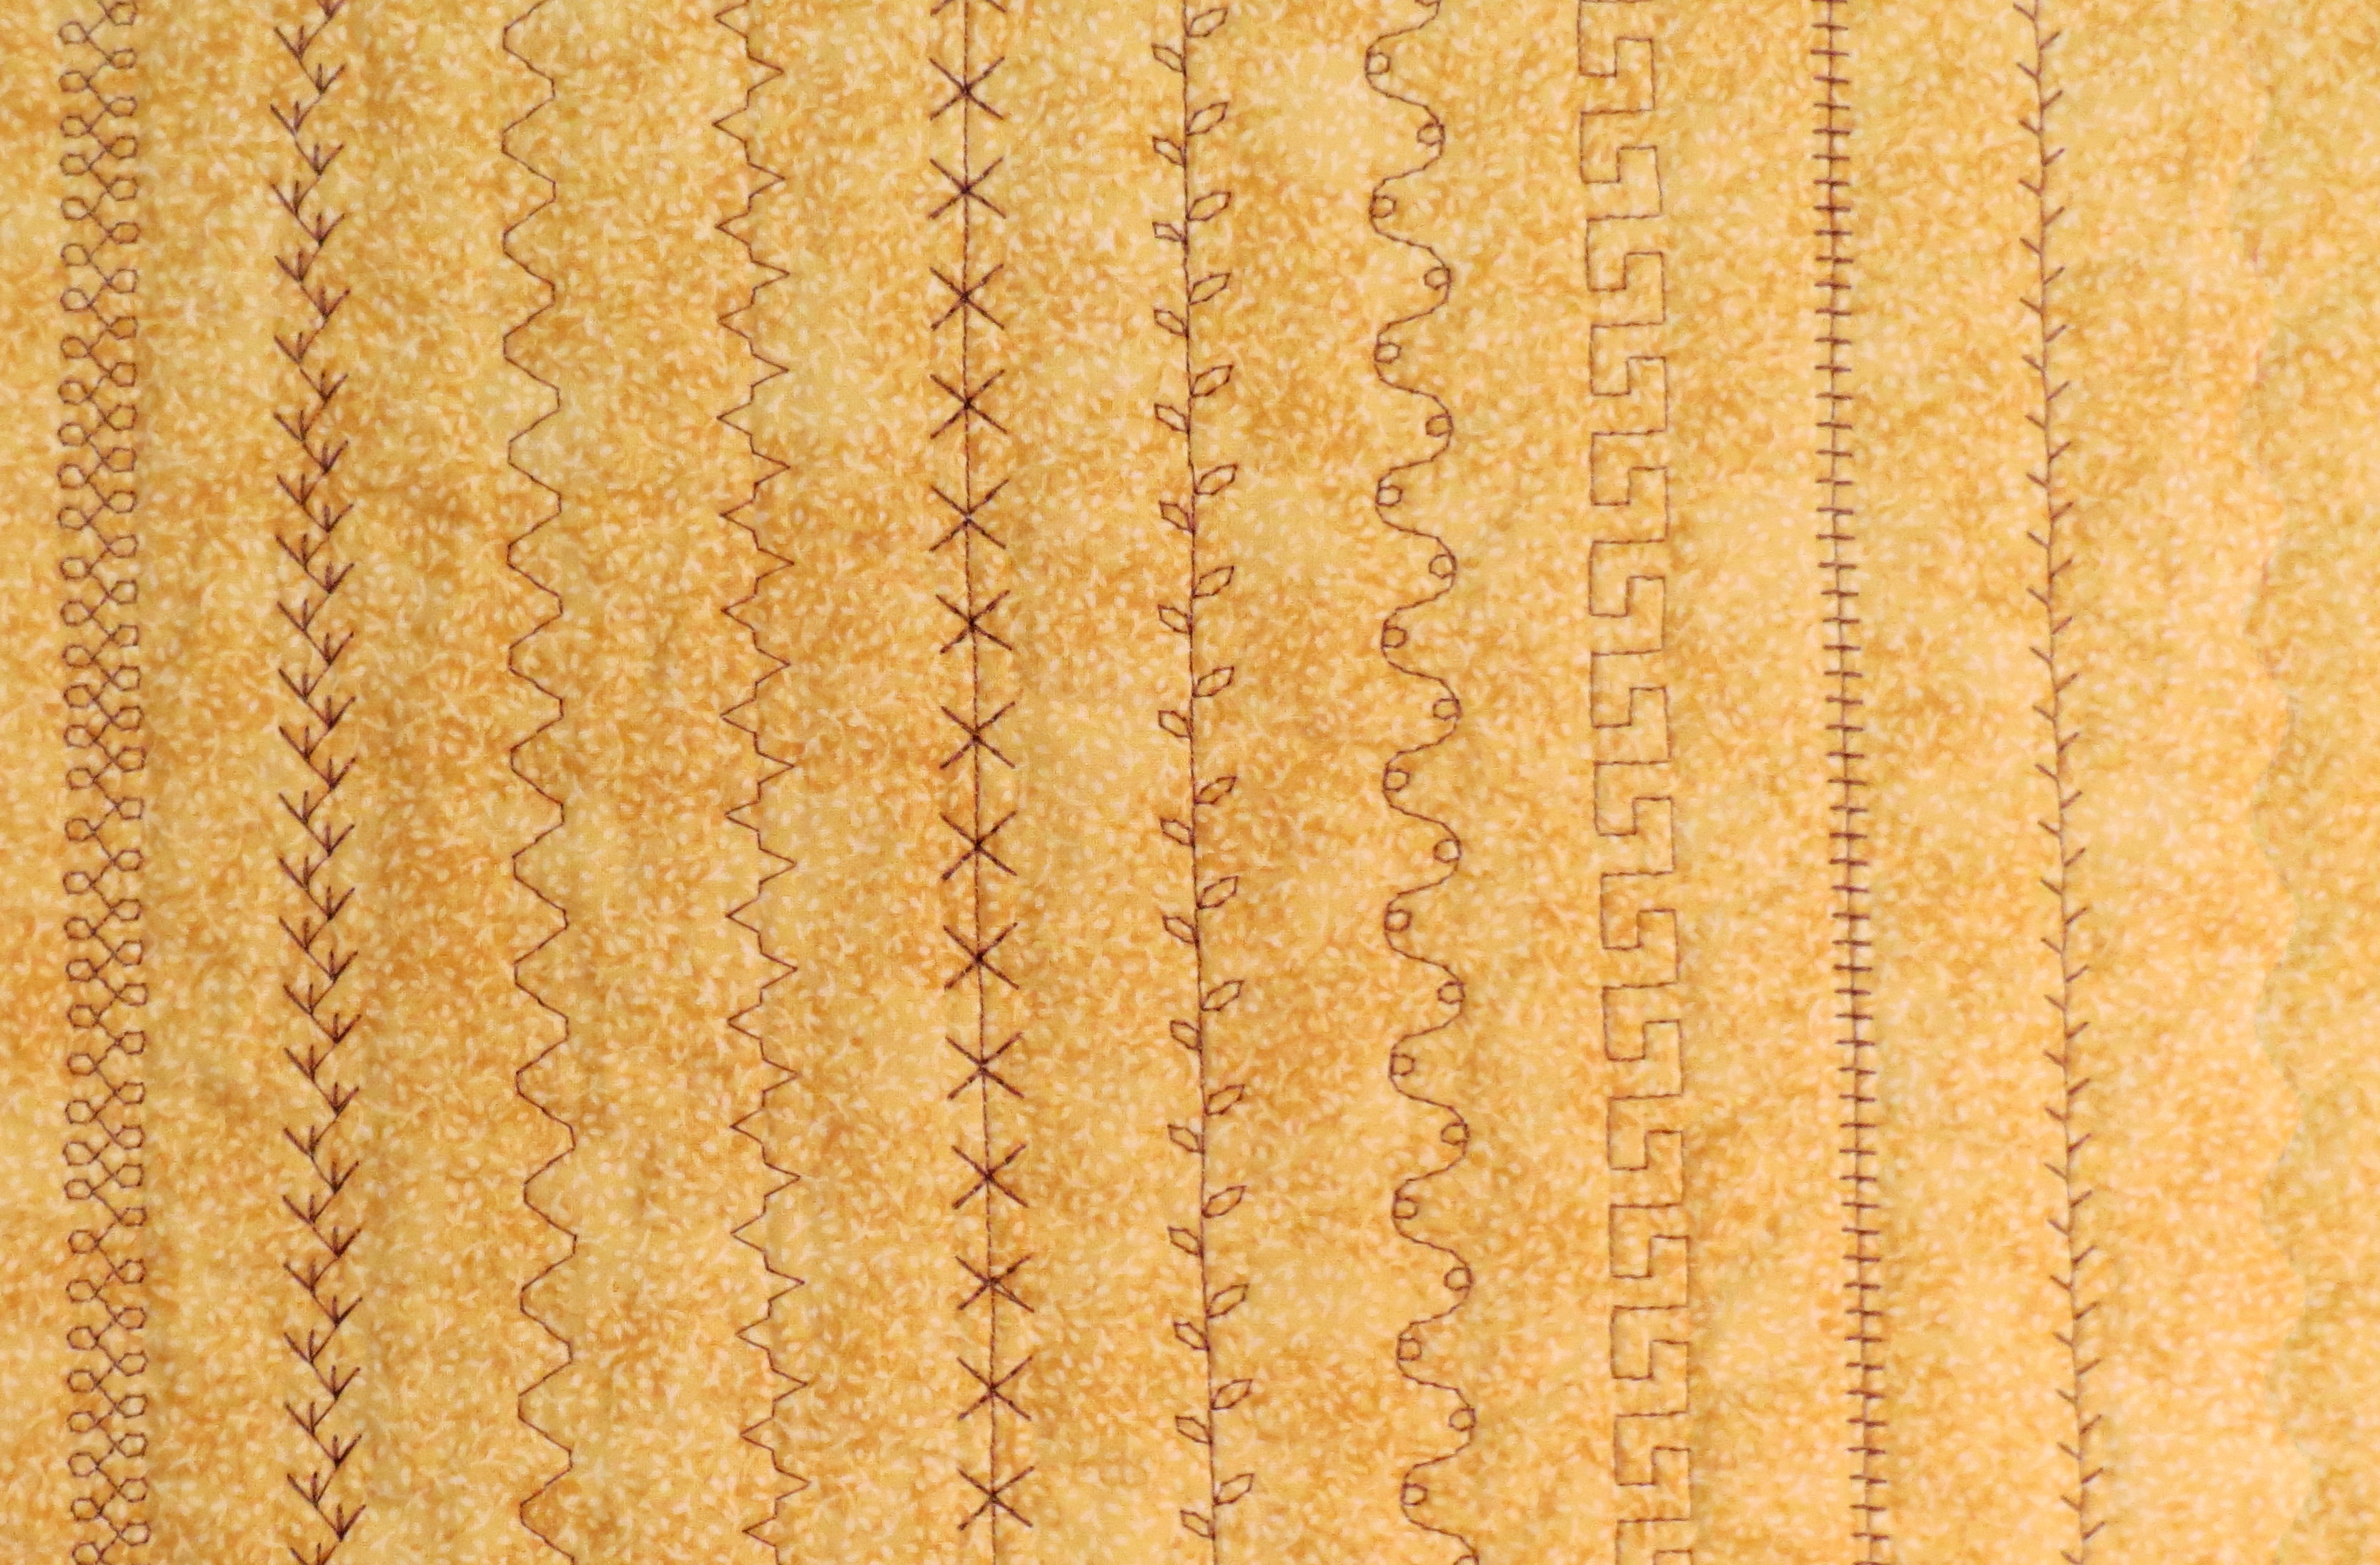
And now the test results.  The Muvit™ foot has an adjustment range from -10 to +10.  At   -10, a little puckering is just beginning to show.  All the other settings produce excellent results, so I would be inclined to leave the machine set at the default, which is 0.0.

Brother Muvit foot pressure test results

Brother Muvit foot pressure test results

After conducting this test at Quality Sewing, I purchased the open toe sole plate and came home and quilted a quilt with the Muvit™ foot.  I also put the binding on using the Muvit™.  I am very impressed with the results.  I still wish the foot was a little smaller, but I can now understand why the engineers designed it the way it is.  And I retract all the nasty thoughts I had about it!  Always good to get motivated enough to try new things, especially when your initial emotional reaction was “what kind of idiot did this?”.  Turns out, some very clever (not idiot) engineers did this!

Adjusting the presser foot pressure on your sewing machine

Today I was quilting a good sized quilt using Warm and White Batting and had some problem with the top fabric puckering.  I reduced the presser foot pressure – an easy task with my Brother Dreamweaver, since it is one of the basic settings for the machine that can be adjusted using the touch screen.  This is a topic that has come up a couple of times lately and is an adjustment many of my quilting students aren’t familiar with, so I decided to mention it here.

Note that we are talking about how hard the presser foot pushes down on the fabric.  This is totally separate from thread tension, which is another important adjustment that we talk about more often.

Most higher end and/or older sewing machines have a presser foot pressure adjustment.  Some low end newer machines probably don’t.  On the newest high end machines it is probably computerized and can be set from the touch screen.  On older machines it will be a manual setting.  As always, consult your sewing machine manual or your local dealer.

I found a very nice video by Marguerita McManus on youtube that shows several different machines and where the pressure adjustment is located, and then also shows you how to do a very simple test to determine the proper setting for your quilting.  She shows a couple of examples of different settings needed for different quilting sandwiches, depending upon the batting being used.  I like her examples because you can duplicate her tests quickly with your own fabric, batting, and sewing machine to determine the settings that work best for you.

There are also several other places on the internet where descriptions are given of how to adjust the presser foot pressure, but I think Marguerita’s video gives the best simple explanation for quilters.  Here is the link to the video:

https://www.youtube.com/watch?v=Ox8qRhWF3CI

You will have to wait through the ad at the beginning before the actual video starts  — so don’t panic and think you have gone to the wrong link.

Hope this is useful for you!

Shirley


Quilting with Decorative Stitches from your sewing machine

Quilting with decorative stitches is a great way to add an accent to your quilt, especially along a border or in place of “stitching in the ditch” on a casual quilt.  Some decorative stitches can be used with your walking foot, but only if the stitching always moves forward.  Some decorative stitches can only be made when the feed dogs force the fabric to move backwards or even sideways.  These stitches cannot be done with the walking foot in place, since the walking foot moves the fabric in the usual front-to-back direction only.

For these decorative stitches, another presser foot must be used.  The best foot to select is an open-toed satin stitch or embroidery foot, such as the one shown below.  The photograph shows a Bernina foot for my machine that has a 9 mm stitch width; if your machine has a narrower stitch width, your foot will also be narrower.  The embroidery foot can be distinguished from other feet by the groove on the bottom, shown in the right hand photo.  The groove allows a dense stitch that stands above the fabric to move under the foot smoothly.

Open toe embroidery foot

Open toe embroidery foot

bottom view, embroidery foot

bottom view, embroidery foot


Without the walking foot, the quilt top fabric will tend to be pushed forward relative to the batting and backing.  Eventually when you reach a previously stitched line this will result in a pucker or fold.  Avoiding puckers requires more careful pinning along the stitching line.  This can be done by pinning the stitching area for six inches or so ahead of the stitching, as shown in the photo below.  I use large pins for this purpose so they are   easy to pull out right before the needle reaches them.  As they are removed, they can be placed further along the stitching line.

Temporary pins ahead of stitching with the embroidery foot

Temporary pins ahead of stitching with the embroidery foot

And below is an example of some decorative stitches I like for quilting.  None of these stitches is very dense, so they are relatively fast to stitch and look good on the back of the quilt as well as the front.  I particularly like the serpentine stitch (basically a wavy line), a simple feather stitch, and a simple leaf stitch.  You may need to adjust the stitch width and length before they make an attractive quilting stitch.  Be careful to check your tension on a scrap piece before stitching; sometimes the default tension on a decorative stitch is set loose so the top thread will go to the back and no bobbin thread will show on the top.  Since we will be seeing the quilting stitches on the back as well, we need to balance the tension, especially if the top and bobbin threads are different colors.

Some decorative stitches suitable for machine quilting

Some decorative stitches suitable for machine quilting

If I don’t want to take the time to bury knots at the start and stop, I ensure an attractive start and stop by first stitching 5 or 6 tiny straight stitches.  Then I change to the desired decorative stitch and continue until I am within about a millimeter of the end.  I then change back to a straight stitch and make a few tiny stitches.  The closeup photo below shows this area; the straight stitching is not noticeable and provides the necessary locking of the thread so it won’t unravel.

Begin and end the decorative stitch with 5 or 6 tiny staight stitches to lock the thread

Begin and end the decorative stitch with 5 or 6 tiny staight stitches to lock the thread

Try some decorative stitches on your next quilt.  Several of them are great substitutes for stitching in the ditch, if you have trouble keeping your stitches in the ditch!

Making Quilting Templates

I am making some quilting templates out of template plastic so thought I would explain the process.  First, there are several different kinds of template plastic.  For applique templates where you will want to press the fabric around the template, be sure to get the heat resistant template plastic.  For marking your quilting patterns, the heat resistant plastic is not necessary although it certainly can be used.  The regular plastic comes  as a clear sheet. a gridded sheet, or occasionally in color (quilt shops usually stock the 12 by 18 inch size, although other sizes are available).  I purchased some recently at Pacific Fabrics in Bremerton; here are the two types I purchased.

Gridded and colored template plastic

Gridded and colored template plastic

Both the colored and the gridded plastic have the advantage that you can find them when they get buried in your studio.  Clear templates can be hard to locate, especially once they are cut up into small pieces.  The gridded ones are also convenient for drawing shapes.  Below I am going to show how to make a couple of patterns that I like and use in my walking foot quilting class.

First, a “wavy line” template. I like this wavy line quilting as a background for contemporary quilts.  It can be easily sewn using a walking foot.  Here is the 8 inch square pattern we use in the class sampler:

Wavy line quilting pattern

Wavy line quilting pattern

The tools needed are a Sharpie or other non-smearing pen, template plastic, and some sort of circle.  In the photo I show a drafting circle template that I often use, but cans, plates, CDs – anything round can be used.  For this wavy line, you could even draw it free hand, just using the grid lines on the plastic as a reference.

Wave template

Wave template

Once the pattern is drawn, cut it out with scissors as shown below.  Feel the edge and if necessary smooth it out with sandpaper or an emery board.

Wave template

Wave template

Use the template to draw a wavy line.  Space the lines as you wish.  I like to make two lines about a half inch apart, then move down about 1 1/2 inches and make two more lines.  Repeat until the space is filled.  The waves also look great when placed on the diagonal.

The second template is for clamshell quilting.  Basically clamshells are just staggered half circles.  I used a different circle template for this, but otherwise the tools are the same.  The pattern is shown here:

Clamshell quilting pattern

Clamshell quilting pattern

And the tools and marked template are shown below:

template marked for clamshells

template marked for clamshells

Select the right size circle to divide your space evenly – for example a 9 inch block would work well with 3 inch circles.  Cut out the half circles, making your template one half circle longer than the space you need to fill so you can stagger the patterns as shown on the drawing.  Trim enough of a gap between half circles so you can fit your marking pen into the notch.

Clamshell template

Clamshell template

If possible, mark your quilt top before you sandwich it with the batting and backing. Use a marking pen and trace along the top of the template.  A water soluble or iron-away marker can be used; check with your local quilt shop for recommended brands.

Many other shapes can also be made from template plastic – circles, flowers, butterflies, etc.  Marking your quilt will be quick and easy once you have a template!

Quilting with Decorative Stitches and Echo Quilting

I was teaching my Beginning Quilting with a walking foot class last weekend.  I have reorganized the class to include a sampler, much like the way I reorganized my free motion quilting class.  A couple of types of quilting that the students seemed to enjoy the most were the use of decorative stitches and echo quilting.

Most of your sewing machine’s decorative stitches, and some of the utility stitches, can be used for quilting.  Some times you will need to increase the stitch length to get an attractive look.  The photo below shows some of the decorative stitches I like for machine quilting.

Use your sewing machine's decorative stitches for quilting

Use your sewing machine’s decorative stitches for quilting

And the next photo shows an example of echo quilting around a fairly complicated pattern.  Echo quilting is very attractive on a light colored background where the texture of the quilting can show (on the Classes page of this blog, see my photo in the class description of the Beginning Quilting with a Walking Foot class for an even better example).  The initial center pattern is marked on the fabric and then the presser foot width is used as a guide to ensure even spacing of the echos.

Echo quilting can be done around a center design or can fill in from a simple pattern on the edges of a block, or both as shown here

Echo quilting can be done around a center design or can fill in from a simple pattern on the edges of a block, or both as shown here

When planning the quilting of your next quilt, don’t forget how effective these kinds of quilting with a walking foot can be, especially if you still get stressed out by free motion quilting.

Quilting with a Walking Foot

Recently I posted a photo of my new shop sample for my Free Motion Quilting class. I am making two similar shop samples, so I can have them up in more than one shop at a time.

In the meantime, I have decided to create new shop samples for my Beginning Quilting With a Walking Foot class. I began thinking about how to design an effective shop sample that would be the basis of a reworked class (again, so students go home with a sampler using a number of WF quilting patterns/techniques).

I did an internet search for “quilting with a walking foot” and quickly found a great link: http://blog.petitdesignco.com/2012/10/31-days-of-walking-foot-quilting.html

In her 31 days of quilting with a walking foot, Norma of Petit Design Co. covers in great detail how to use a walking foot and shows a wide variety of patterns. I have bookmarked her blog and plan to spend more time reading it thoroughly. For those of you who don’t do free motion quilting for whatever reason, this site gives you great suggestions for WF quilting.