
I am making some quilting templates out of template plastic so thought I would explain the process. First, there are several different kinds of template plastic. For applique templates where you will want to press the fabric around the template, be sure to get the heat resistant template plastic. For marking your quilting patterns, the heat resistant plastic is not necessary although it certainly can be used. The regular plastic comes as a clear sheet. a gridded sheet, or occasionally in color (quilt shops usually stock the 12 by 18 inch size, although other sizes are available). I purchased some recently at Pacific Fabrics in Bremerton; here are the two types I purchased.

Gridded and colored template plastic
Both the colored and the gridded plastic have the advantage that you can find them when they get buried in your studio. Clear templates can be hard to locate, especially once they are cut up into small pieces. The gridded ones are also convenient for drawing shapes. Below I am going to show how to make a couple of patterns that I like and use in my walking foot quilting class.
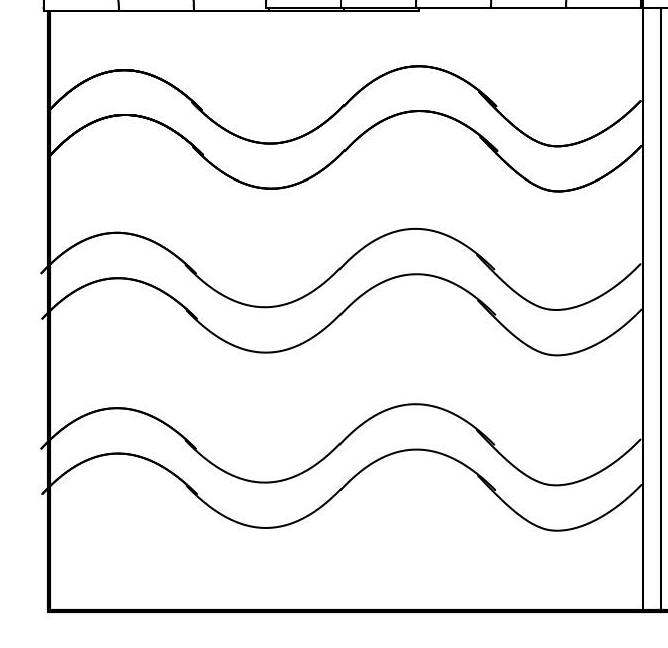
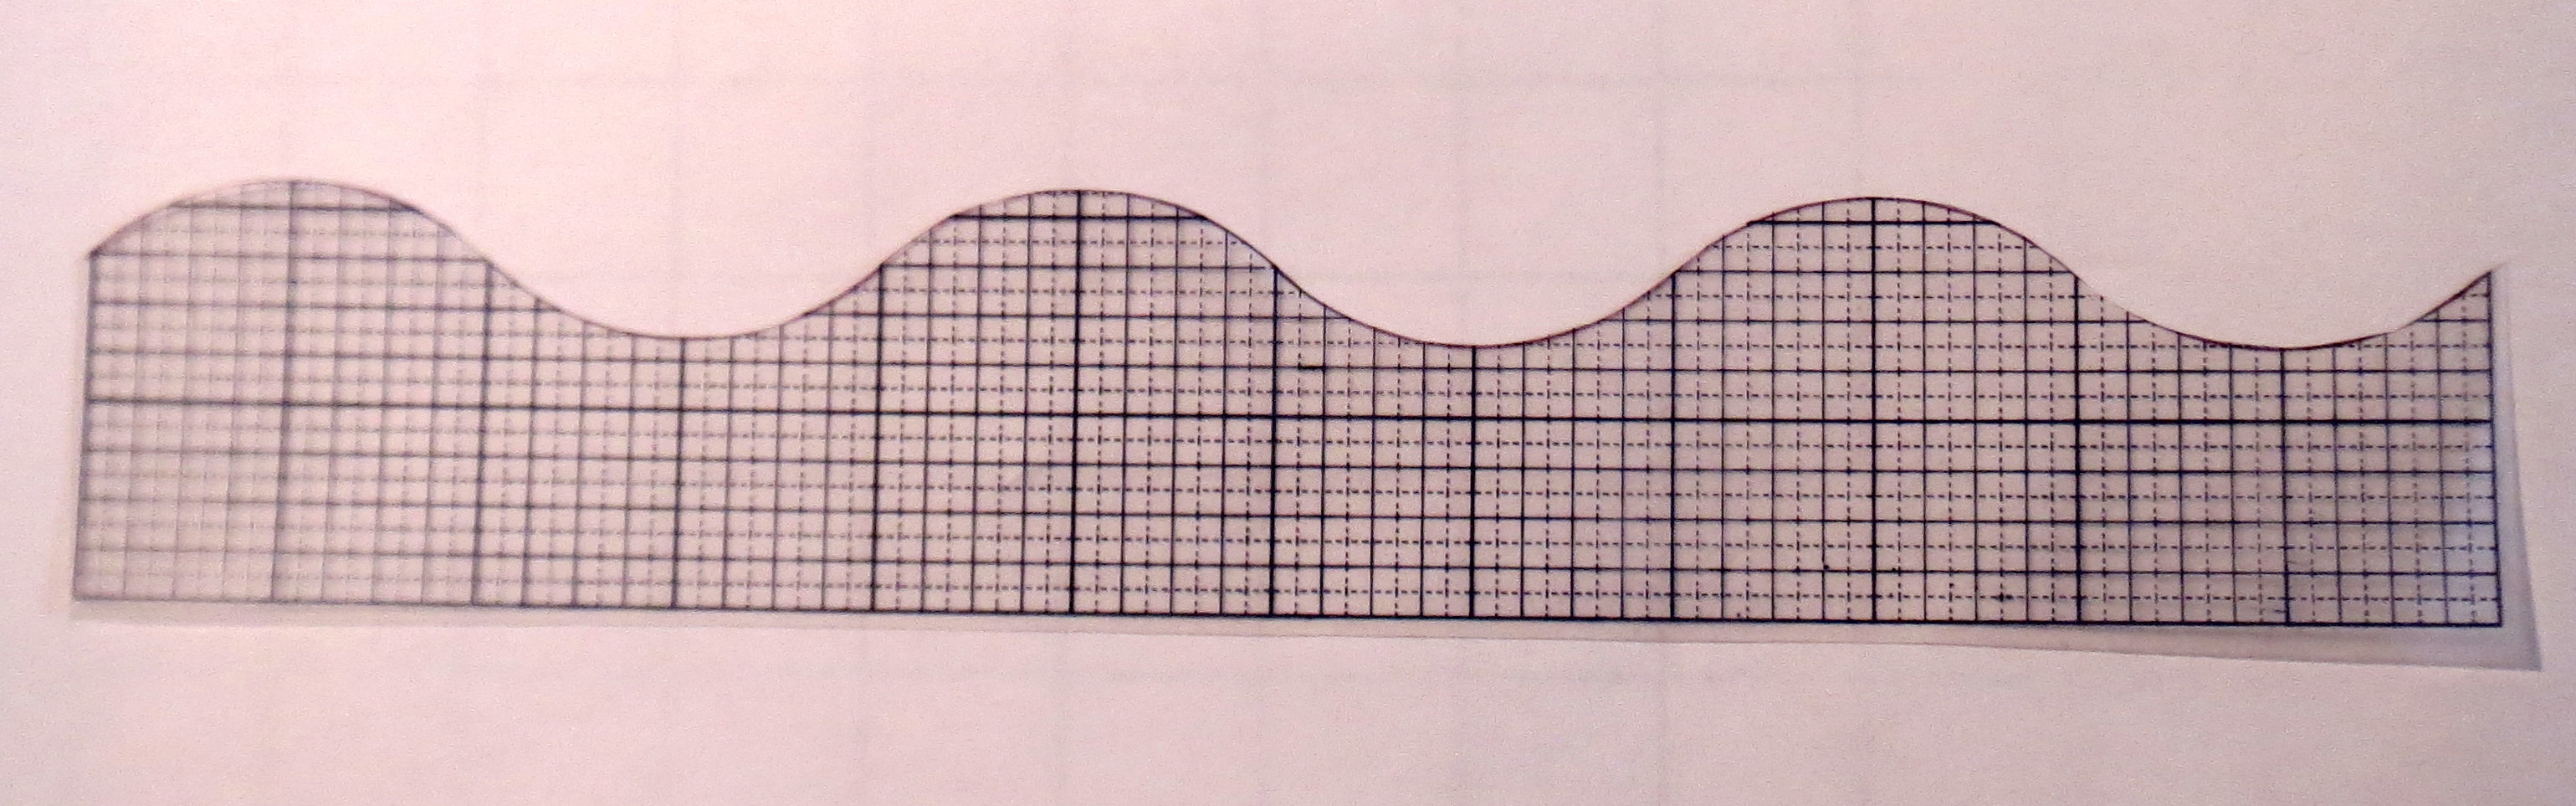
First, a “wavy line” template. I like this wavy line quilting as a background for contemporary quilts. It can be easily sewn using a walking foot. Here is the 8 inch square pattern we use in the class sampler:
Wavy line quilting pattern
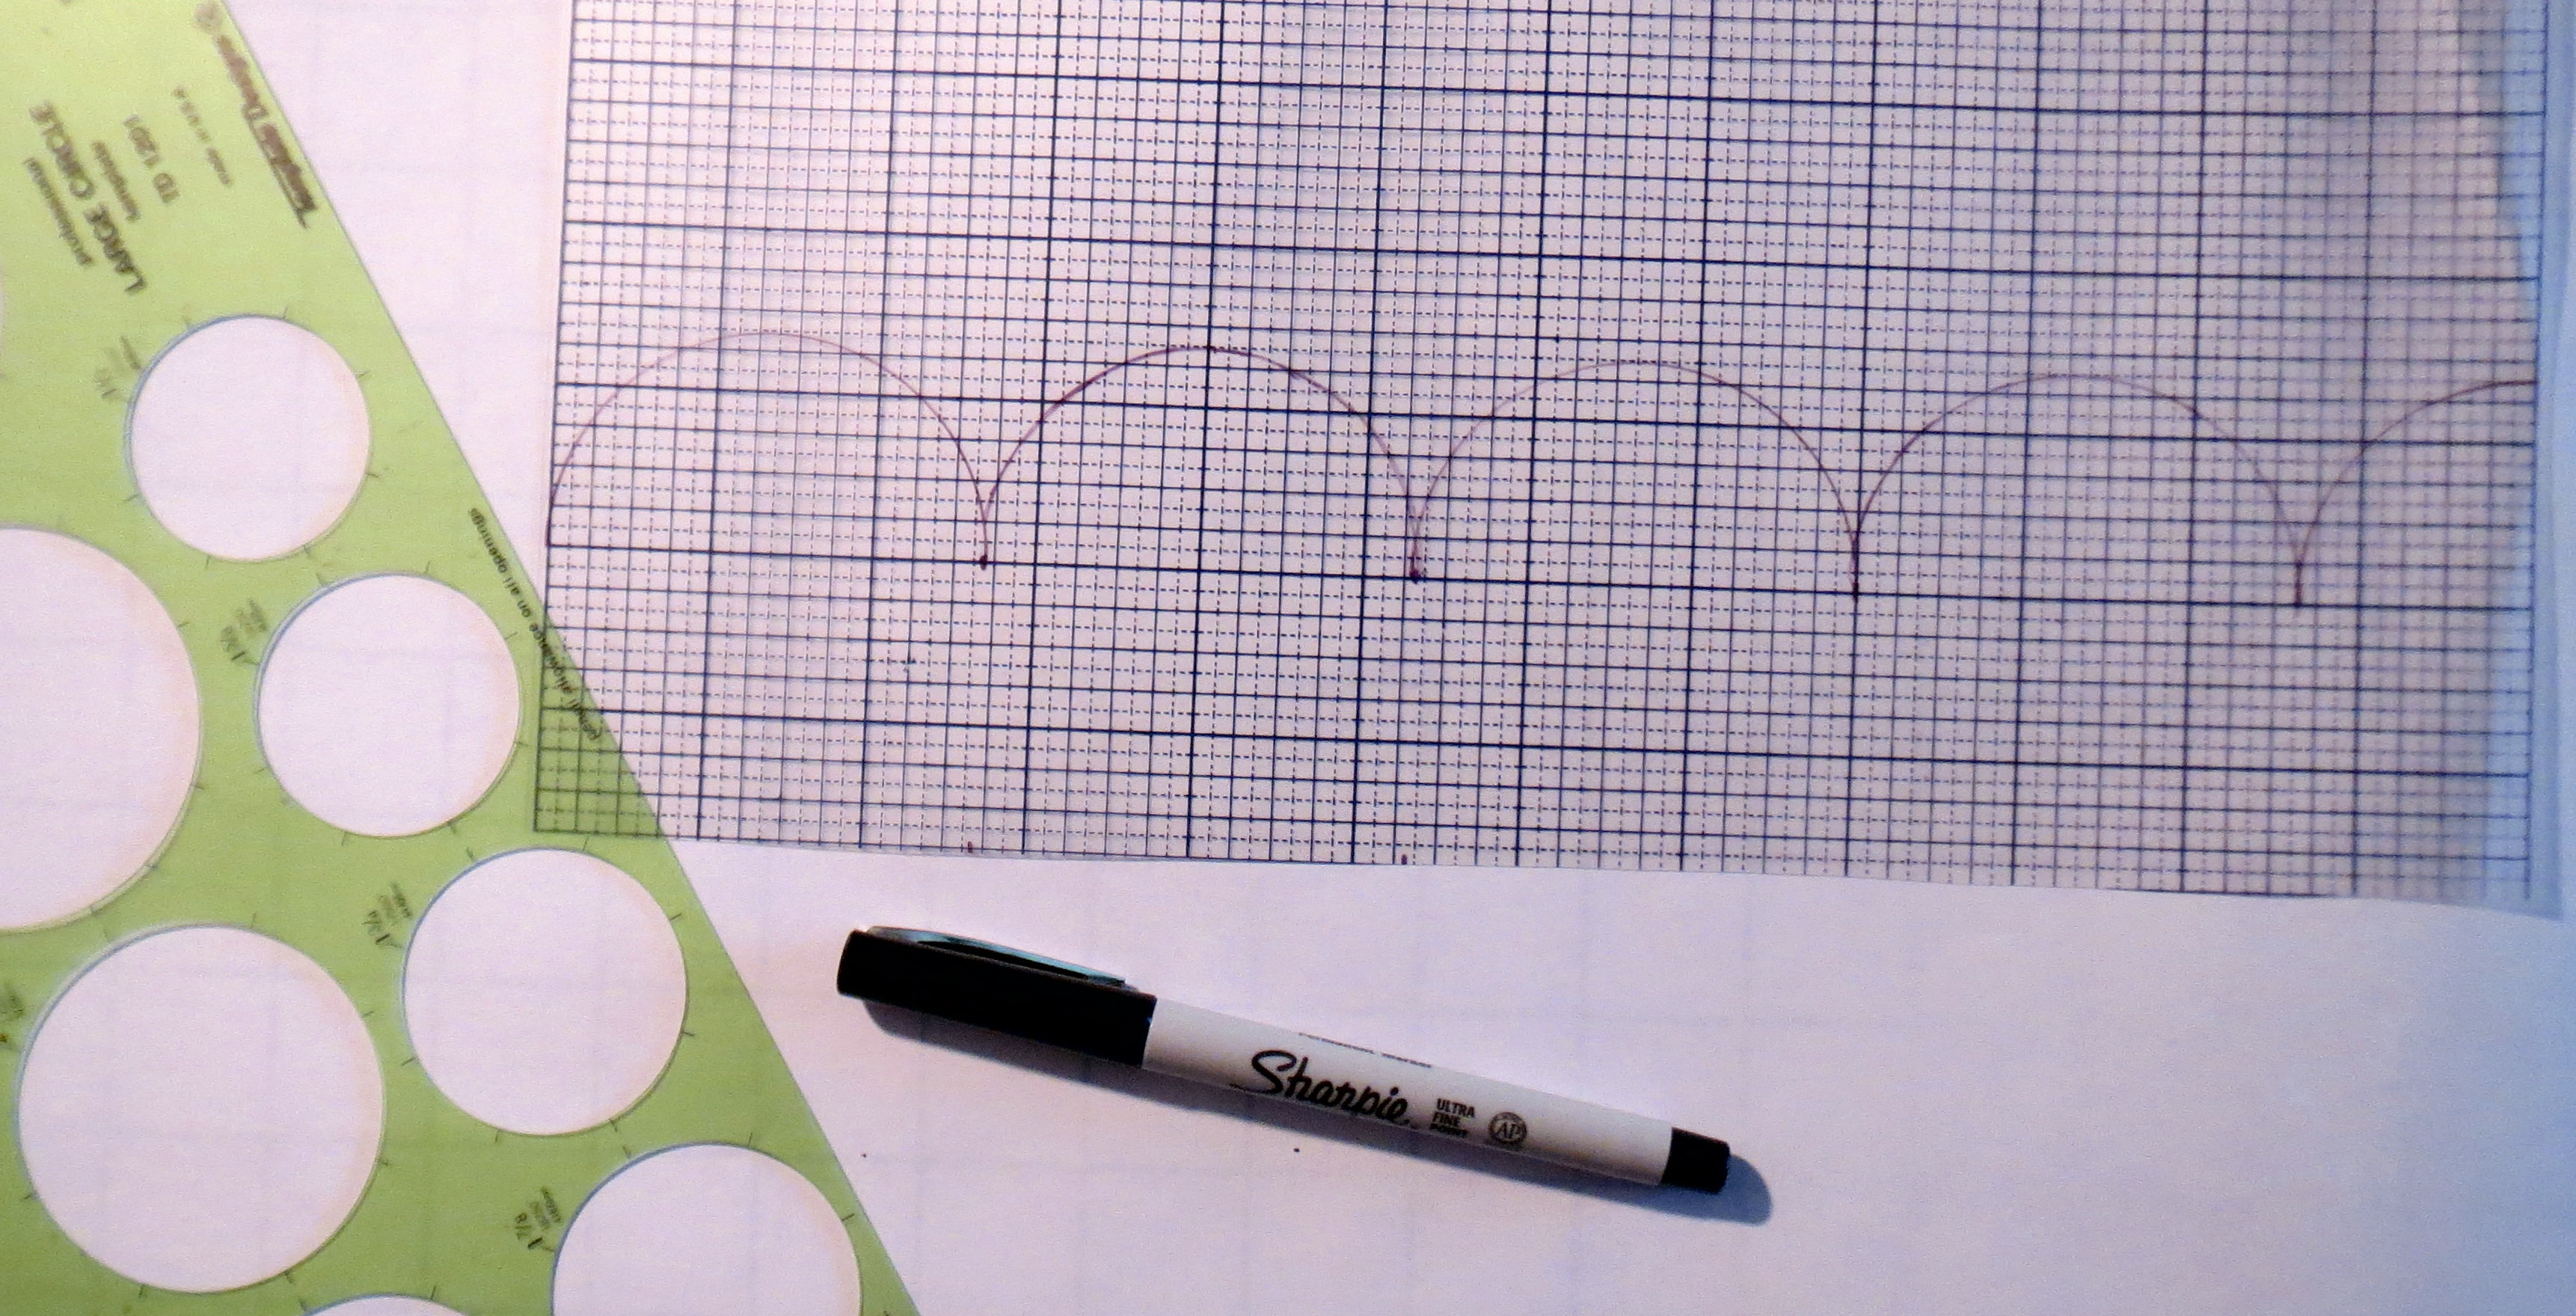
The tools needed are a Sharpie or other non-smearing pen, template plastic, and some sort of circle. In the photo I show a drafting circle template that I often use, but cans, plates, CDs – anything round can be used. For this wavy line, you could even draw it free hand, just using the grid lines on the plastic as a reference.

Wave template
Once the pattern is drawn, cut it out with scissors as shown below. Feel the edge and if necessary smooth it out with sandpaper or an emery board.
Wave template
Use the template to draw a wavy line. Space the lines as you wish. I like to make two lines about a half inch apart, then move down about 1 1/2 inches and make two more lines. Repeat until the space is filled. The waves also look great when placed on the diagonal.
The second template is for clamshell quilting. Basically clamshells are just staggered half circles. I used a different circle template for this, but otherwise the tools are the same. The pattern is shown here:

Clamshell quilting pattern
And the tools and marked template are shown below:
template marked for clamshells
Select the right size circle to divide your space evenly – for example a 9 inch block would work well with 3 inch circles. Cut out the half circles, making your template one half circle longer than the space you need to fill so you can stagger the patterns as shown on the drawing. Trim enough of a gap between half circles so you can fit your marking pen into the notch.

Clamshell template
If possible, mark your quilt top before you sandwich it with the batting and backing. Use a marking pen and trace along the top of the template. A water soluble or iron-away marker can be used; check with your local quilt shop for recommended brands.
Many other shapes can also be made from template plastic – circles, flowers, butterflies, etc. Marking your quilt will be quick and easy once you have a template!
