
Last Friday my friend Charlie and I hung nearly 40 quilts in about 4 hours, with help from Charlie’s friend Susan. Today I am describing the materials we used to hang our quilts without spending too much time or money.
1. For little quilts ( up to about 15 inches wide) or for special applications such as hanging a larger quilt on a curved wall, one option is to use rings. Small curtain rings, rings intended for construction of roman shades, or split rings that are sold near the keys in your local hardware store will work. Just find smooth rings about ½ to ¾ inch in diameter, sew them to the top back of your quilt about 5/8 to 1 inch below the top. Using a needle and strong thread, go around the ring and through the back of the quilt and batting only. Go around several times so the connection is strong enough to support the weight of the quilt. Add more rings along the top of the quilt as needed until the top edge of the quilt doesn’t sag.
These rings will hang from 1 ½ inch long finish nails that you pound into the wall leaving about 3/8 inch of the nail protruding out.
2. For medium size quilts (up to about 40 inches wide) use a hanging sleeve and stick at the top of the quilt. For large size quilts (48 inches or wider), the quilt will hang better if you use hanging sleeves and sticks at both top and bottom.
3. For a good description of how to make a hanging sleeve, go to http://moonlightingquilts.wordpress.com/2012/04/05/in-defense-of-the-proper-quilt-sleeve-and-how-to-make-it-in-6-easy-steps/. Make the sleeves at least 4 inches narrower than the width of your quilt. (NOTE: For hanging on rods or poles at a quilt competition, you may want to make the sleeves nearly the same width as your quilt. But for use of sticks as described here, you need clearance for the end of the stick and the holes for the nails).
4. Purchase the sticks at your local lumber yard or home improvement center. Go to the moulding (or molding, spelling is not consistent) department and ask for unfinished hemlock moulding. Other woods will also work, but hemlock is the most commonly available in the U.S. The kind you want is called either screen mould (approx 3/16 inch thick by ¾ inch wide by 8 feet long) or door stop (approx 5/16 inch thick by 1 3/16 inch wide by 8 feet long, or 7/16 inch thick by 1 3/8 inch wide by 8 feet long).
The screen mould size should be sufficient for small and medium sized quilts. Use the door stop mould for the top of larger quilts. Screen mould works for the bottom of large quilts. If you cannot find the door stop mould, you can substitute lattice which comes ¼ inch thick by 1 1/8 inch wide by 8 feet and also in larger sizes. The disadvantage of the lattice is that the corners are not rounded, so you are more likely to get slivers in yourself or your quilt unless you sand down the corners carefully.
5. Measure the width of your quilt and cut the stick about 1 ½ inches shorter than the quilt width.
6. Mark a location about ½ inch in from each end in the center. Drill a 1/8 inch diameter hole at each mark. The diameter is not critical, it just needs to let the nail pass through easily. Remember that you need some flexibility in the hole size in case your nails go into the wall a little crooked.

7. Now you should have a finished top stick with two holes near the ends.
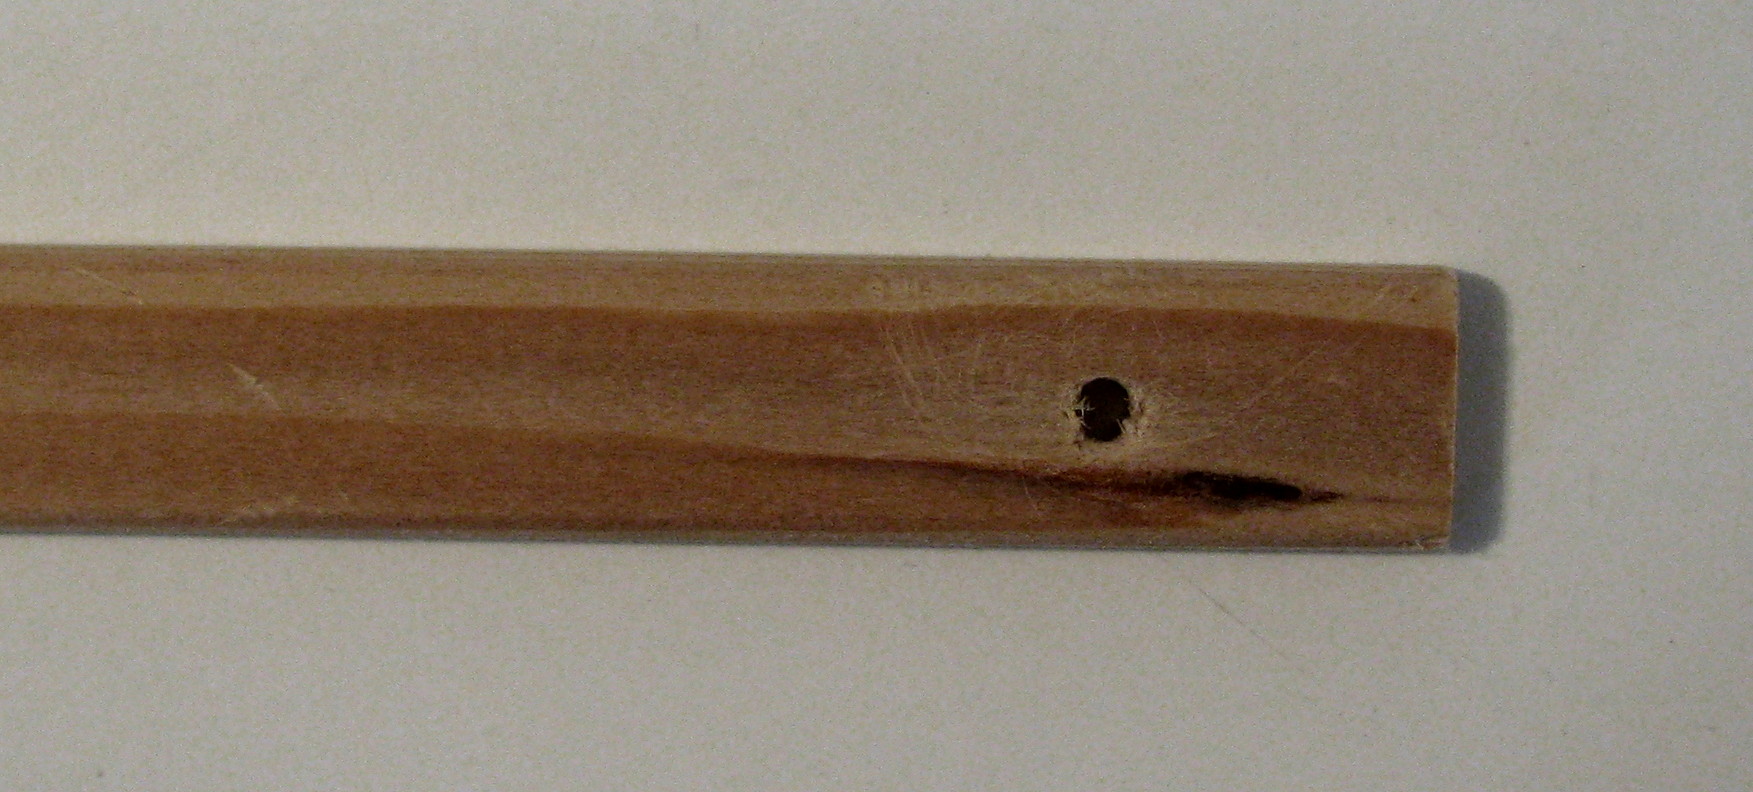
One end of the stick will look like this photo. Break off any little bits of wood around the hole and sand it if necessary. The sticks for the quilt bottom look the same but don’t need any holes at the end.
8. Pound one of the nails into the wall at the height you like. Hang the stick on the nail from one end through the hole. Hold the stick out horizontally by measuring down from the ceiling or use a level. With a pencil, mark the location of the second hole. Put a nail at the mark. Test the stick to ensure the holes slip smoothly over both nails.
9. Remove the stick from the nails, slip it into the top hanging sleeve of your quilt, and hang the quilt and stick back on the nails. Smooth the top edge of the quilt. If you are hanging a large quilt, now is the time to insert the stick in the bottom sleeve.
10. Stand back and admire your quilt!
© 2013 by Shirley Sandoz and Mystery Bay Quilt Design. All rights reserved.

This is great information about prepping for hanging. The one thing that I would add is that if you are planning to hang a quilt for a long time using wood, you should be careful of the acids in the wood eating through the fabric. There are some plastics that are safe to use: polyethelene, polyprophelene, polystyrene – NOT PVC (poly-vinyl chloride), though I don’t know if any of these are hard enough to replace a stick. Perhaps you could wrap the stick in many layers of acid -free tissue or mylar, which is one of the safe plastics. For more information about archival hanging, you might see Nancy Kirk at http://www.kirkcollection.com or quiltstudy.org, the International Quilt Study Center
Thanks for pointing out the issue with the wood, Julie. It is definitely something to be considered. I have always thought that the sleeve protected the quilt from the wood. The information at quiltstudy.org mentions putting a layer of cloth between a quilt and a wooden shelf to avoid getting stains.
The bottom line about preserving quilts is that we shouldn’t be hanging them at all, or only occasionally if we want to preserve them. But where’s the fun in that?
Sometime fairly soon I am going to be putting up a post about storing quilts, although it could be a month or two before I get to it. There are a couple of good online sources that describe how to store a rolled quilt to avoid the folds that often happen. Stay tuned for more info!