
Recently I was sewing on a binding and couldn’t immediately find my binding corner tool made from template plastic. This is a simple homemade 3 inch square with a diagonal line drawn across the middle, described in my book, “Fast Fabulous Quilt Bindings”. It works great for marking the corner so you know when to stop sewing as you approach each corner. Sewing accurate, consistent seams is a critical part of achieving good looking bindings.
So my tool was not available, but I had a pad of Post-It Notes nearby. I grabbed one of the Notes, lined it up on the corner, stuck it down in position, and then sewed right to the edge of the paper. NO MARKING REQUIRED! It is so cool when you invent something completely by accident.
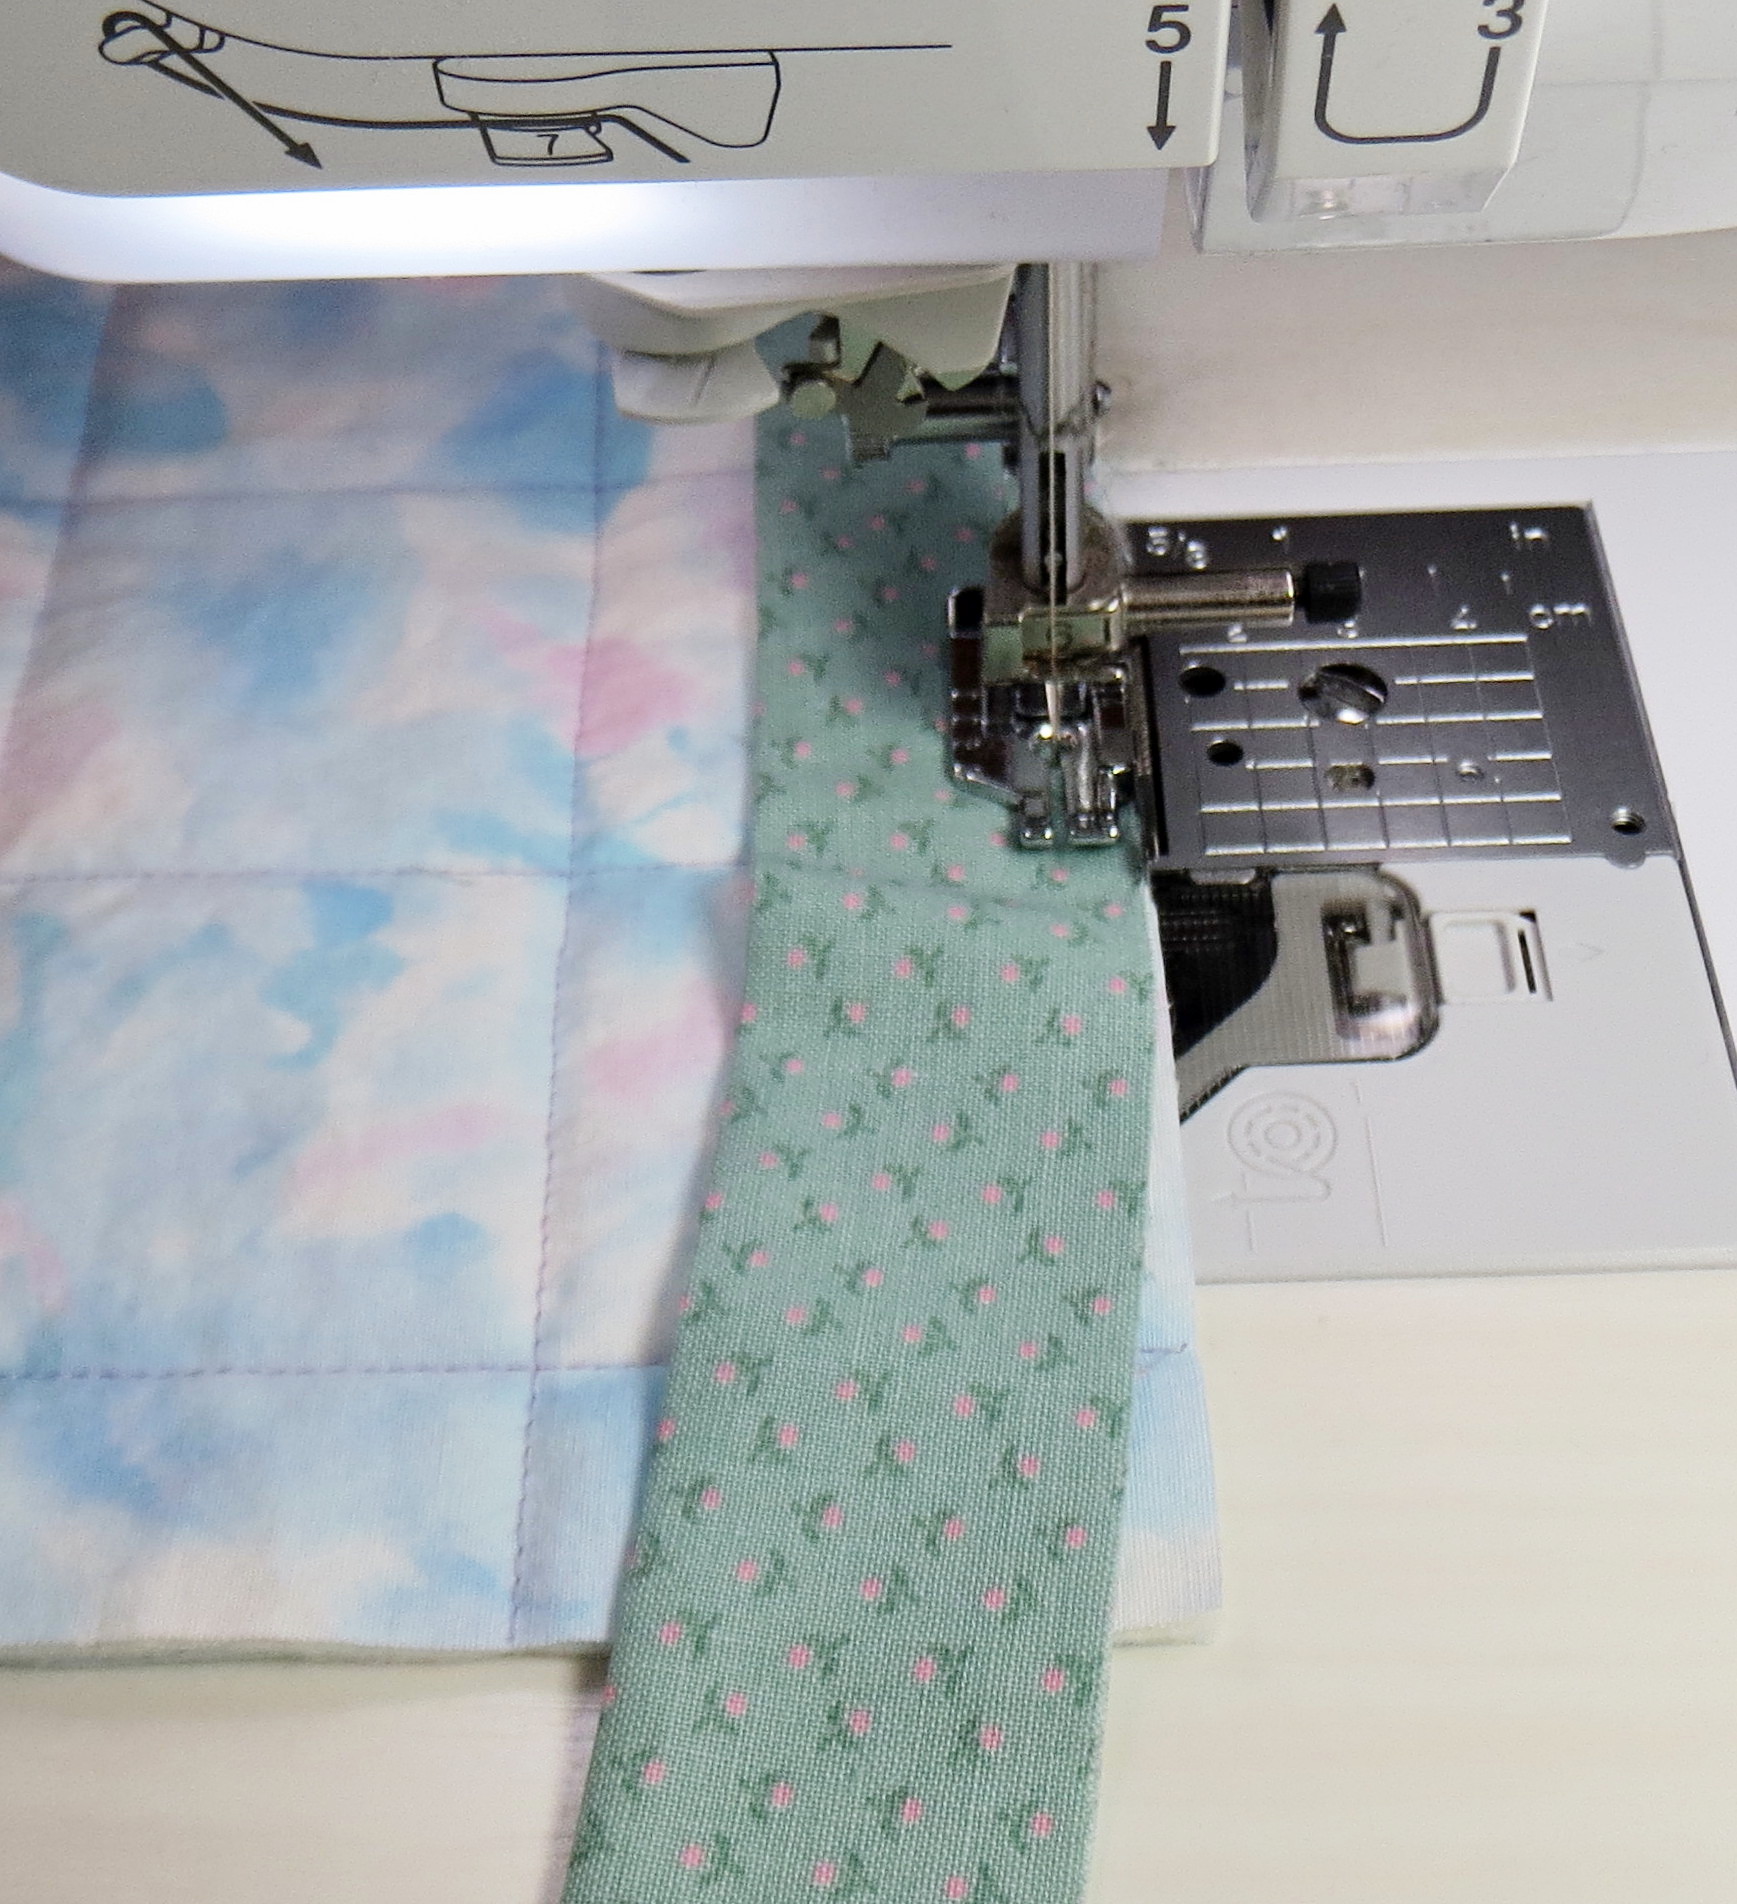
Here is the process. You are attaching the binding and approaching the corner. Stop sewing about 3 inches away from the corner as shown in the first photo.

Approaching the corner
Slide the binding sideways a little to see the actual quilt corner while you are placing the Note down.
Slide the binding to the left
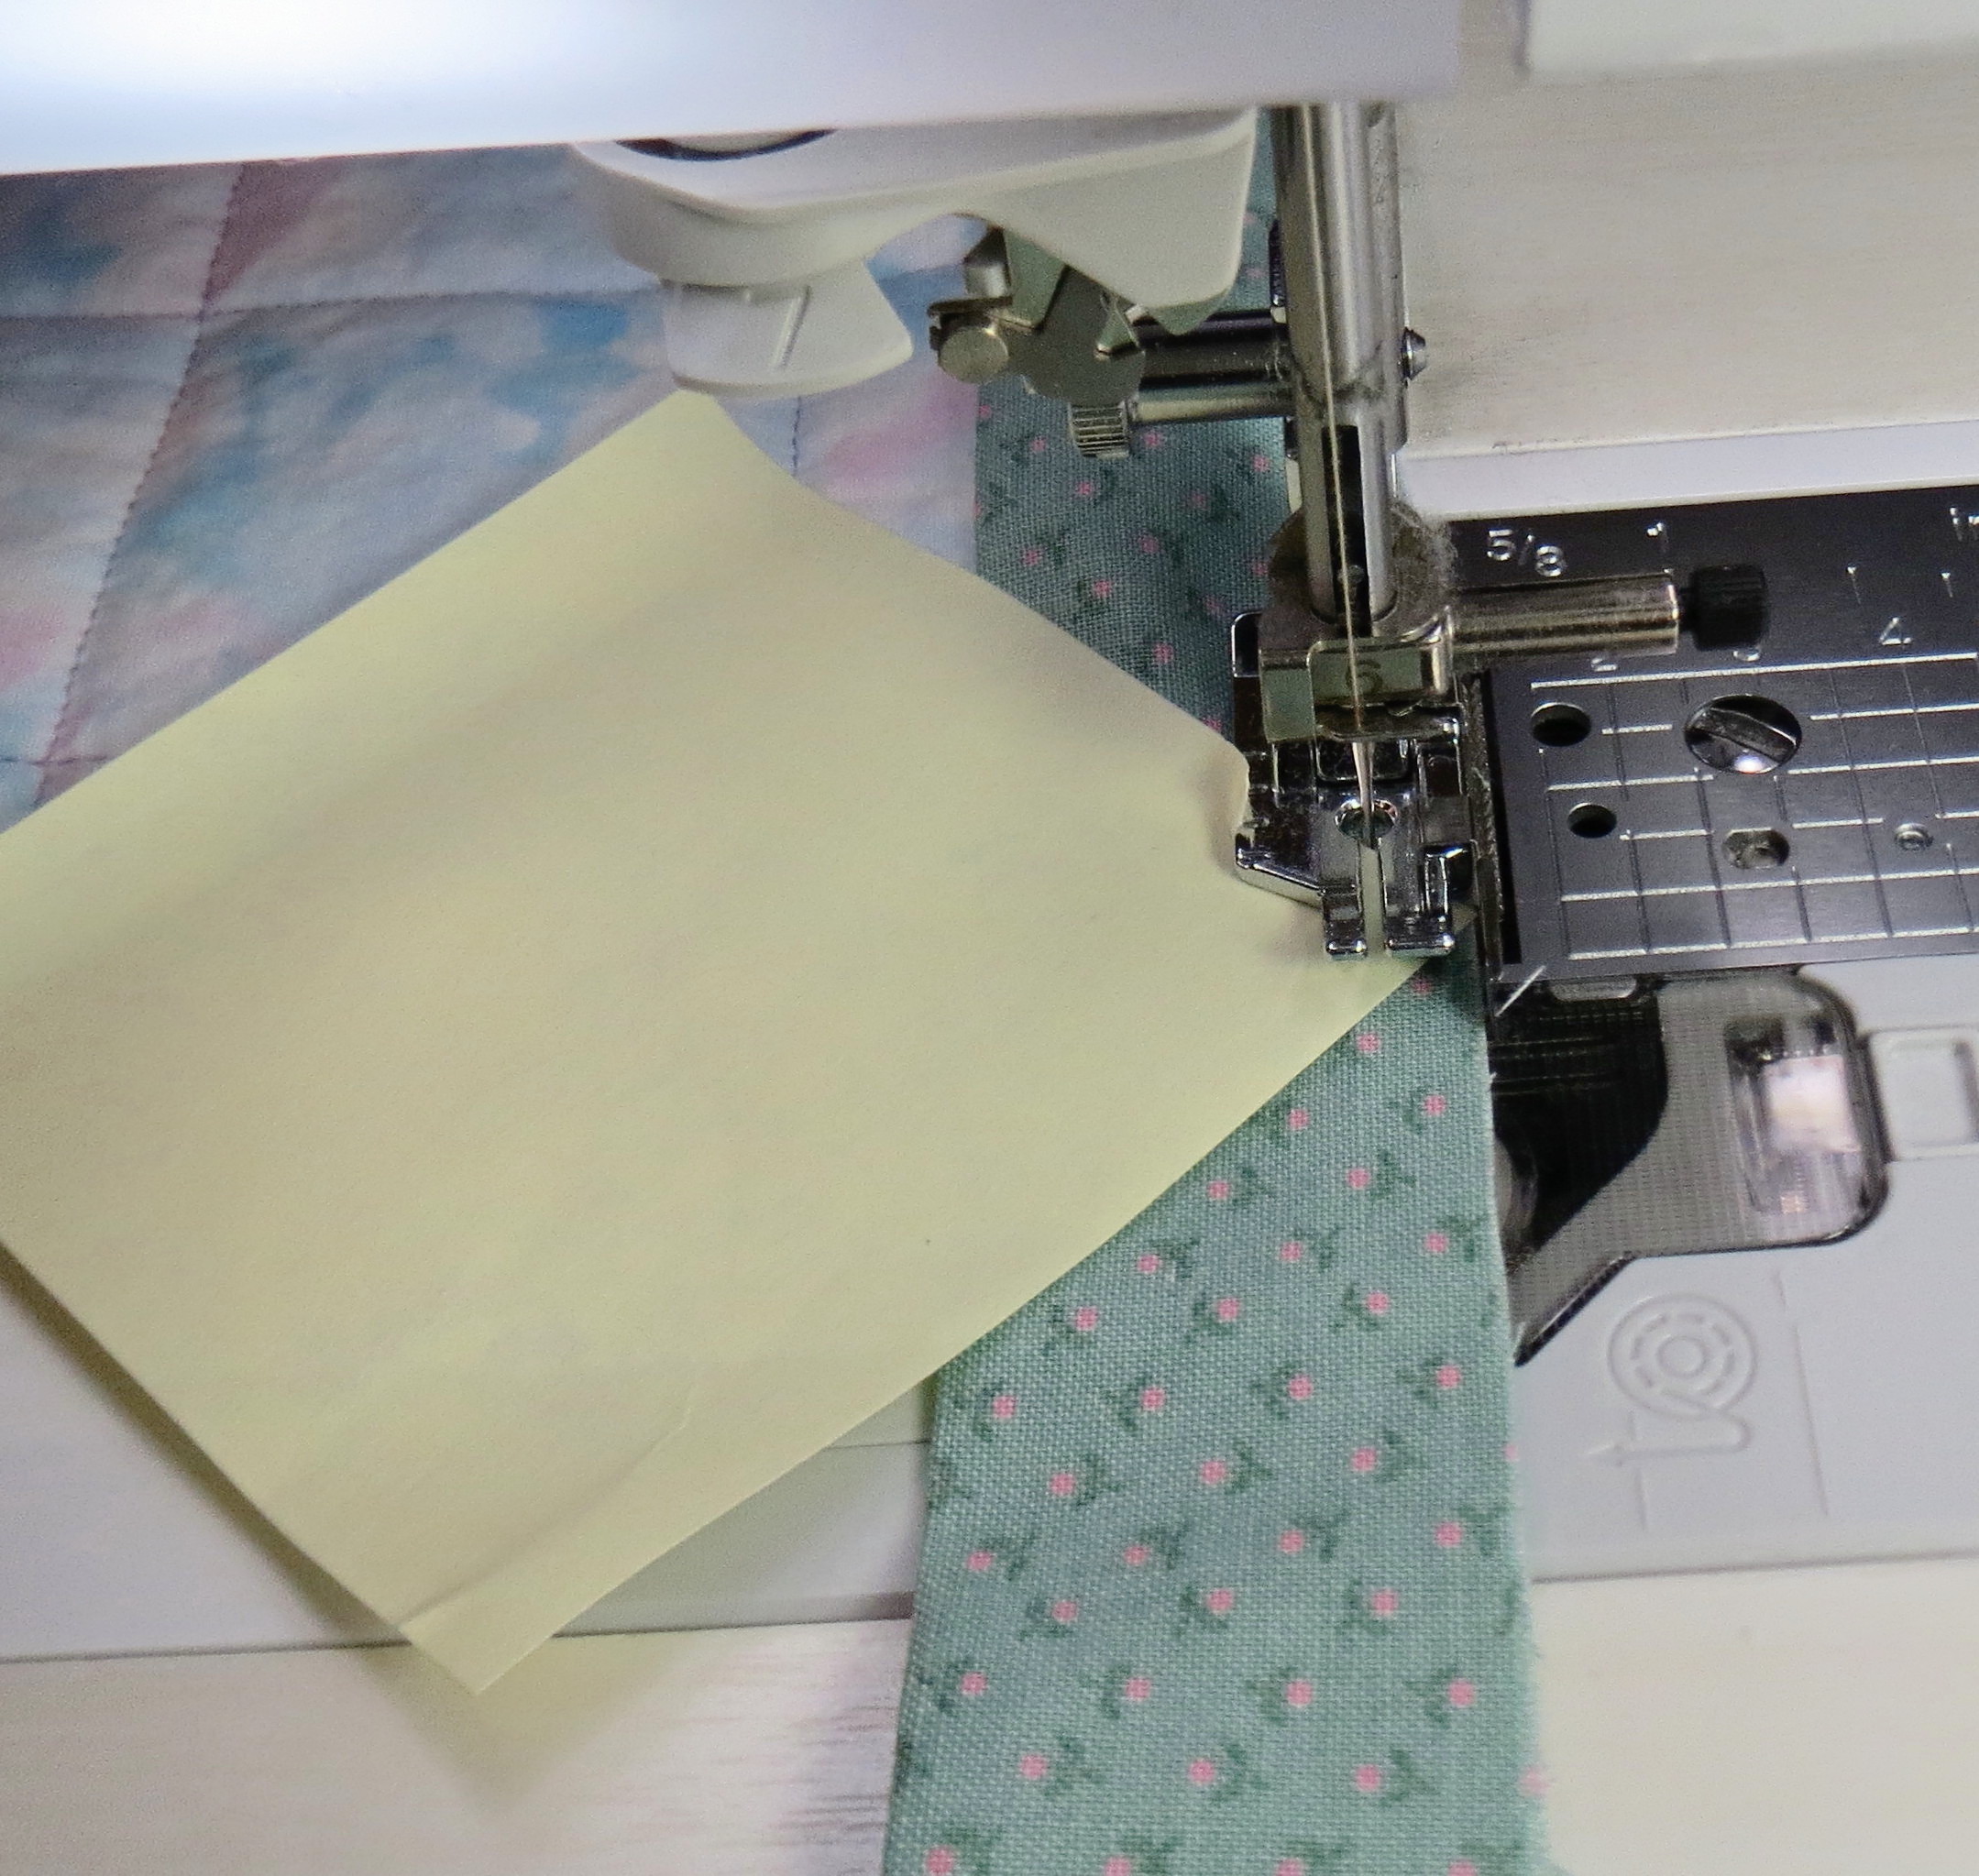
Then place the Post It Note down with one corner right on the corner of your quilt and the opposite corner on the raw edge of the next side of your quilt (where you will sew down the binding after you have turned the corner). Position the Note with the sticky edge on the upper left so that once you have the Note in position, this edge will be stuck to the quilt. If it won’t stick, you can always use blue painter’s tape to hold it down.

Place the Note in position with the right corner on the quilt corner and the left corner on the quilt edge
Once you have the Note in position, slide the binding back in place.

Slide the binding back in position under the Note
Resume sewing until you reach the edge of the Note as shown in the photo below. Backstitch a few stitches. Your seam is now perfectly positioned at the corner along the diagonal.
Stop stitching as the needle reaches the paper
Remove your quilt from the sewing machine, cut the threads, and make your “flip and fold” corner in the usual manner.
